
You do not need Photoshop to create professional wall art mockups. The fastest workflow is to upload your finished artwork, choose a room that fits the buyer, enter the real print size, add an honest frame, and export a clean listing image. Start with scale and clarity — not decoration, not templates, not a PSD file.
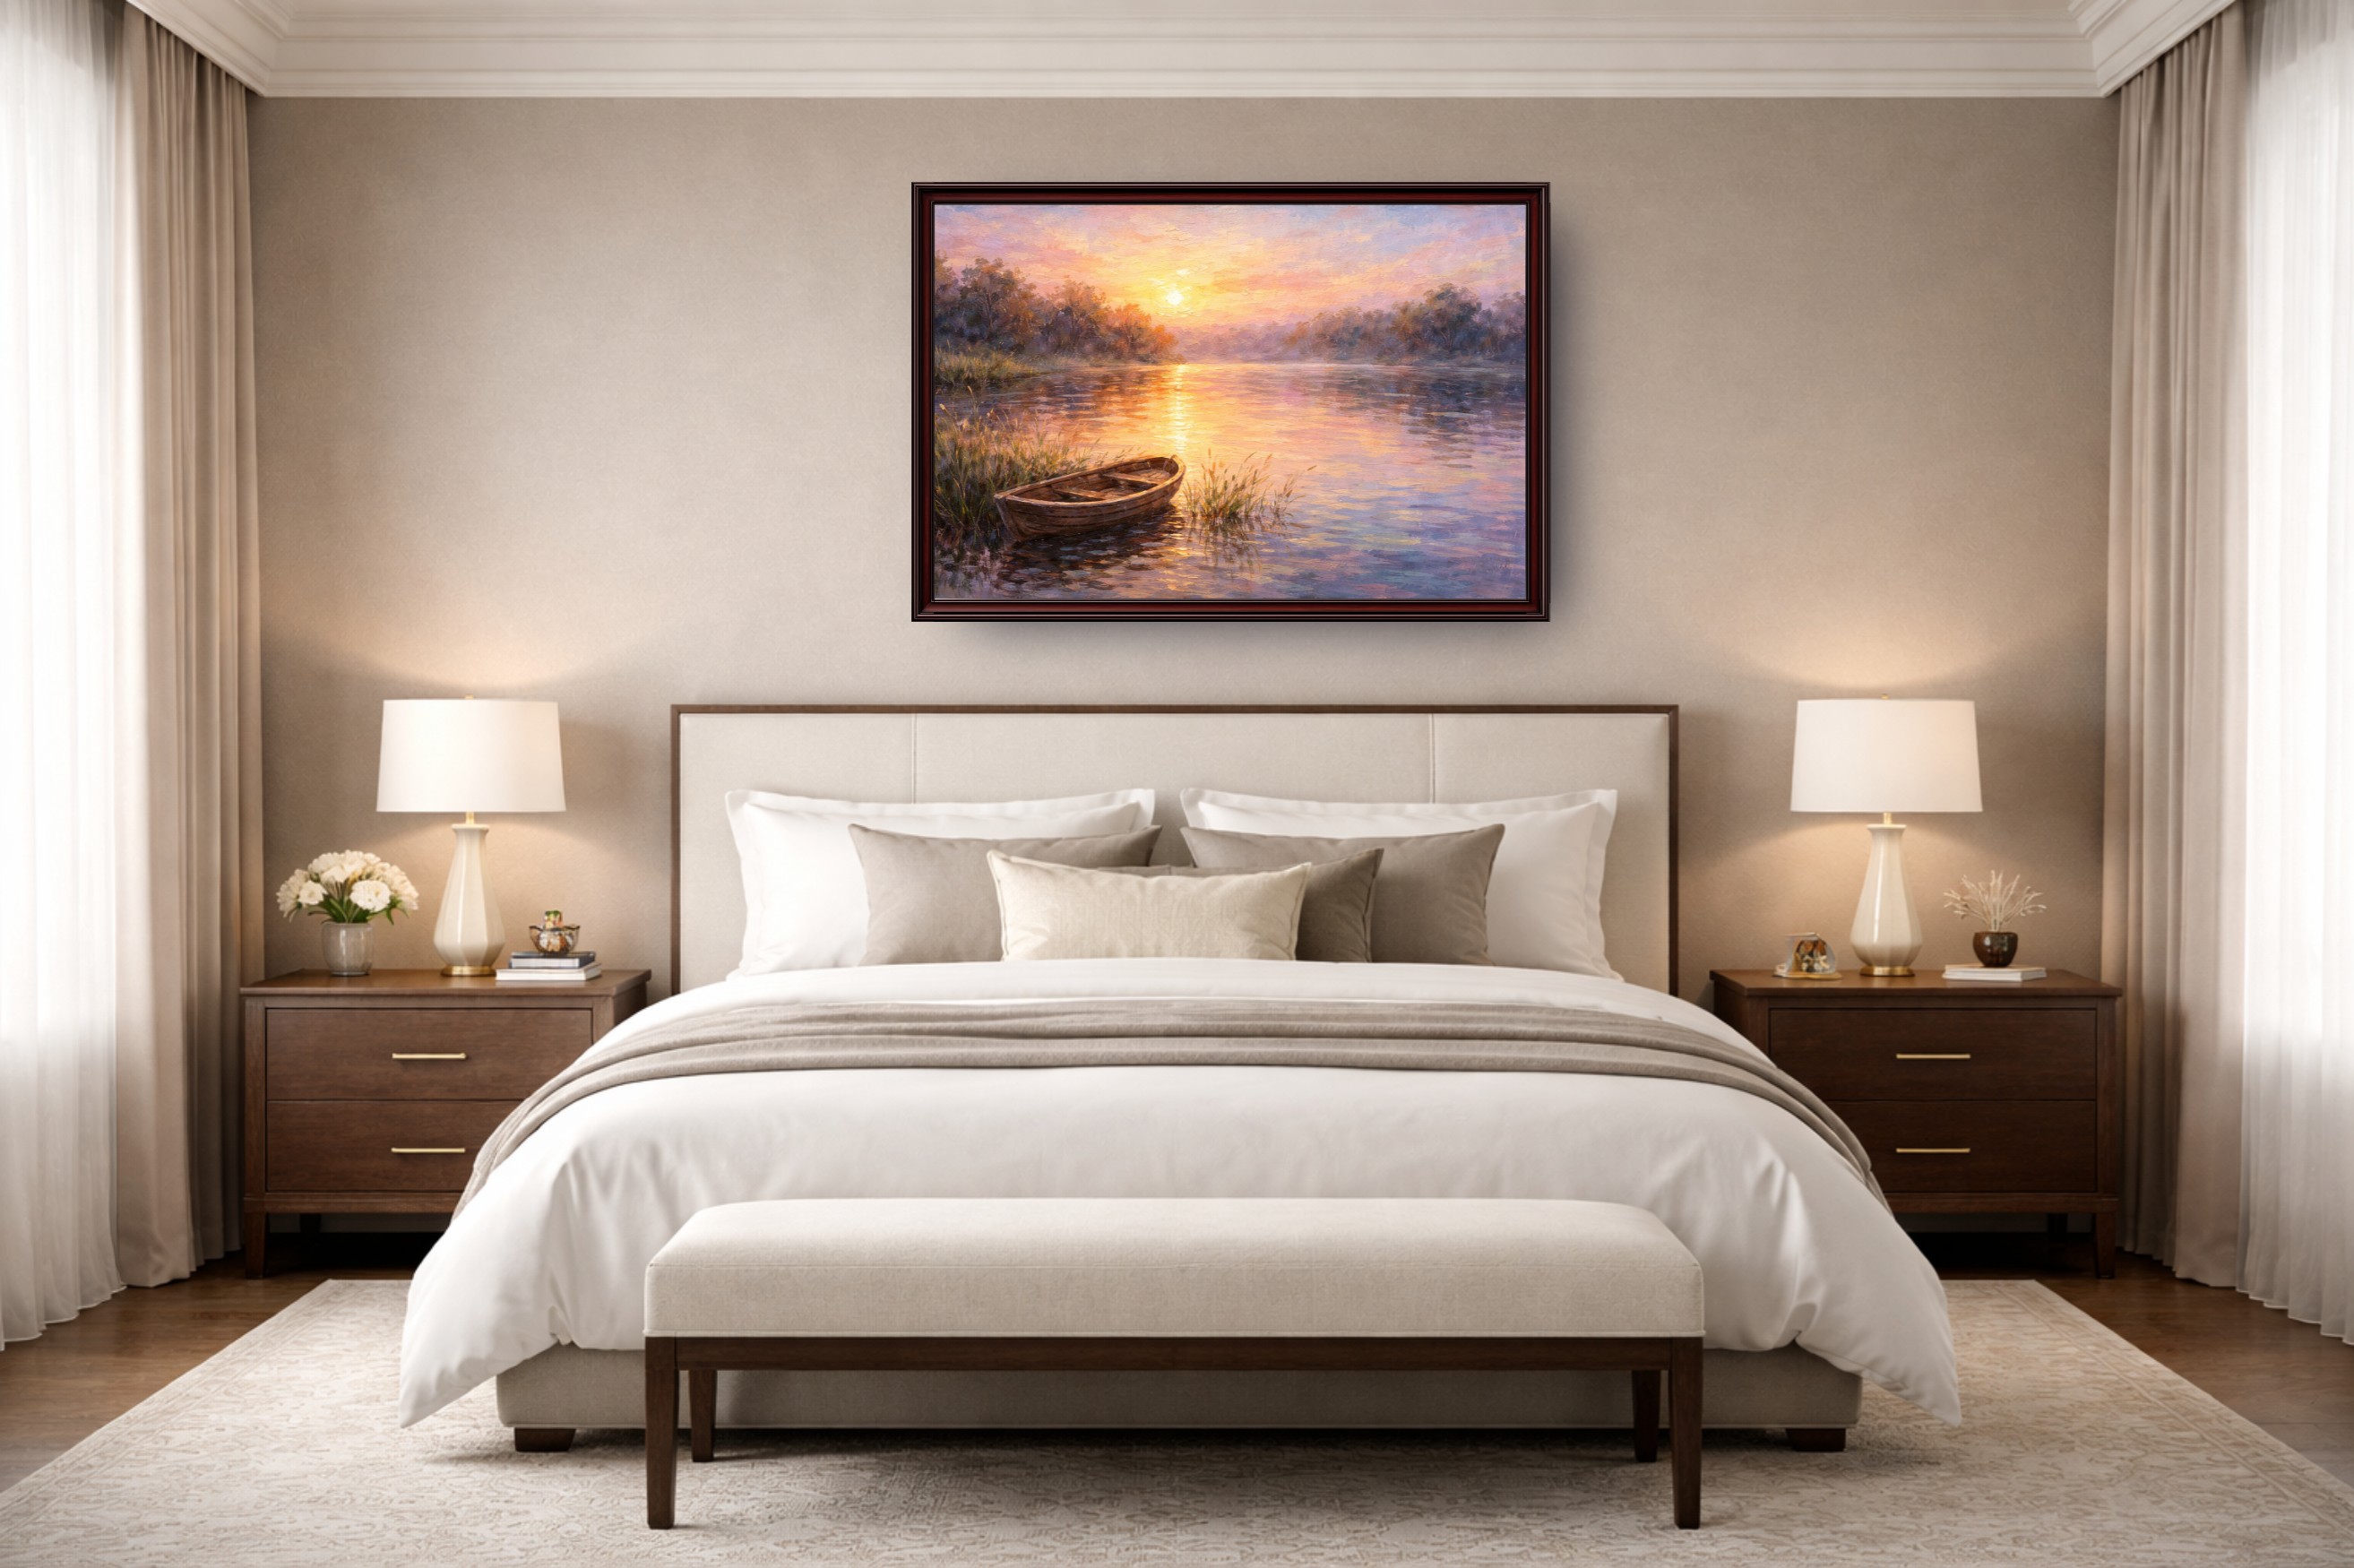
Table of Contents
- What do you need before opening a mockup generator?
- How do you choose the right room scene?
- Why does true scale matter in a mockup?
- How should you choose frames, mats, and shadows?
- What should you export for Etsy or Shopify?
- What mistakes make wall art mockups look fake?
What do you need before opening a mockup generator?
Start with the finished artwork file, not a draft. Use the correct aspect ratio for the product you plan to sell. If the listing is 8x10, the art should match a 4:5 ratio unless you plan to crop or add borders.
Use the highest-resolution source file you have. A mockup can make presentation better, but it cannot rescue a soft upload. If you are unsure whether the file can print at the size you want, check it with the print resolution checker first.
Before you start, decide these 3 things:
- The exact print size.
- Whether the buyer receives a frame.
- Where the image will be used: Etsy, Shopify, portfolio, or social.
How do you choose the right room scene?
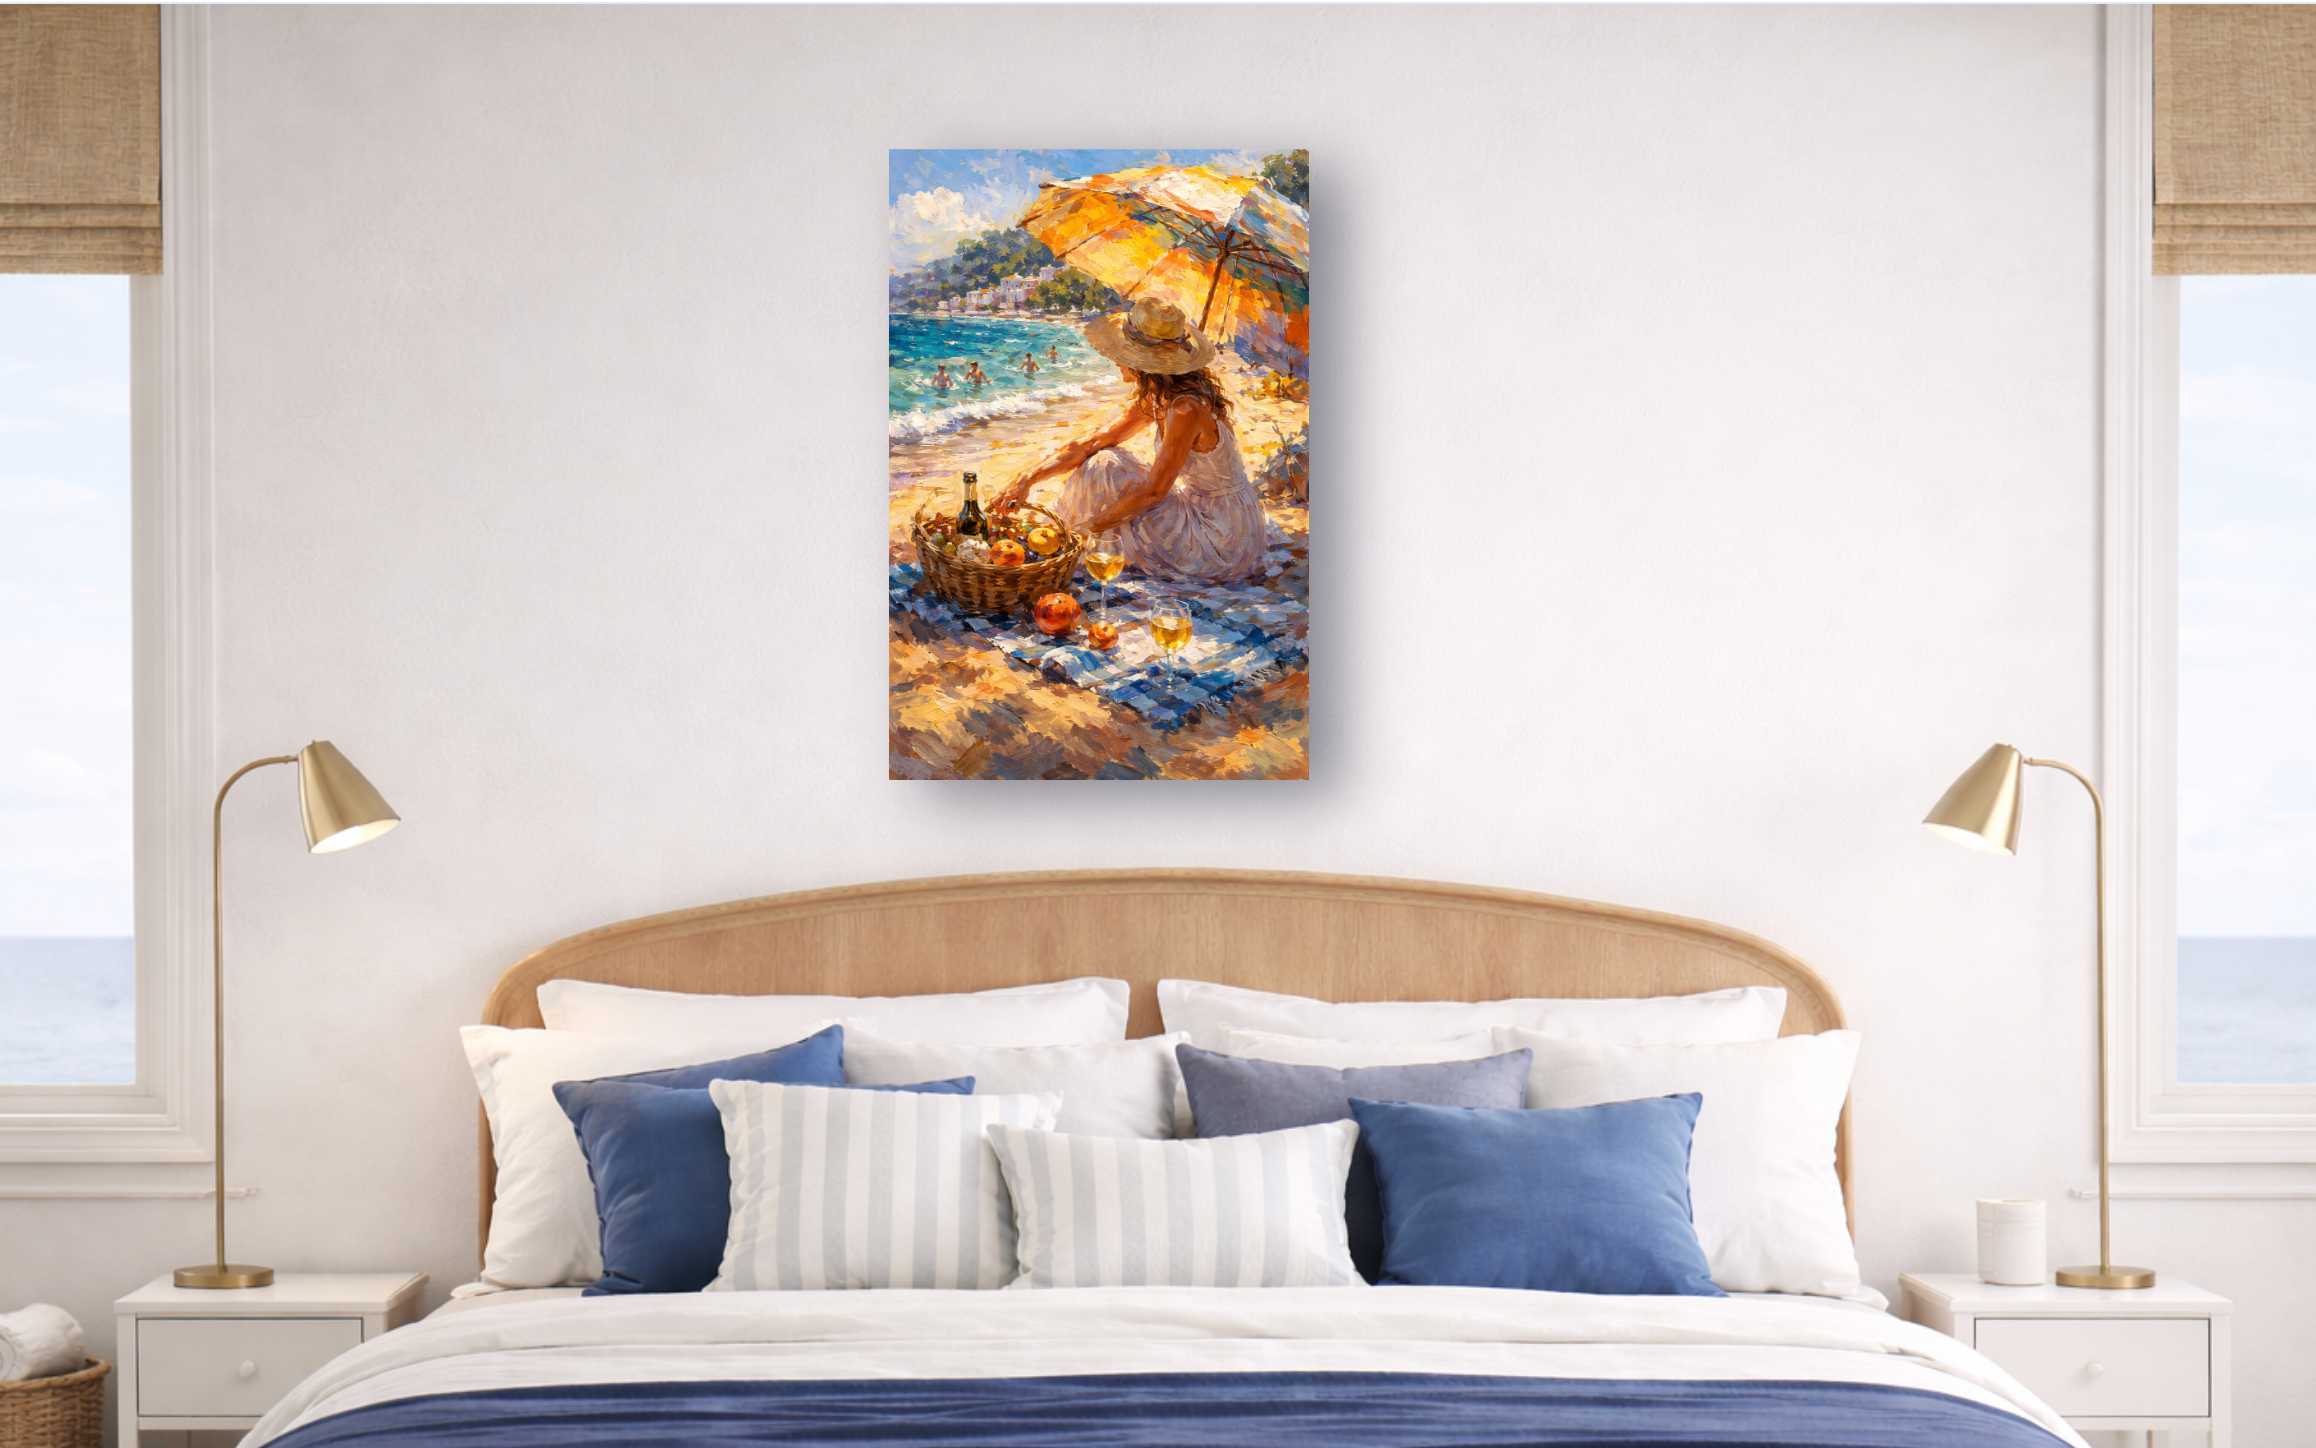
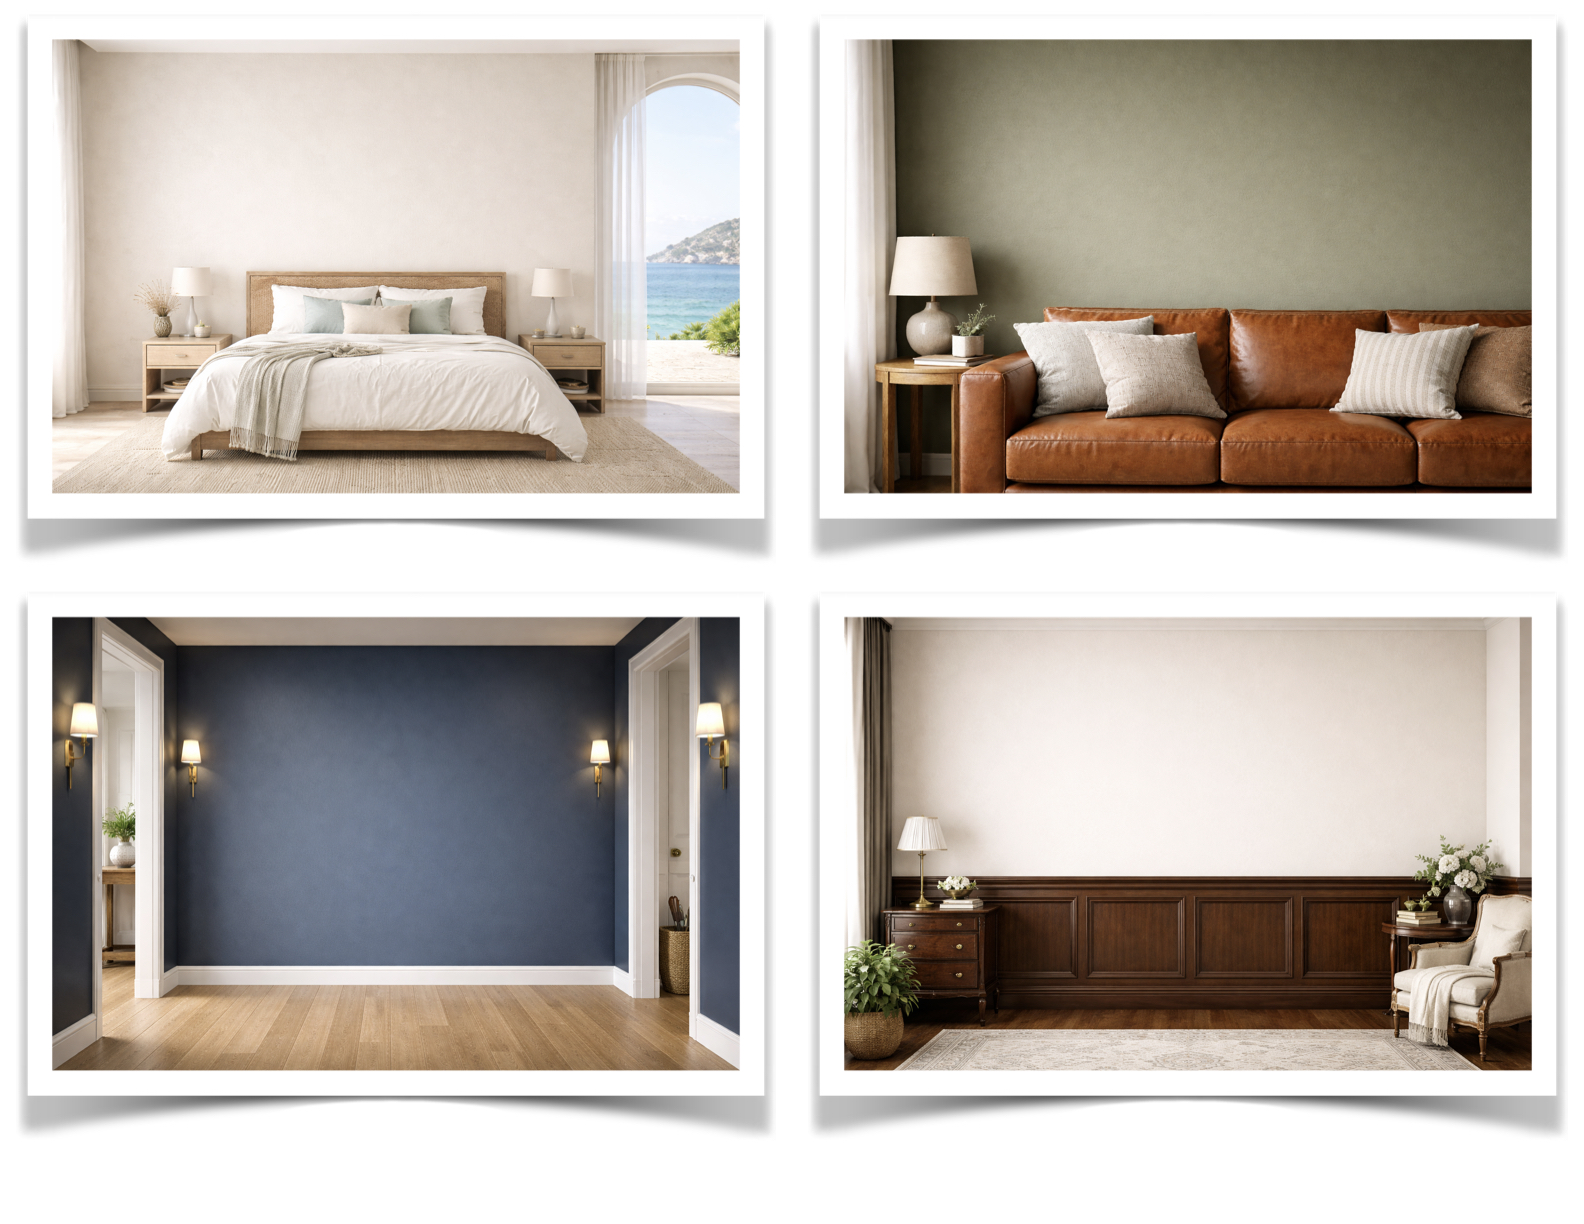
Pick the room for the buyer, not for your personal taste. A calm botanical print usually belongs in a bedroom, kitchen, or light living room. A bold abstract piece may need a larger wall and simpler furniture. A map, typography print, or photography print can work well in an office or hallway.
Keep your shop consistent. If every listing uses a different room style, the grid can look scattered. Choose 2 to 3 primary room scenes and reuse them across a collection.
You can build these quickly in the WallMockup editor. If your main channel is Etsy, pair this with the Etsy wall art mockups guide so your image set fits the marketplace.
Why does true scale matter in a mockup?
Scale is the trust point most sellers miss. If every print looks huge, buyers cannot tell the difference between an 8x10 and a 24x36. That may get a click, but it sets up disappointment.
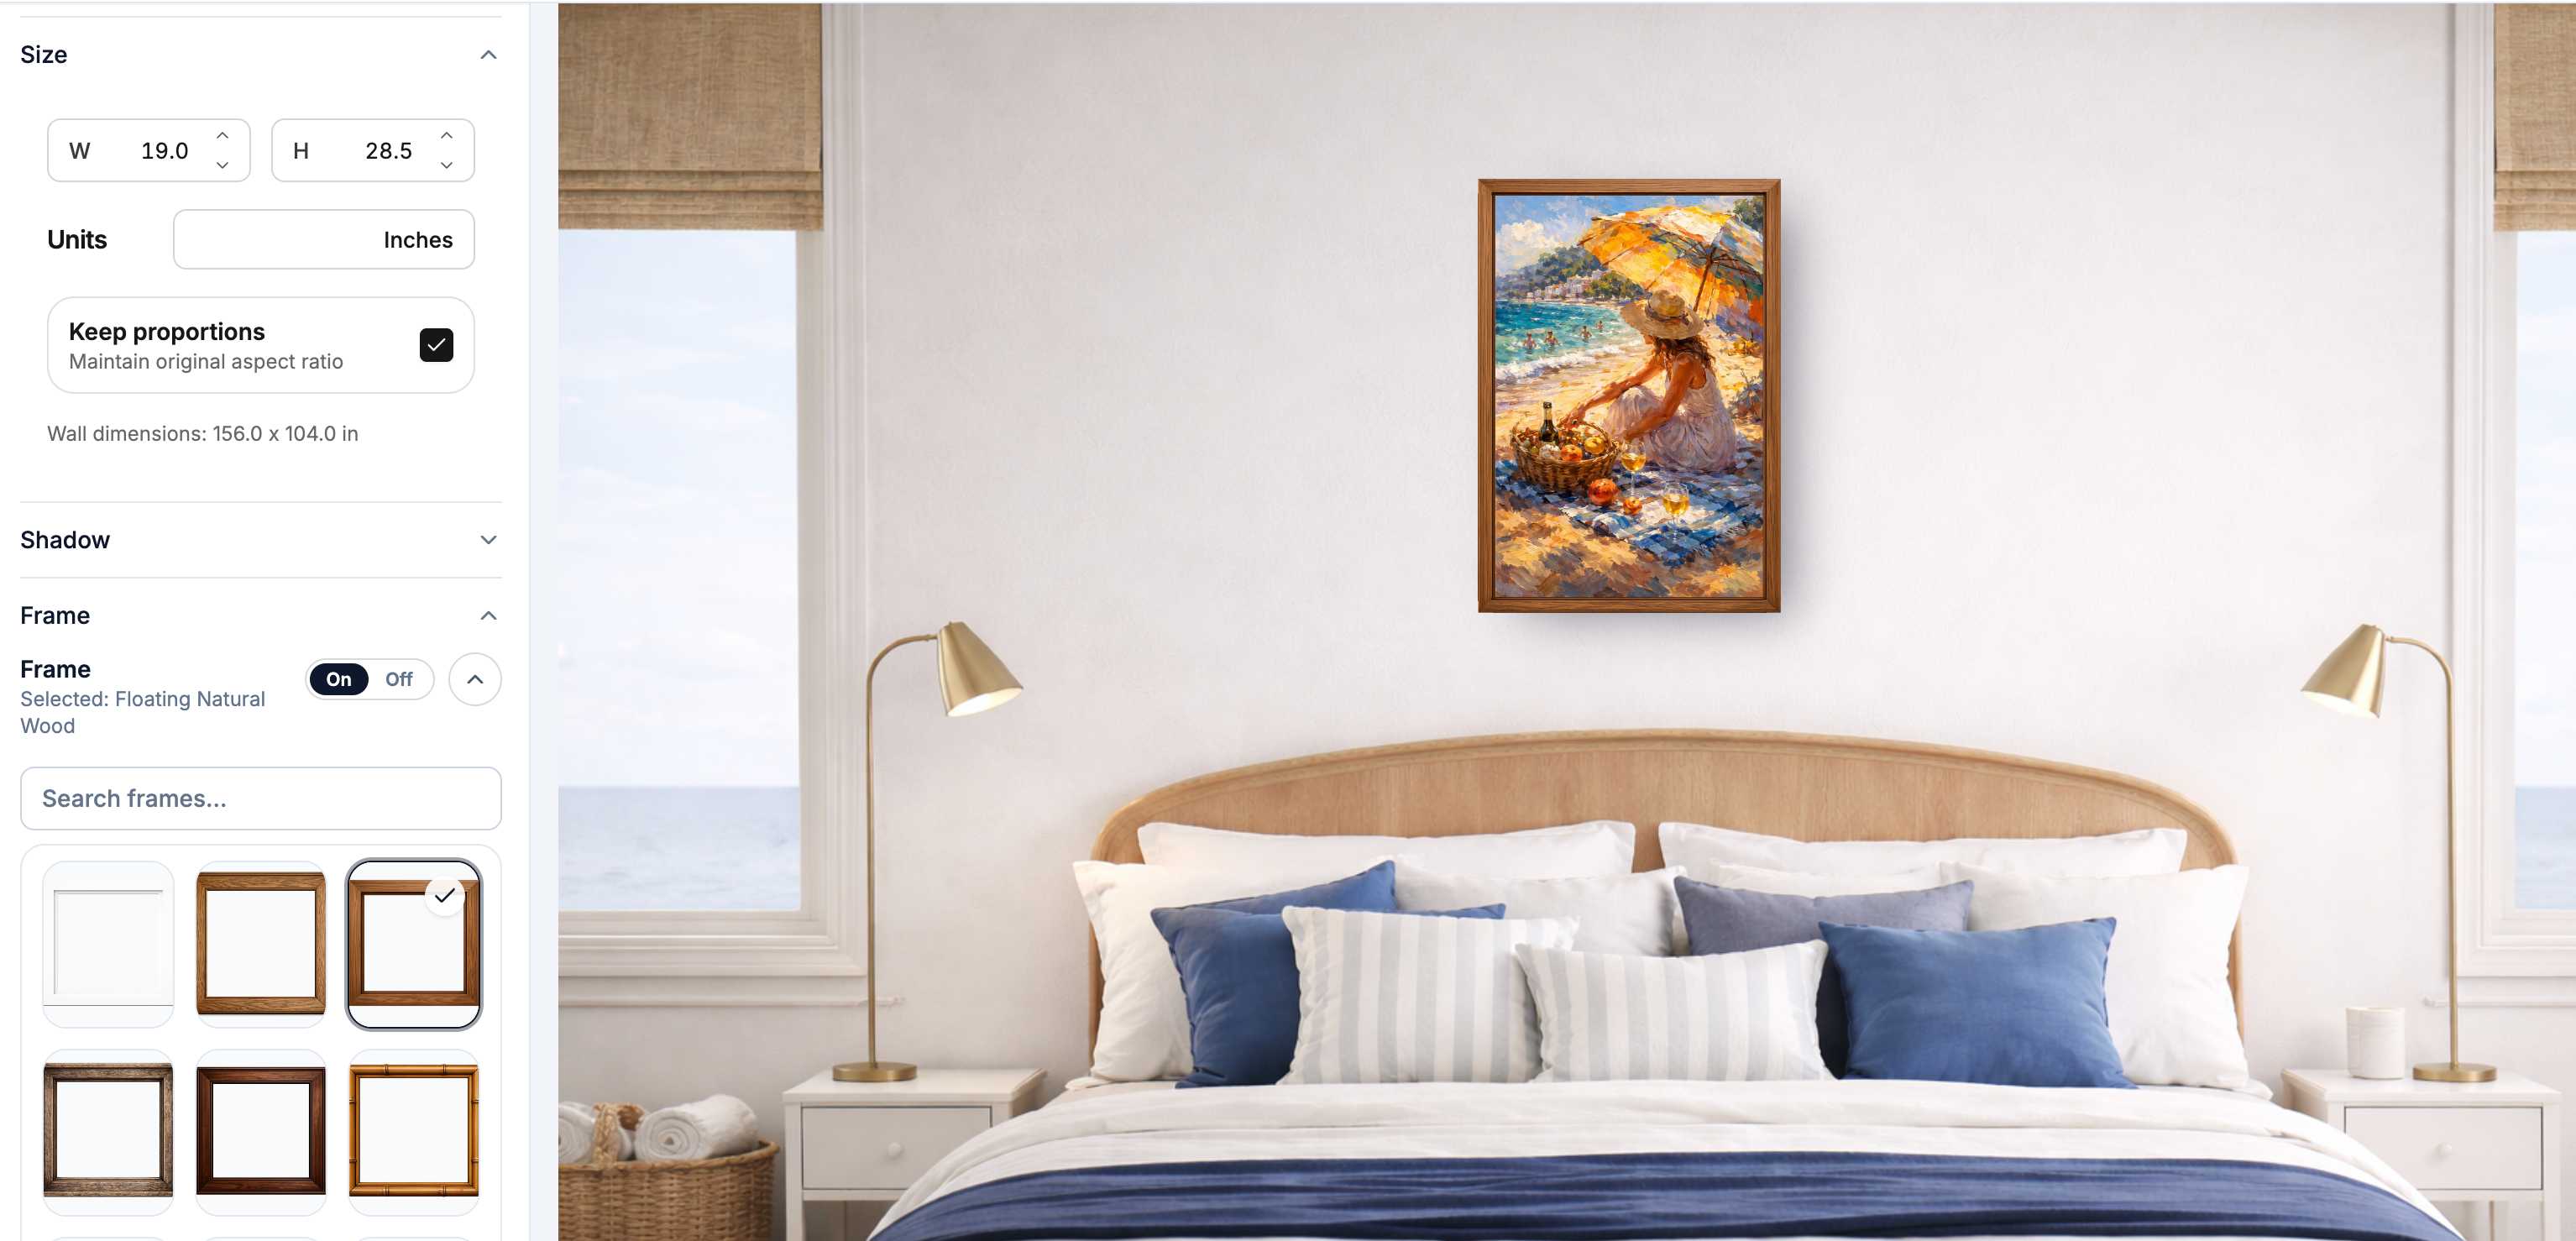
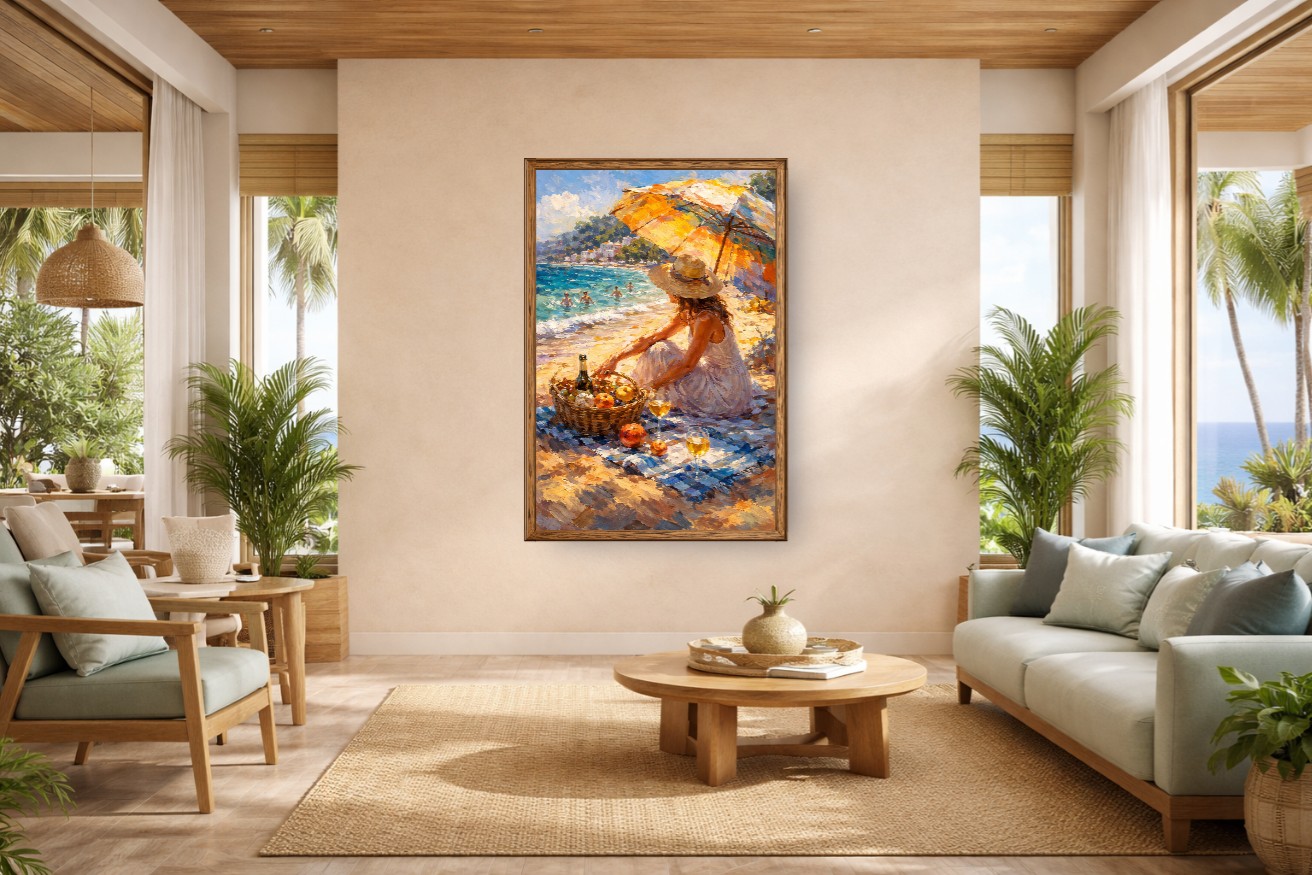
Set the mockup dimensions to the real size you sell. A 16x20 print should feel like a medium piece above furniture. A 24x36 poster should feel like a statement piece. A small 5x7 should look small unless it is part of a gallery wall.
A useful check: art above furniture often looks balanced at 60% to 75% of the furniture width. Use the wall art size calculator when you need a quick size recommendation.
How should you choose frames, mats, and shadows?
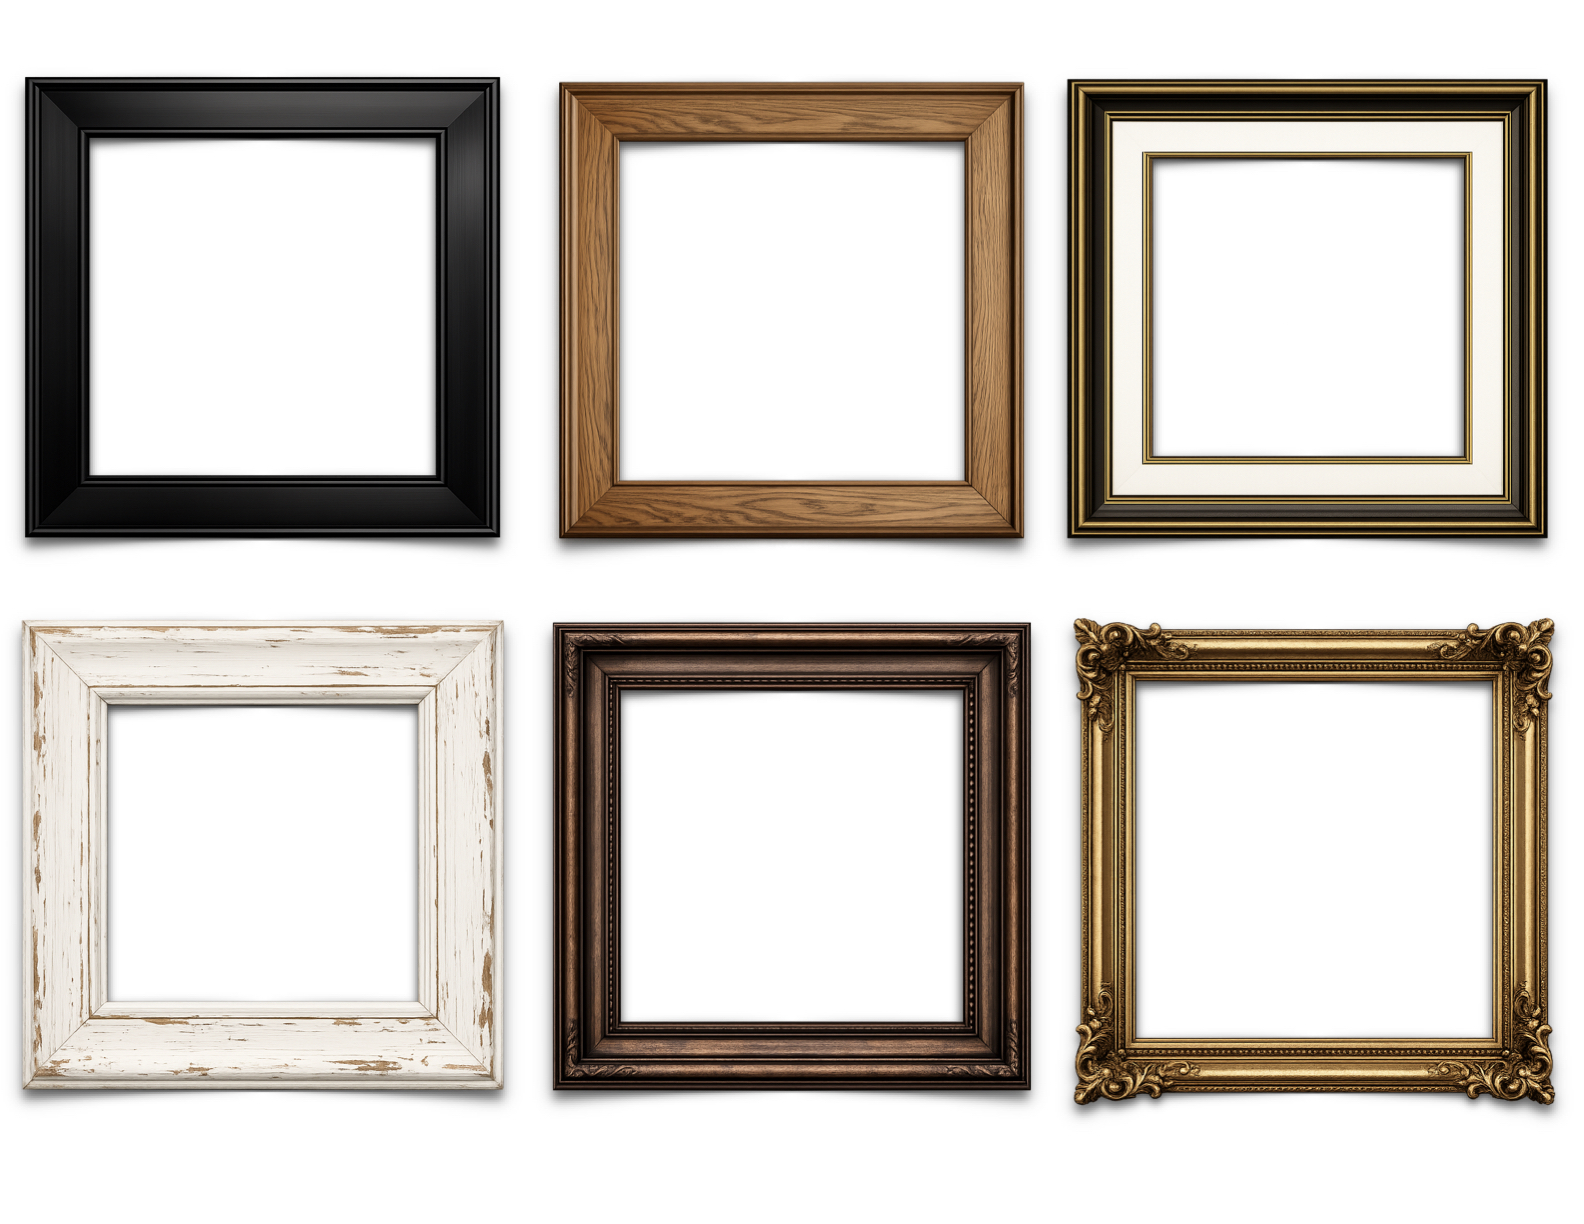
Frames should match the product or be clearly labeled as display-only. A black frame can make photography and modern work feel sharper. White keeps soft illustrations clean. Wood adds warmth. Gold can work for formal or vintage-inspired prints.
Mats help small prints feel more finished, but they change the visible size. If your product includes a mat, show it. If not, avoid making the mockup promise something the buyer will not receive.
Keep shadows subtle. A realistic shadow makes the frame feel attached to the wall. A heavy glow makes the artwork look pasted on.
What should you export for Etsy or Shopify?
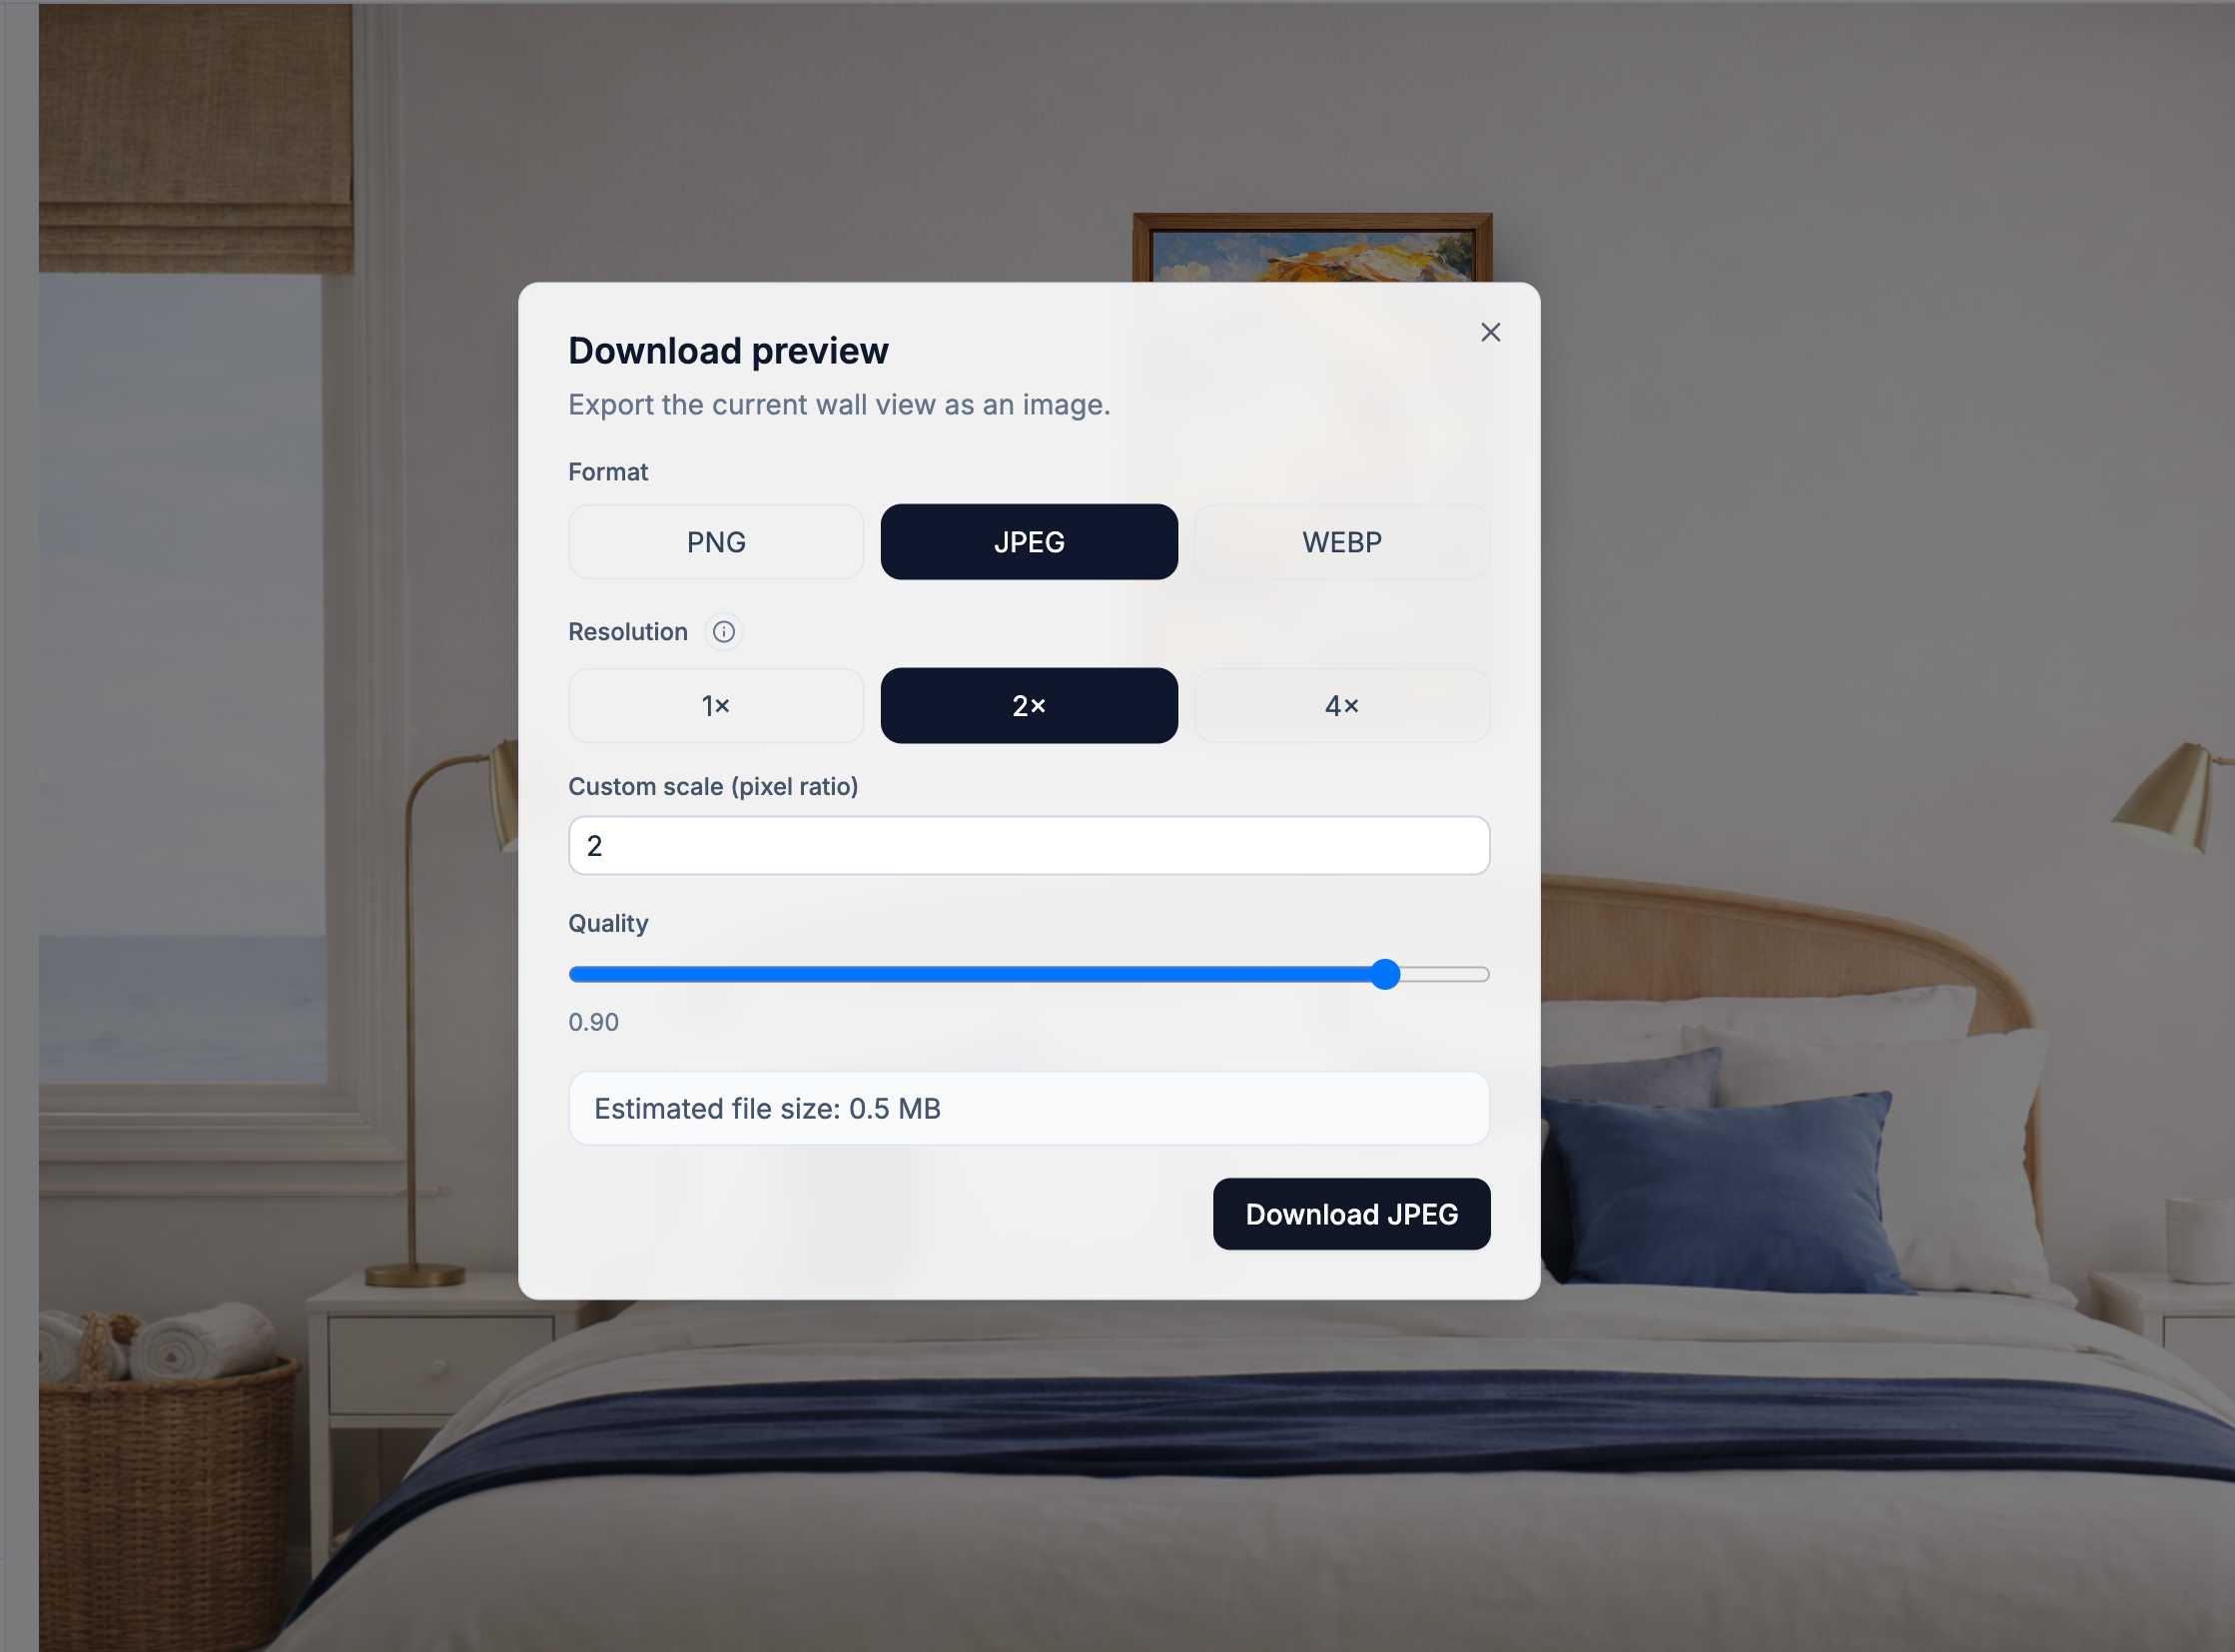
Export the clearest version your plan allows. Use PNG when you want clean detail. Use JPEG when file size matters and the platform compresses uploads anyway.
For an art listing, build a small set instead of one image:
- Hero room mockup for the first image.
- Close crop for artwork detail.
- Size-reference image for scale.
- Frame or mat detail if relevant.
- Alternate room view for buyer confidence.
The goal is not more images. The goal is fewer unanswered questions.
What mistakes make wall art mockups look fake?
The most common mistake is false scale. The second is false product presentation. If the listing sells an unframed print, do not lead with an image that makes the frame look included unless the listing image clearly says otherwise.
Busy rooms are another problem. If the buyer notices the sofa before the print, the mockup is doing too much. The room should support the artwork, not become the product.
Quick fake-check:
- Does the print size match the listing?
- Does the frame match what ships?
- Is the shadow believable?
- Does the image still read at thumbnail size?
Key Takeaways
- Prepare the final artwork file before opening the editor.
- Choose room scenes around the buyer and sales channel.
- Set the real print dimensions, not the most flattering size.
- Use frames, mats, and shadows honestly.
- Export a small image set that answers buyer questions.
FAQ
What is a wall art mockup generator?
A wall art mockup generator places your artwork into a realistic room or wall scene so you can create listing images without photographing the finished print.
Do I need Photoshop to make wall art mockups?
No. A browser-based editor like WallMockup lets you upload artwork, choose a room, set dimensions, add frames, and export without a PSD template.
What size should my wall art mockup show?
Show the real size you sell. If the listing is 16x20, enter 16x20 so the mockup matches buyer expectations.
How many mockups should I create for one listing?
Create 3 to 5 useful images: a hero room image, close-up, size reference, frame detail, and alternate context.
Need more than one mockup?
The steps above cover one mockup at a time, which is the right starting point. If you sell the same print in multiple sizes or frame options, repeating this workflow for every combination gets slow fast. A bulk mockup generator uploads the artwork once and generates every room-and-frame combination in a single pass, instead of rebuilding the mockup from scratch for each variant.
Create your first mockup
Open the wall art mockup generator, upload one finished artwork file, and build a true-to-scale hero image first. Once that image works, create the supporting views for your listing.
See also: The Complete Guide to Wall Art Mockups for how mockup creation fits into sizing, hanging, and selling.