Hanging wall art looks simple until you are standing on a chair with a pencil, second-guessing the height. Hang a piece too high and the room feels disconnected; too low and it looks like an afterthought. The good news: a handful of reliable rules cover almost every situation, and you can plan the whole thing before you pick up a hammer.
The standard height: center at 57 inches
The single most useful rule in art hanging is to position a piece so its center sits about 57 inches (145 cm) from the floor. That number matches average eye level and is the same standard galleries and museums use, which is why art hung this way instantly looks intentional.
To find the nail position, take the height of your frame, divide by two, and add it to 57 inches. Then subtract the distance from the top of the frame to the hanging wire or hook when it is pulled taut. That gives you the exact spot to put the nail so the center lands at 57 inches.
How high to hang art above furniture
When art hangs above a sofa, bed, or console, eye level matters less than the relationship to the furniture. Leave a gap of roughly 6 to 10 inches between the top of the furniture and the bottom of the frame so the two read as a group rather than two separate things.
Size matters here too. A single piece or arrangement should span about 60 to 75 percent of the furniture width below it. Over an 84-inch sofa, that means art roughly 50 to 63 inches wide. If you are not sure what size to buy or print, the wall art size calculator turns your furniture width into an exact recommended artwork size and hanging height.
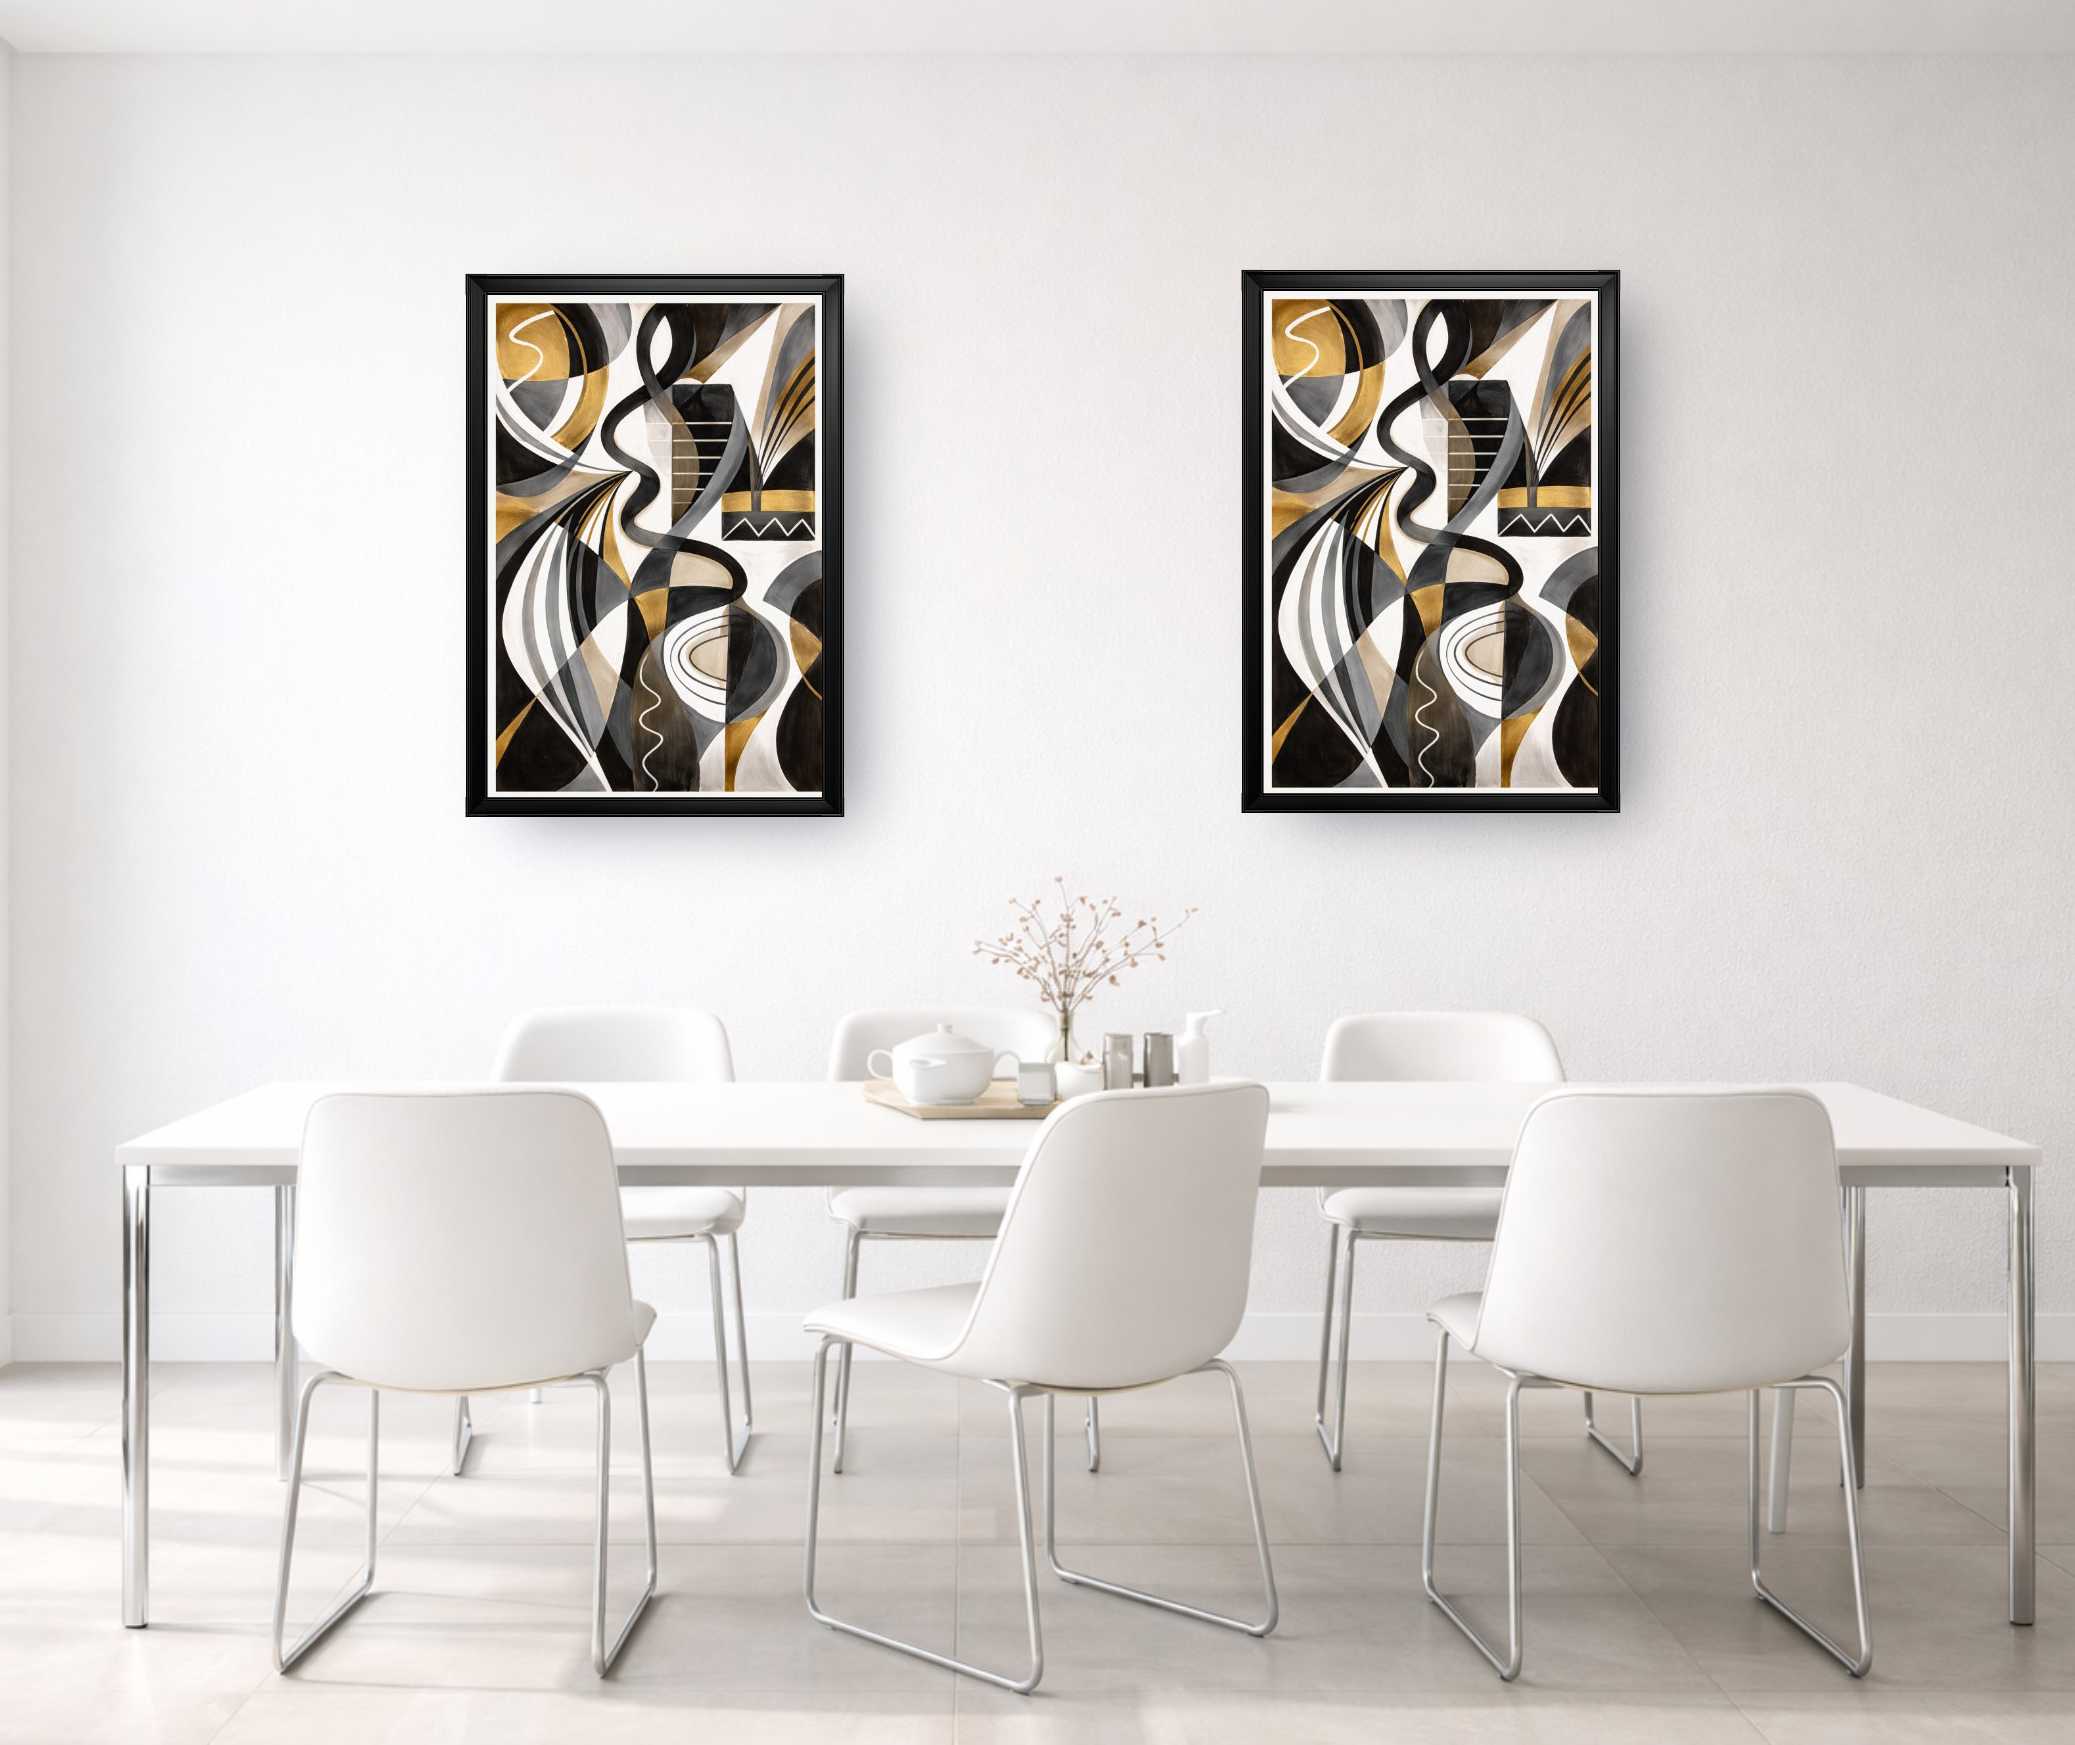
Spacing between frames
When you hang more than one frame, consistent spacing is what separates a polished wall from a messy one. Keep an even 2 to 3 inches (5 to 8 cm) between frames. Tighter spacing reads as one cohesive piece; wider spacing feels more relaxed. The rule that matters most is to keep the gap identical on every side.
Planning a gallery wall
A gallery wall is just a grid or cluster of frames treated as a single composition. Decide on your frames first, then arrange them so the whole grouping is centered at 57 inches. The trick is to plan the footprint before you drill: lay the frames out on the floor, or cut paper templates and tape them to the wall to test the layout.
To skip the guesswork, the gallery wall layout planner takes your wall width, frame count, and frame size and returns a balanced arrangement with exact spacing and total size. For mixed or non-standard frames, check the frame size chart so your sizes work together.
Hardware and leveling
Use hardware rated for the weight of your piece. For lightweight prints, a single nail or picture hook is fine; heavier framed art benefits from two hooks spaced apart, which also keeps the frame from tilting over time. Always check level with a small spirit level or a phone app, and measure twice before committing.
Preview before you commit
The most expensive mistake in hanging art is buying or printing the wrong size and only realizing once it is on the wall. Before you commit, preview the piece at its real dimensions in a room scene using WallMockup. You can compare sizes, frames, and placement against a realistic wall and avoid the holes you would rather not patch.
Quick reference
- Center single pieces at 57 inches (145 cm) from the floor.
- Leave 6 to 10 inches between furniture and the bottom of the frame.
- Span 60 to 75 percent of the furniture width below the art.
- Keep an even 2 to 3 inches between frames in a group.
- Plan the layout on paper or with a planner before drilling.