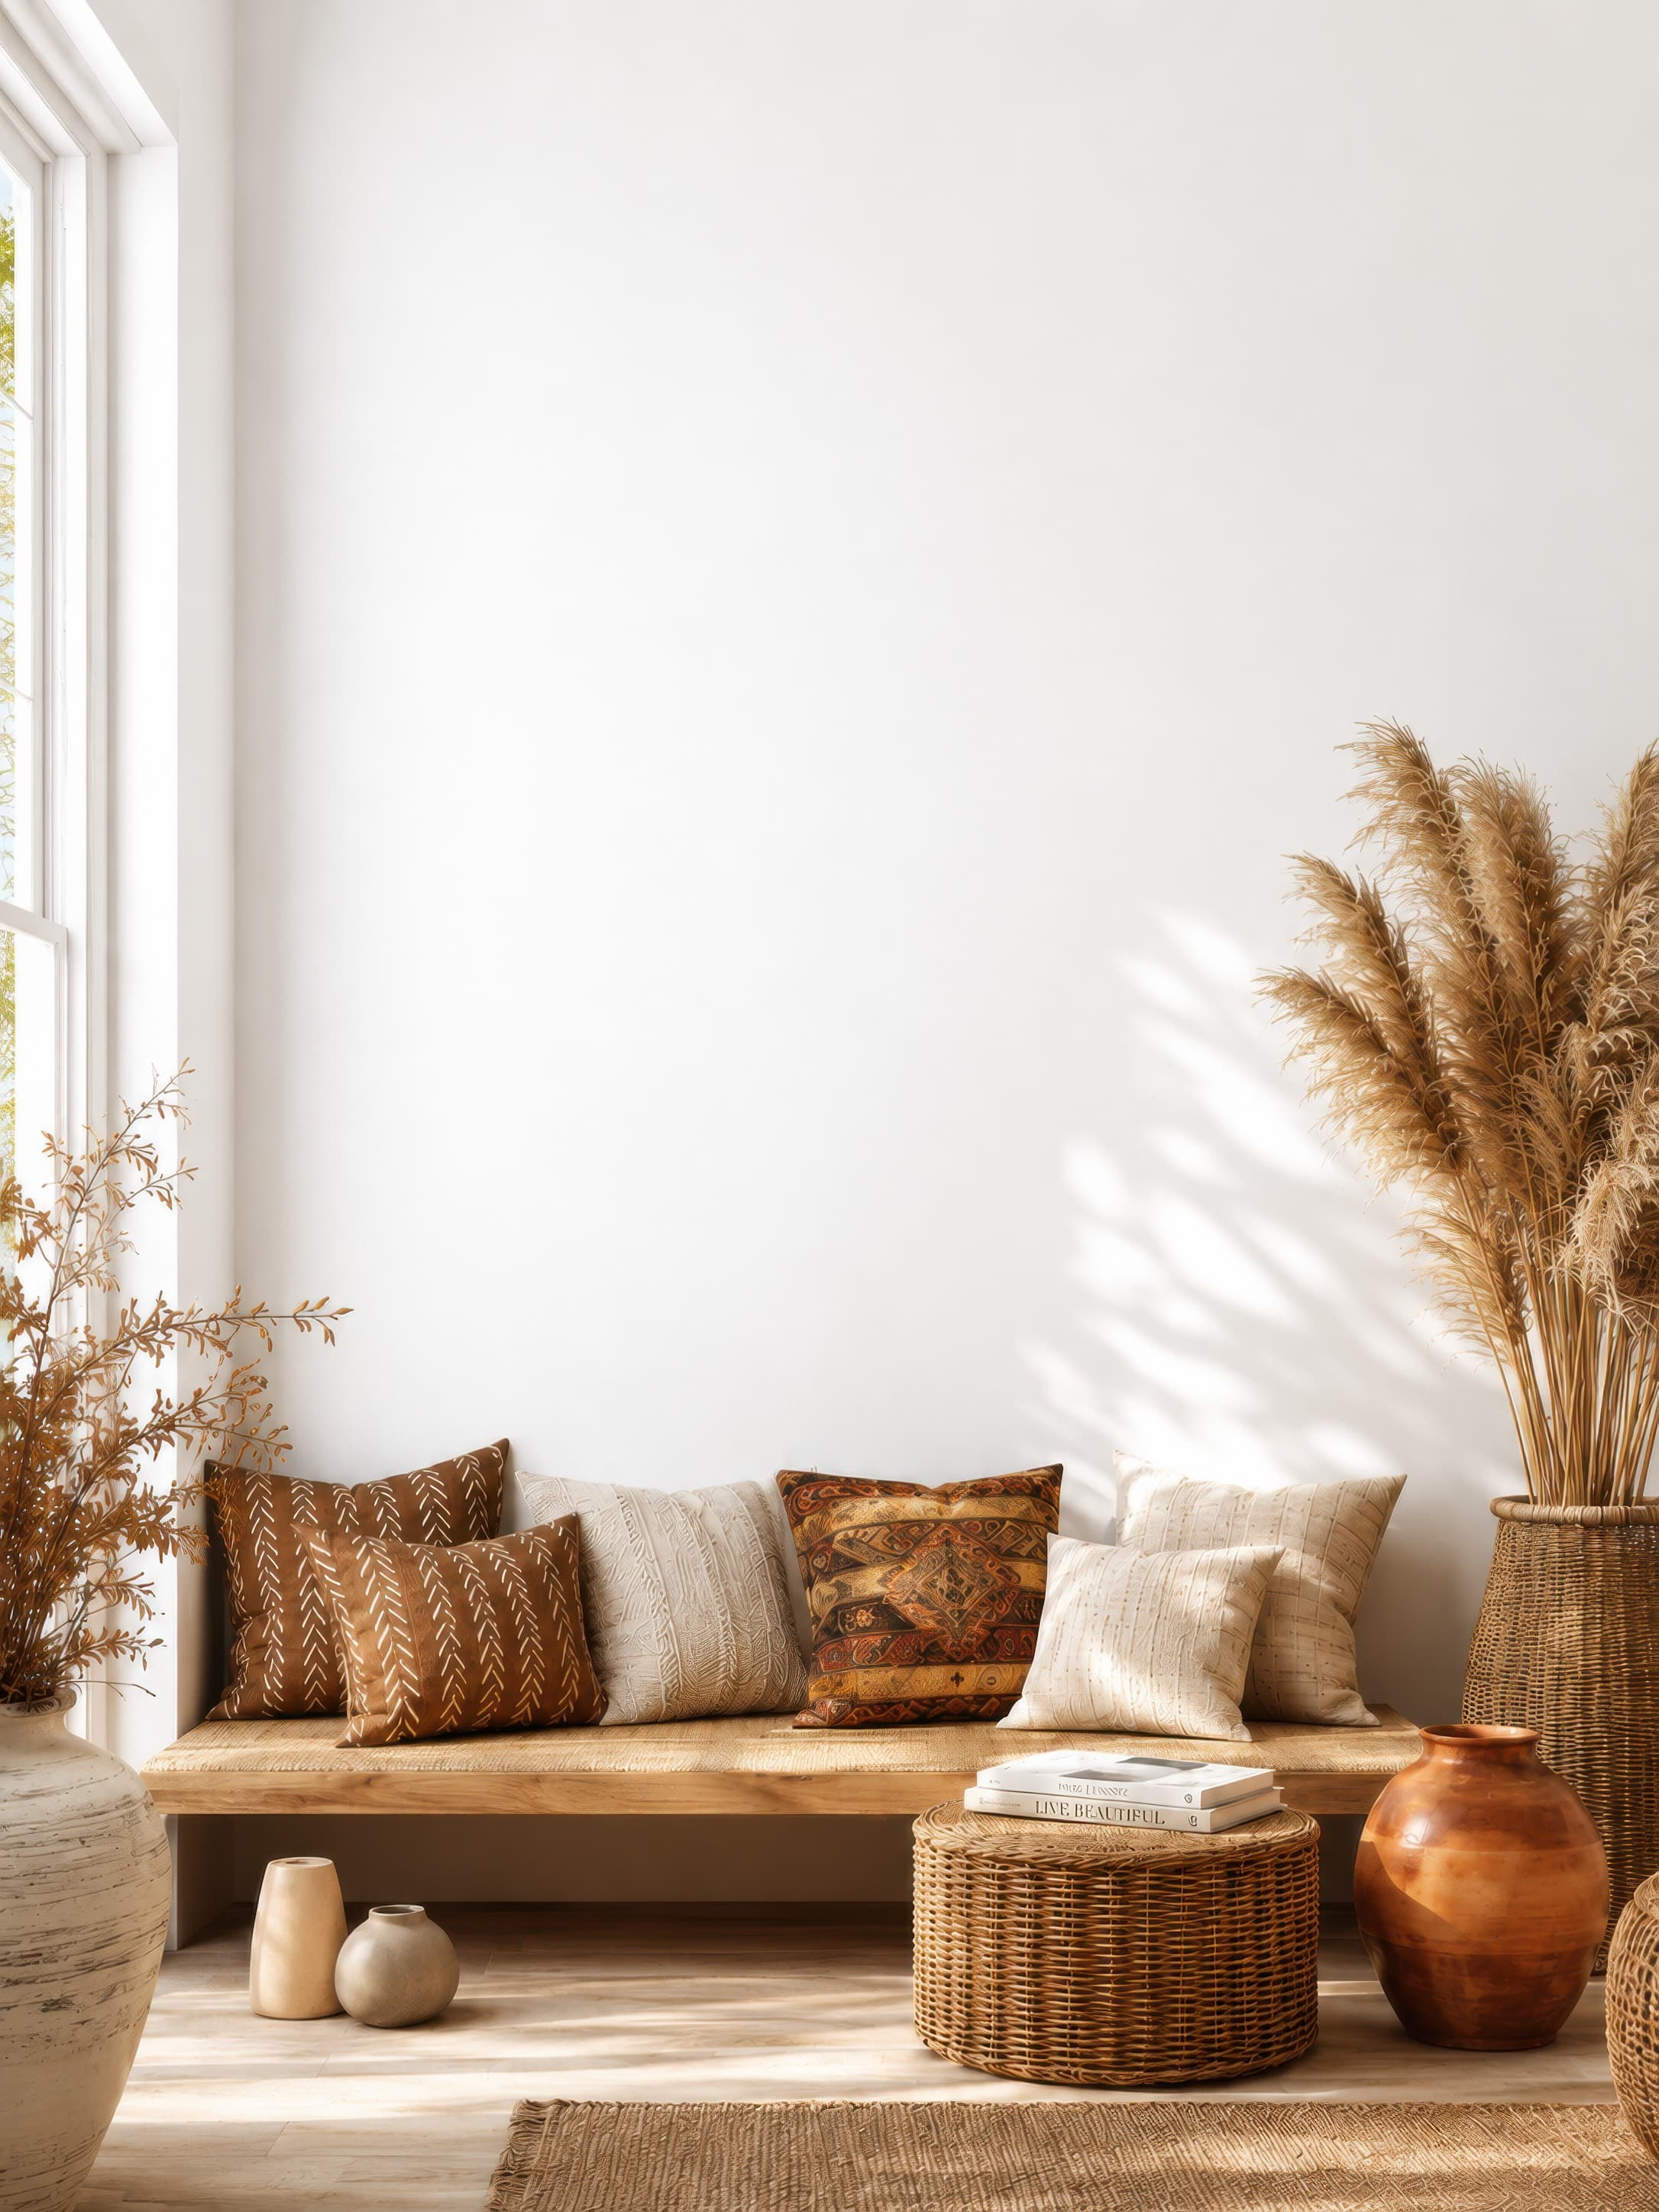
Room pick 1
Bright bohemian living room nook with a clean white wall above a wooden bench, woven textures, and pampas grass
Calibrated wall reference: 83.1 × 110.8 in (211 × 281 cm)
Try this room in the editor
Canvas mockups
WallMockup can present the front face of a canvas at its real dimensions in a room. The current editor does not render gallery-wrap side edges or a dedicated floating-frame construction, so use these views to communicate room scale and create separate product photography or detail imagery for depth and edge finish.
Exact room opens in the editor · 247 compatible presets · PNG, JPG, and WEBP export
Best for
Inspiration of use
These generated inspiration examples use the same top-ranked WallMockup rooms available below. Compare the scale, frame, and layout choices, then open the matching blank room to replace the example art with your own.
24 × 36 in / 61 × 91 cm canvas face · front-on view
The unframed face shows the room-scale decision without pretending to reveal the canvas wrap or side depth.
Try this exact room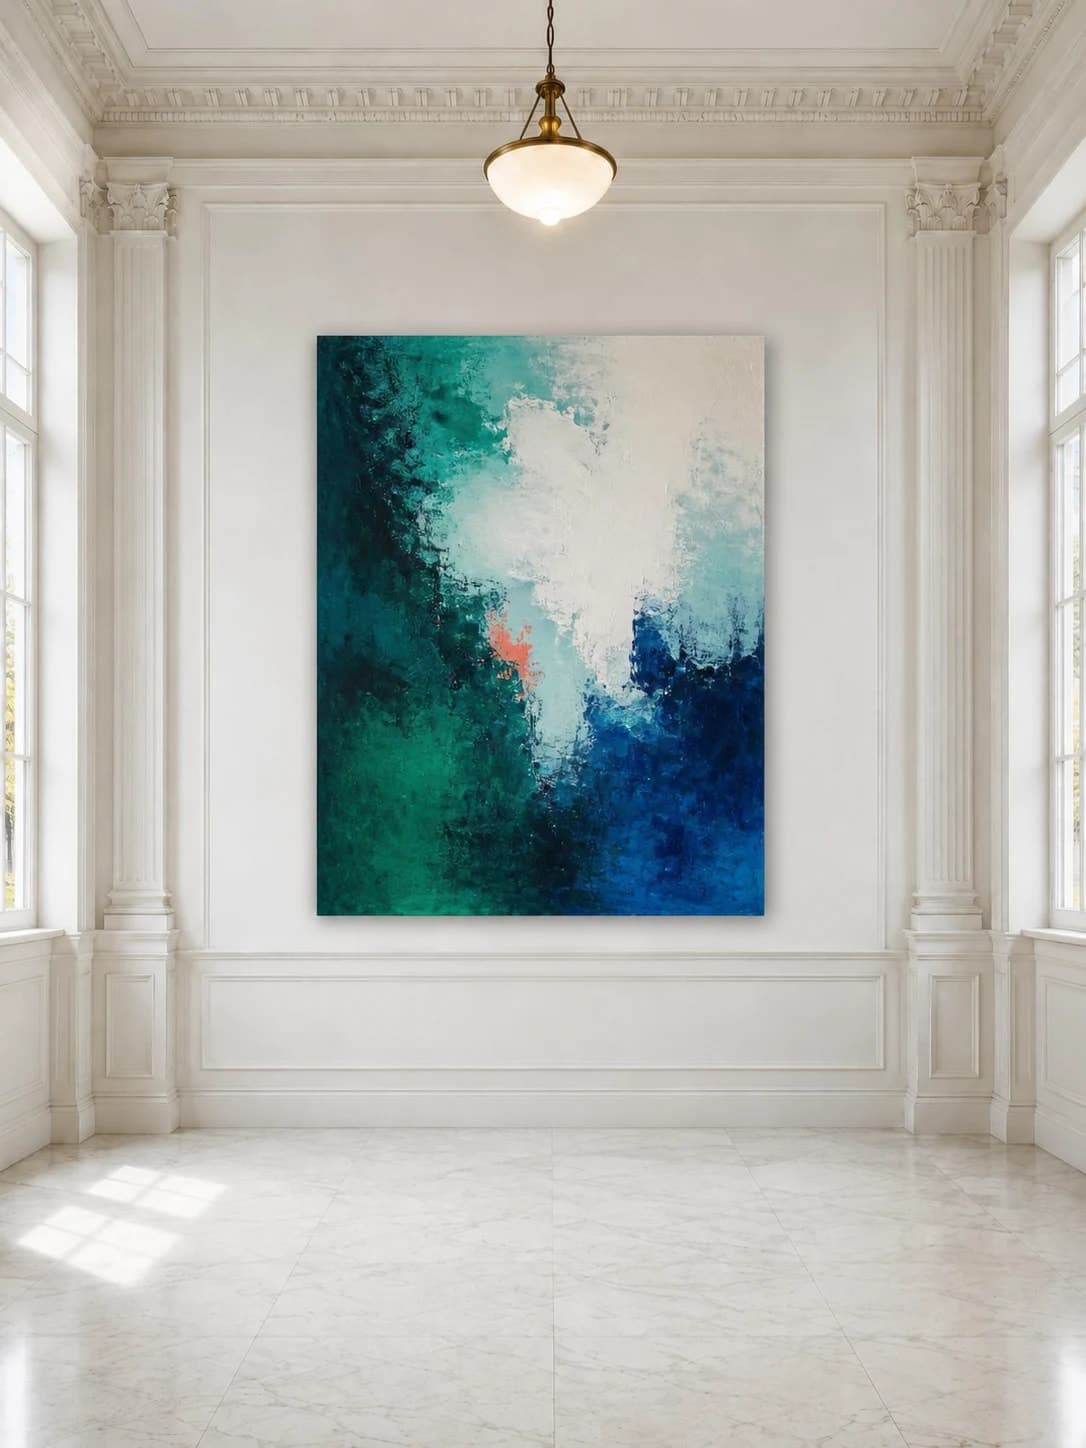
36 × 48 in / 91 × 122 cm canvas face · front-on view
The architectural surround makes the 36 × 48 scale clear while the image remains an honest front-on visualization.
Try this exact room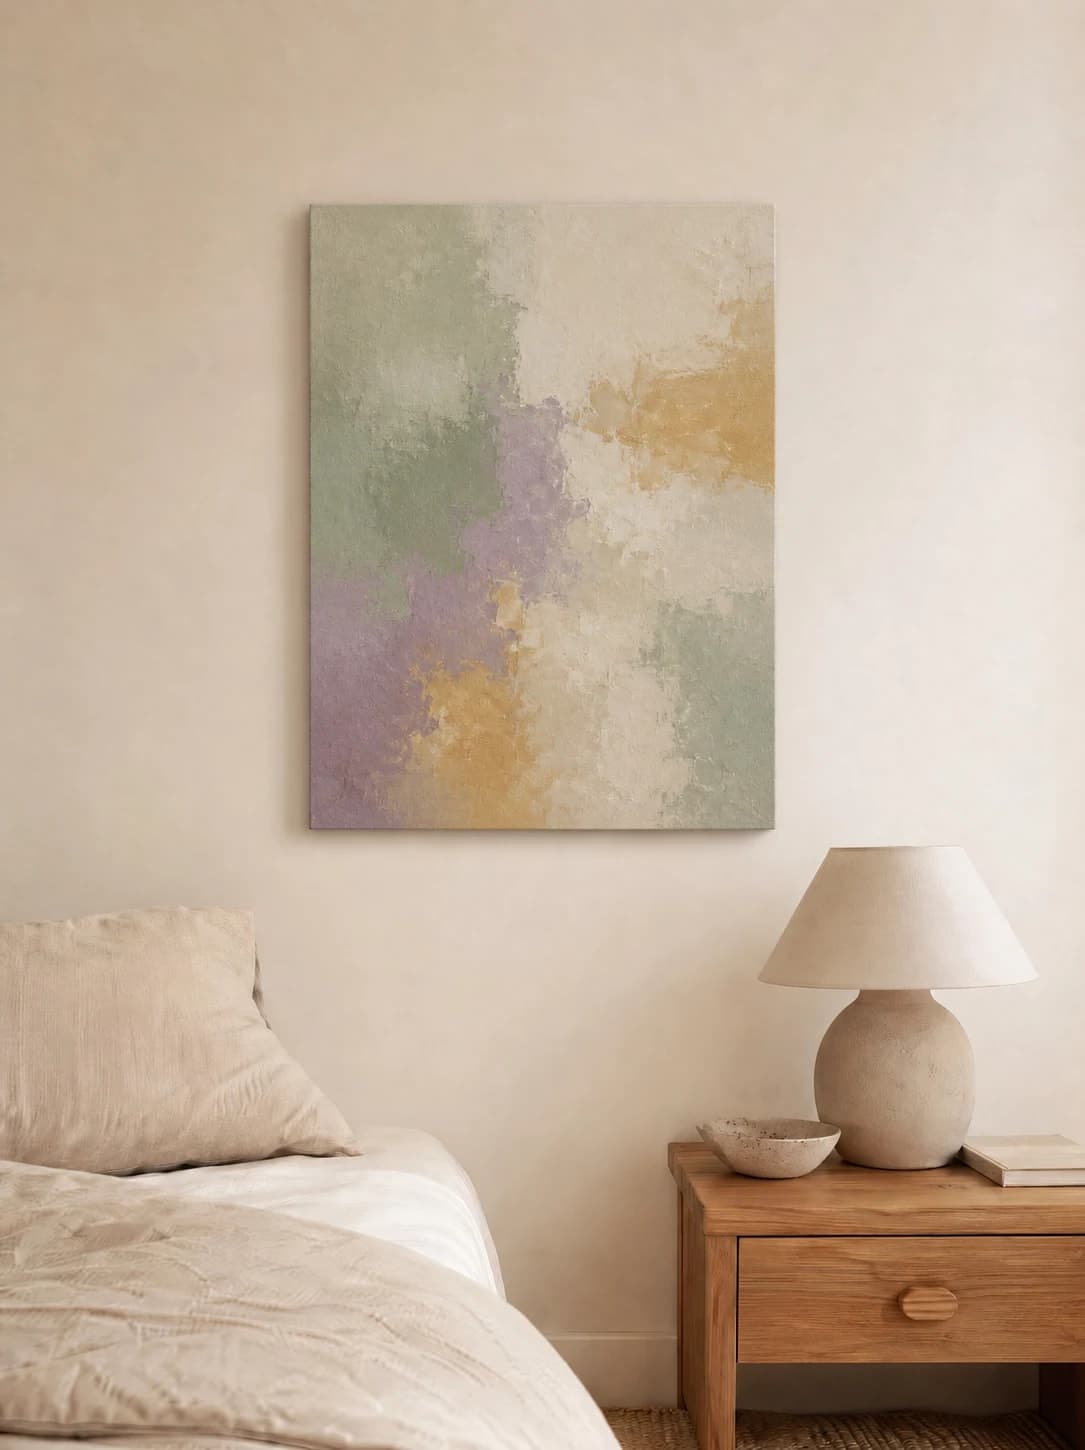
18 × 24 in / 46 × 61 cm canvas face · front-on view
Soft color and a restrained contact shadow keep the canvas present without implying a frame or floating-frame construction.
Try this exact roomChosen from real usage
These are the highest completed-download presets in three useful canvas contexts: residential, exhibition, and bedroom. Use them for front-on scale and context, not as proof of a wrap edge or floating-frame gap.
Room pick 1
Calibrated wall reference: 83.1 × 110.8 in (211 × 281 cm)
Try this room in the editor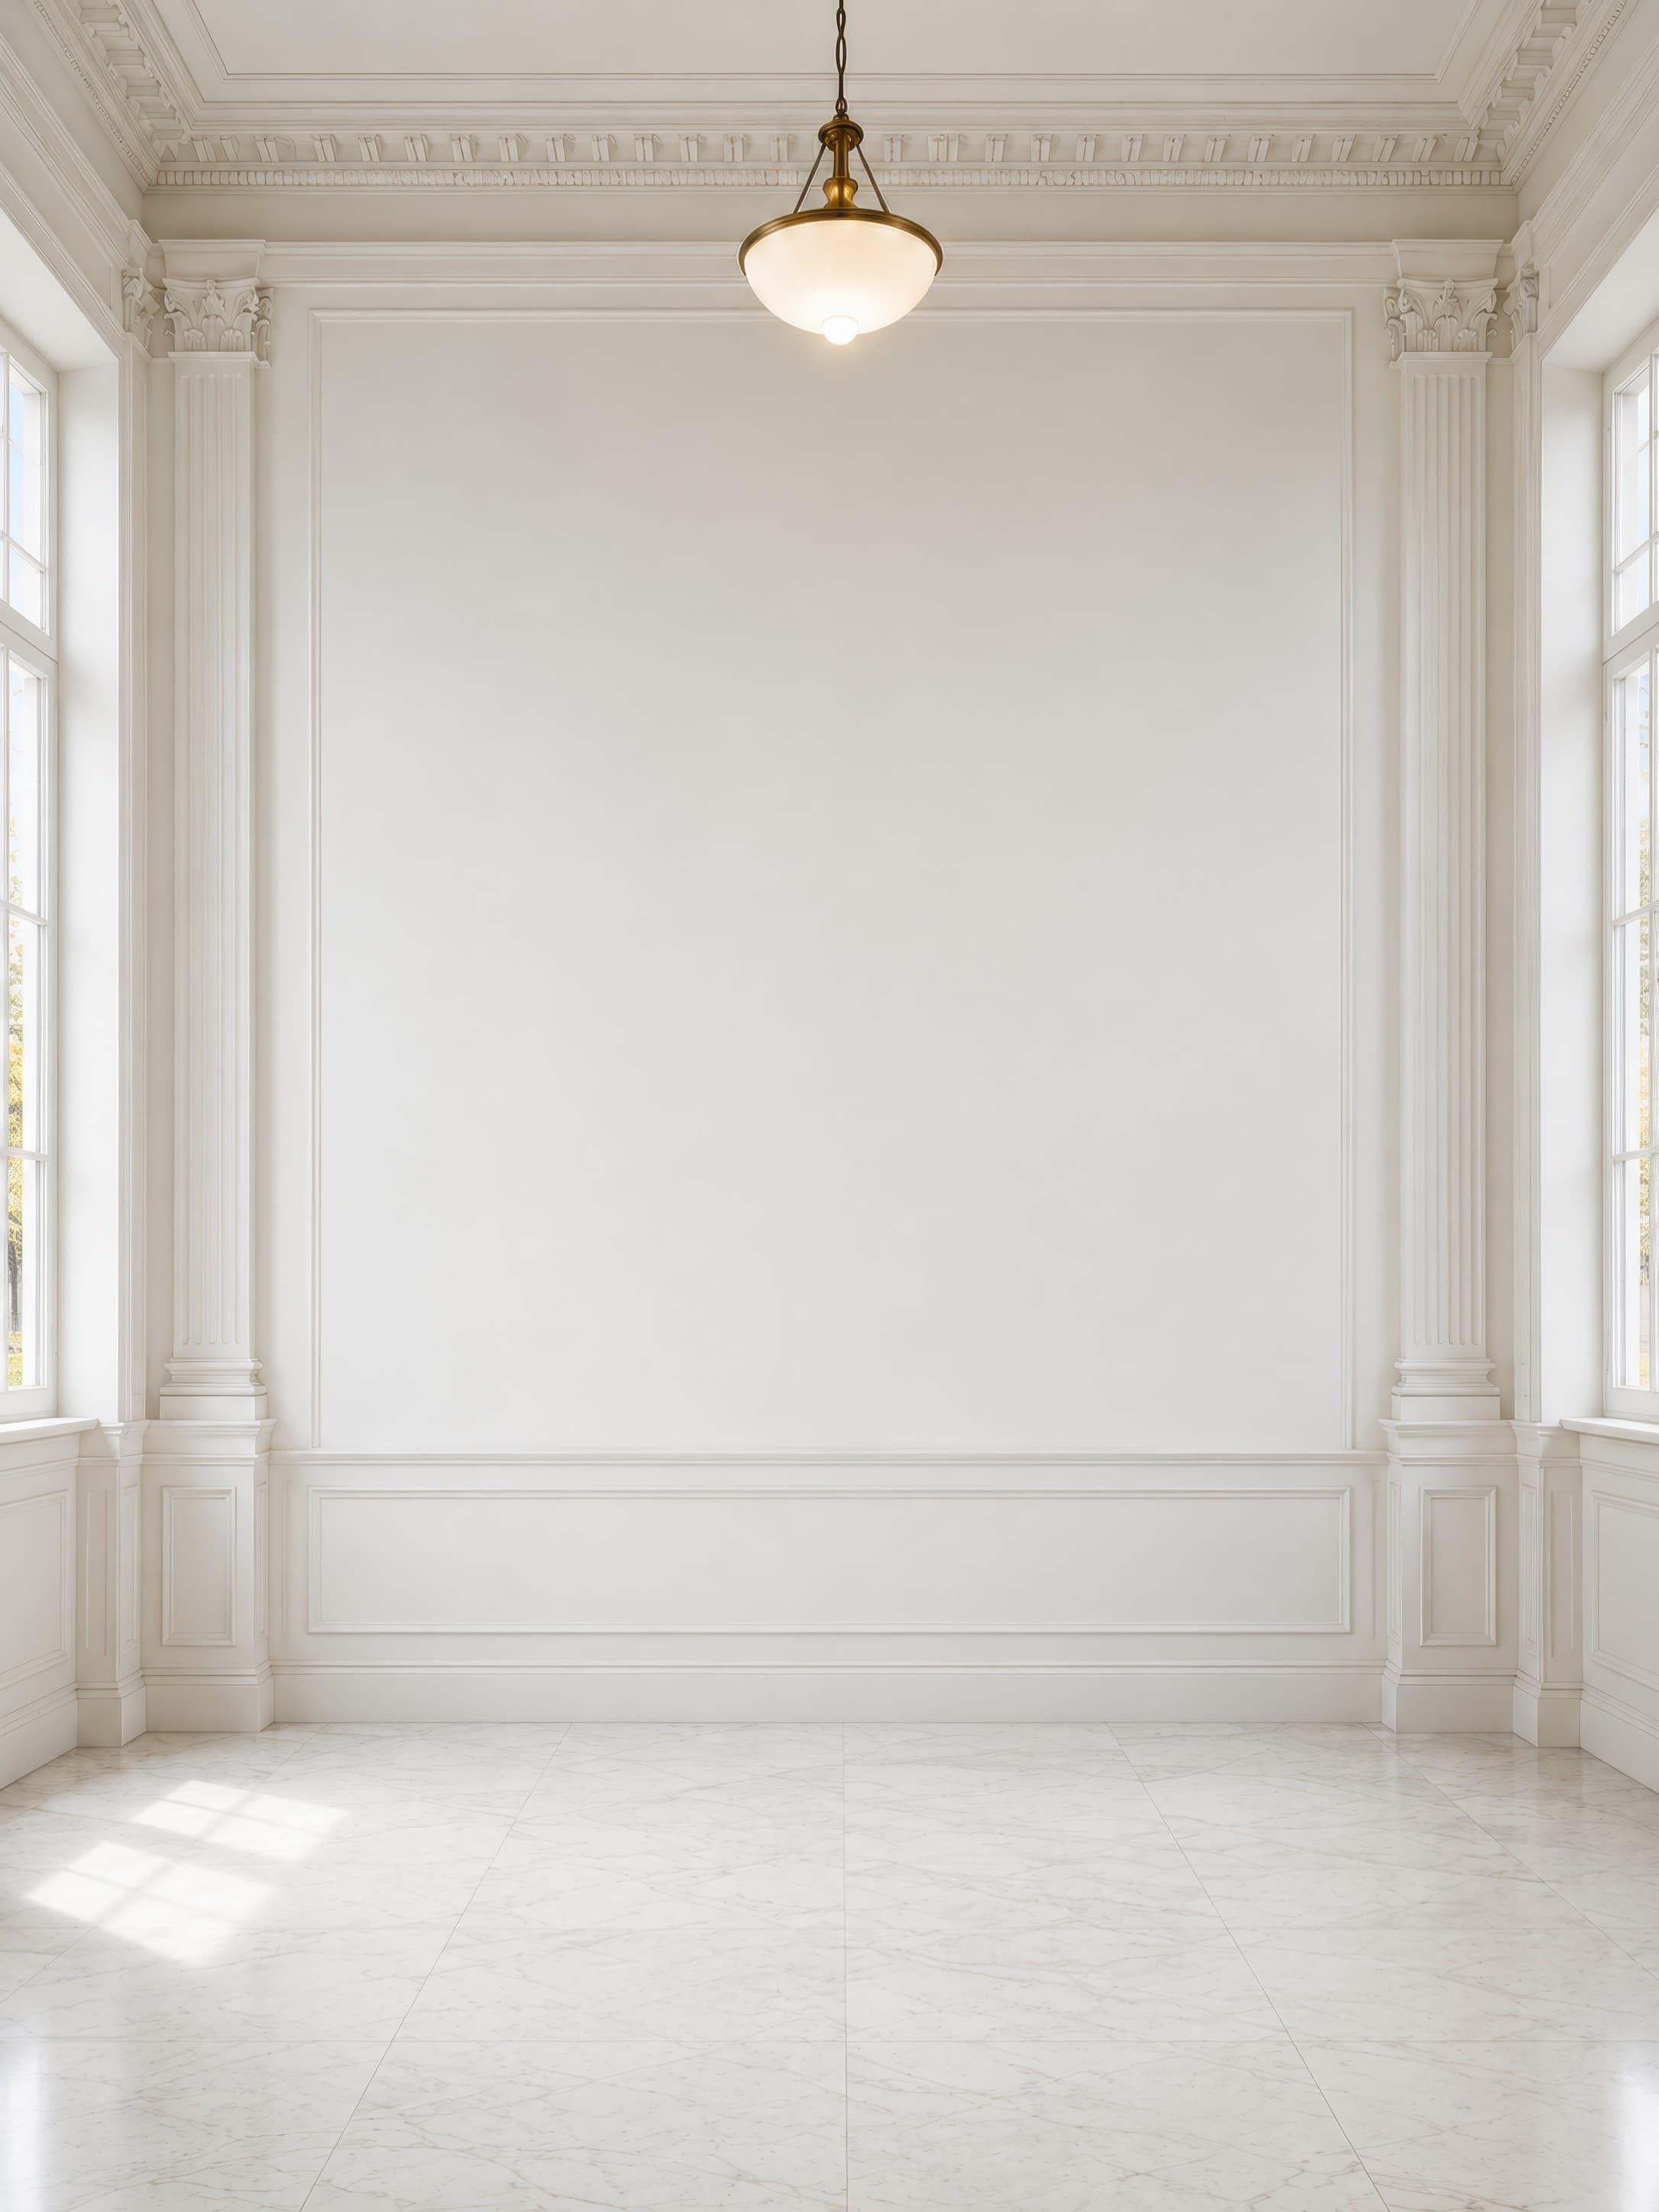
Room pick 2
Calibrated wall reference: 120.1 × 160.1 in (305 × 407 cm)
Try this room in the editor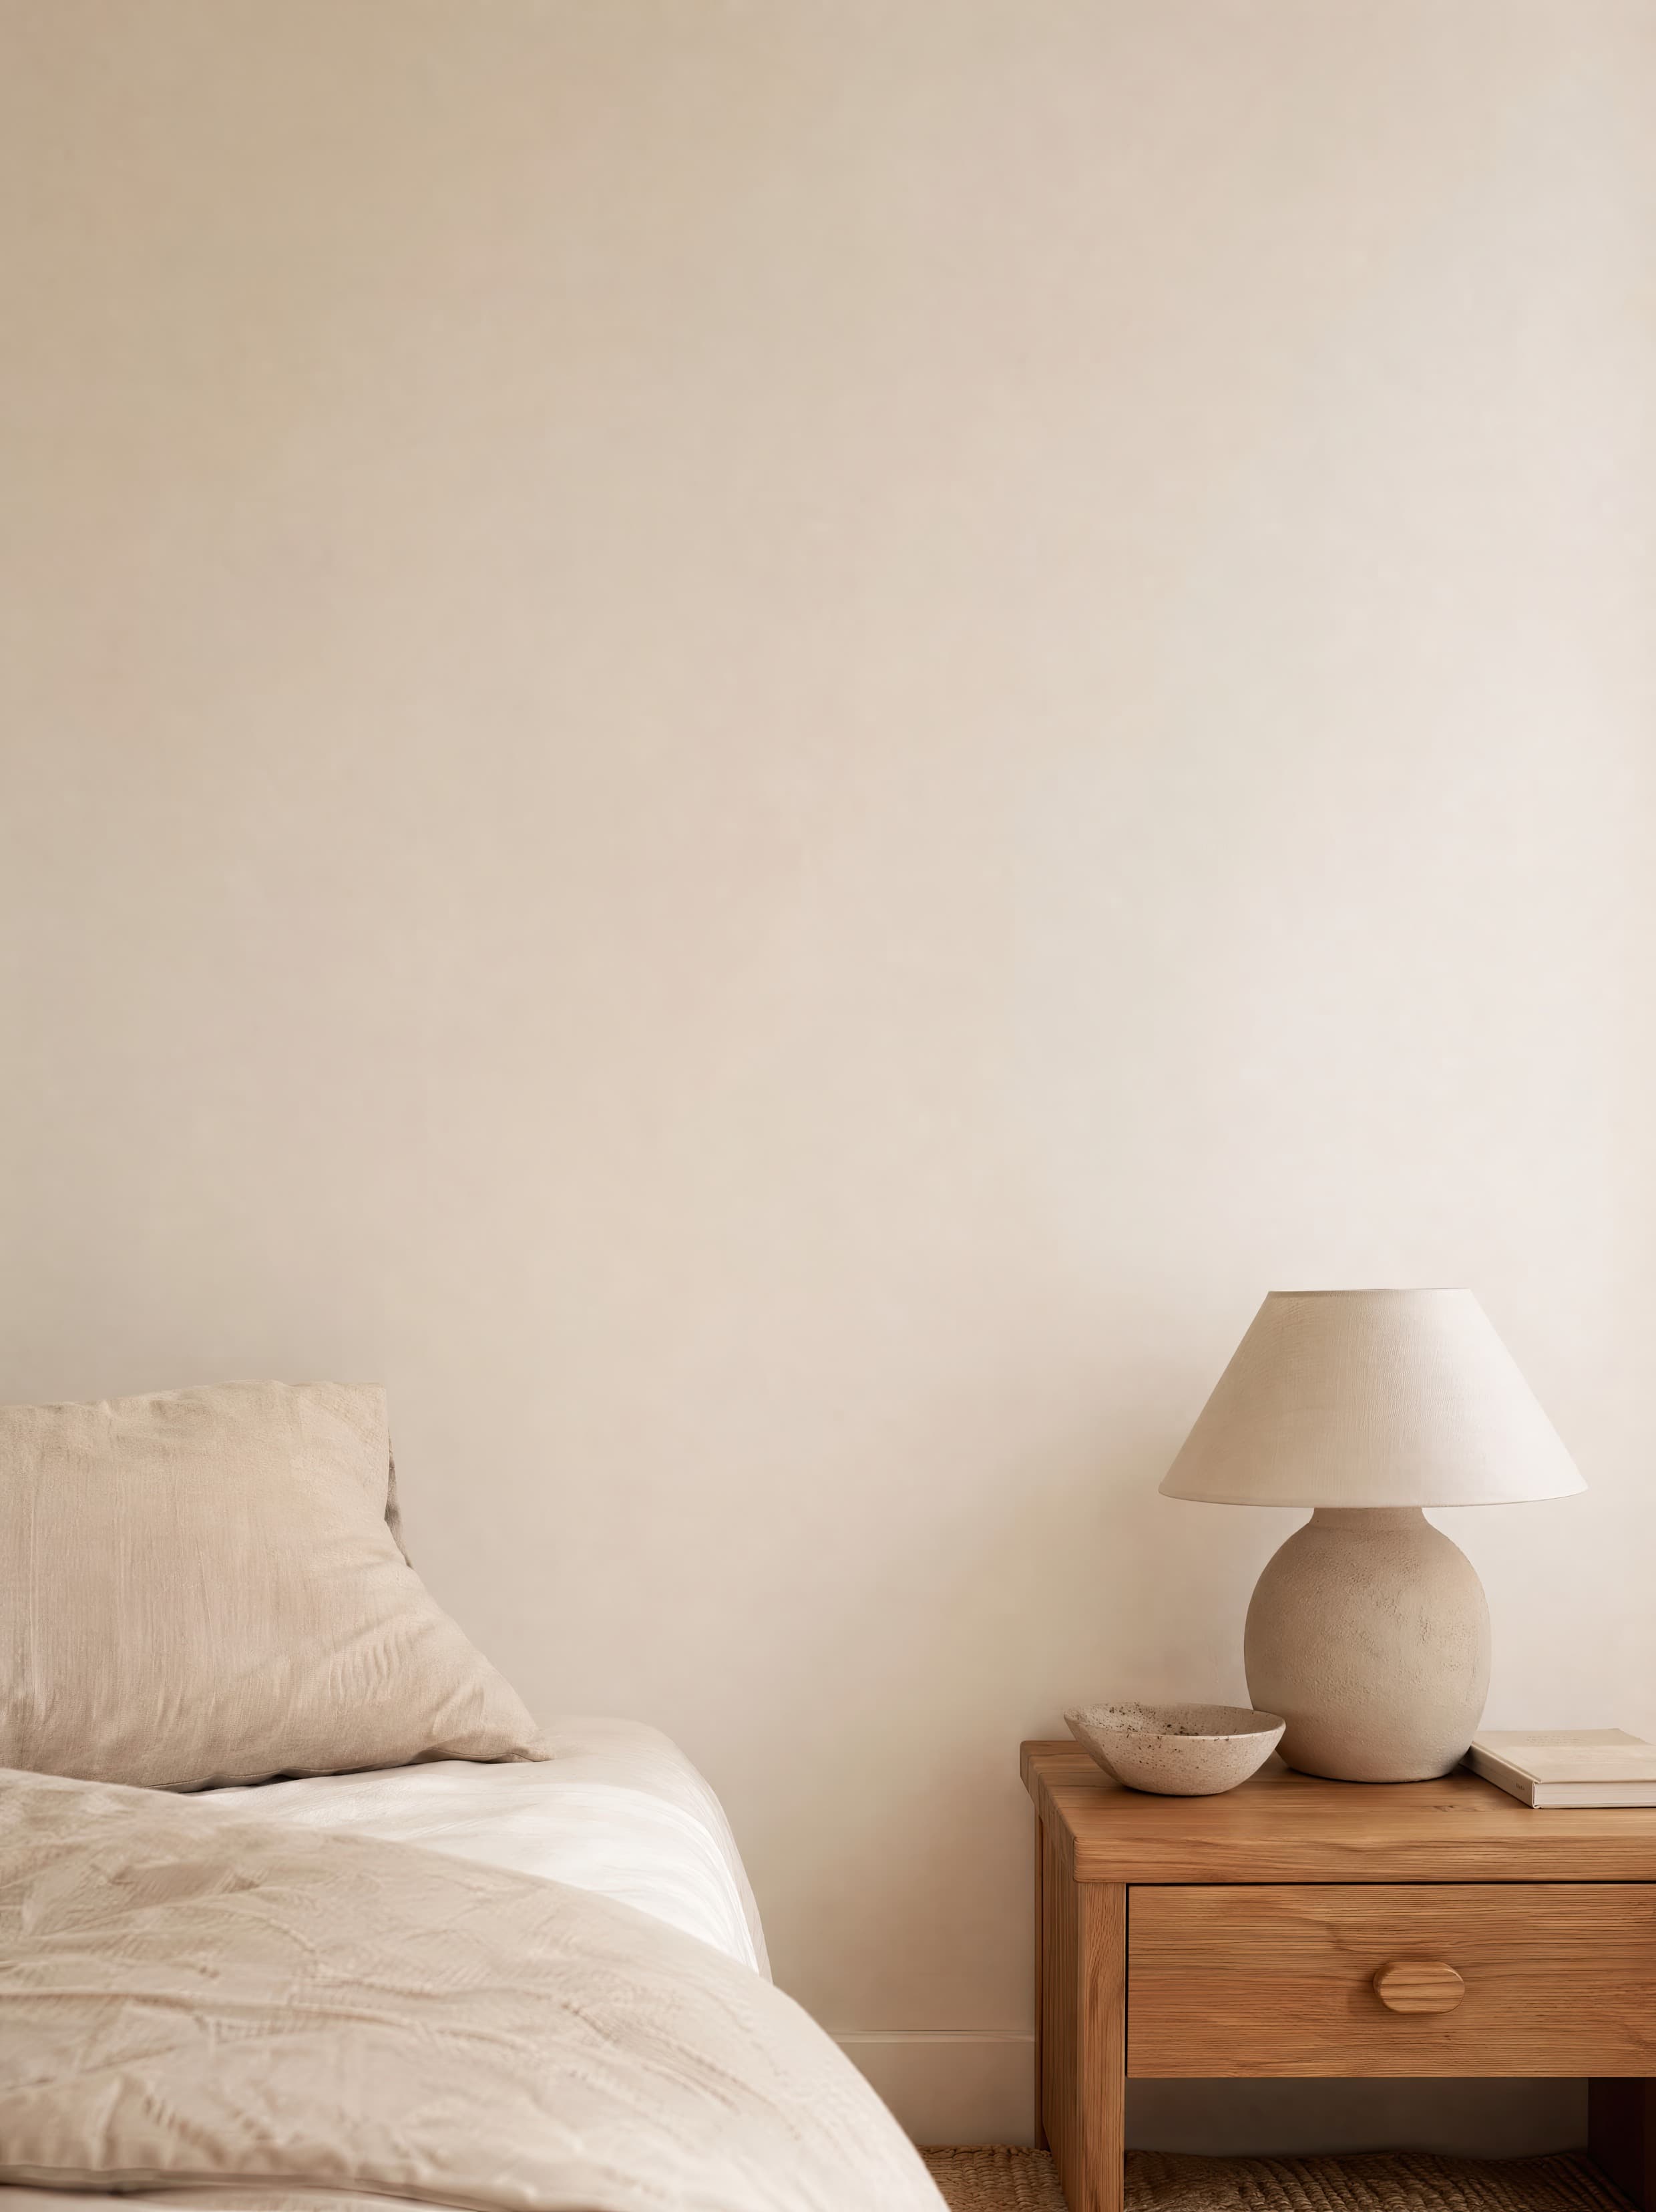
Room pick 3
Calibrated wall reference: 64.8 × 86.4 in (165 × 219 cm)
Try this room in the editor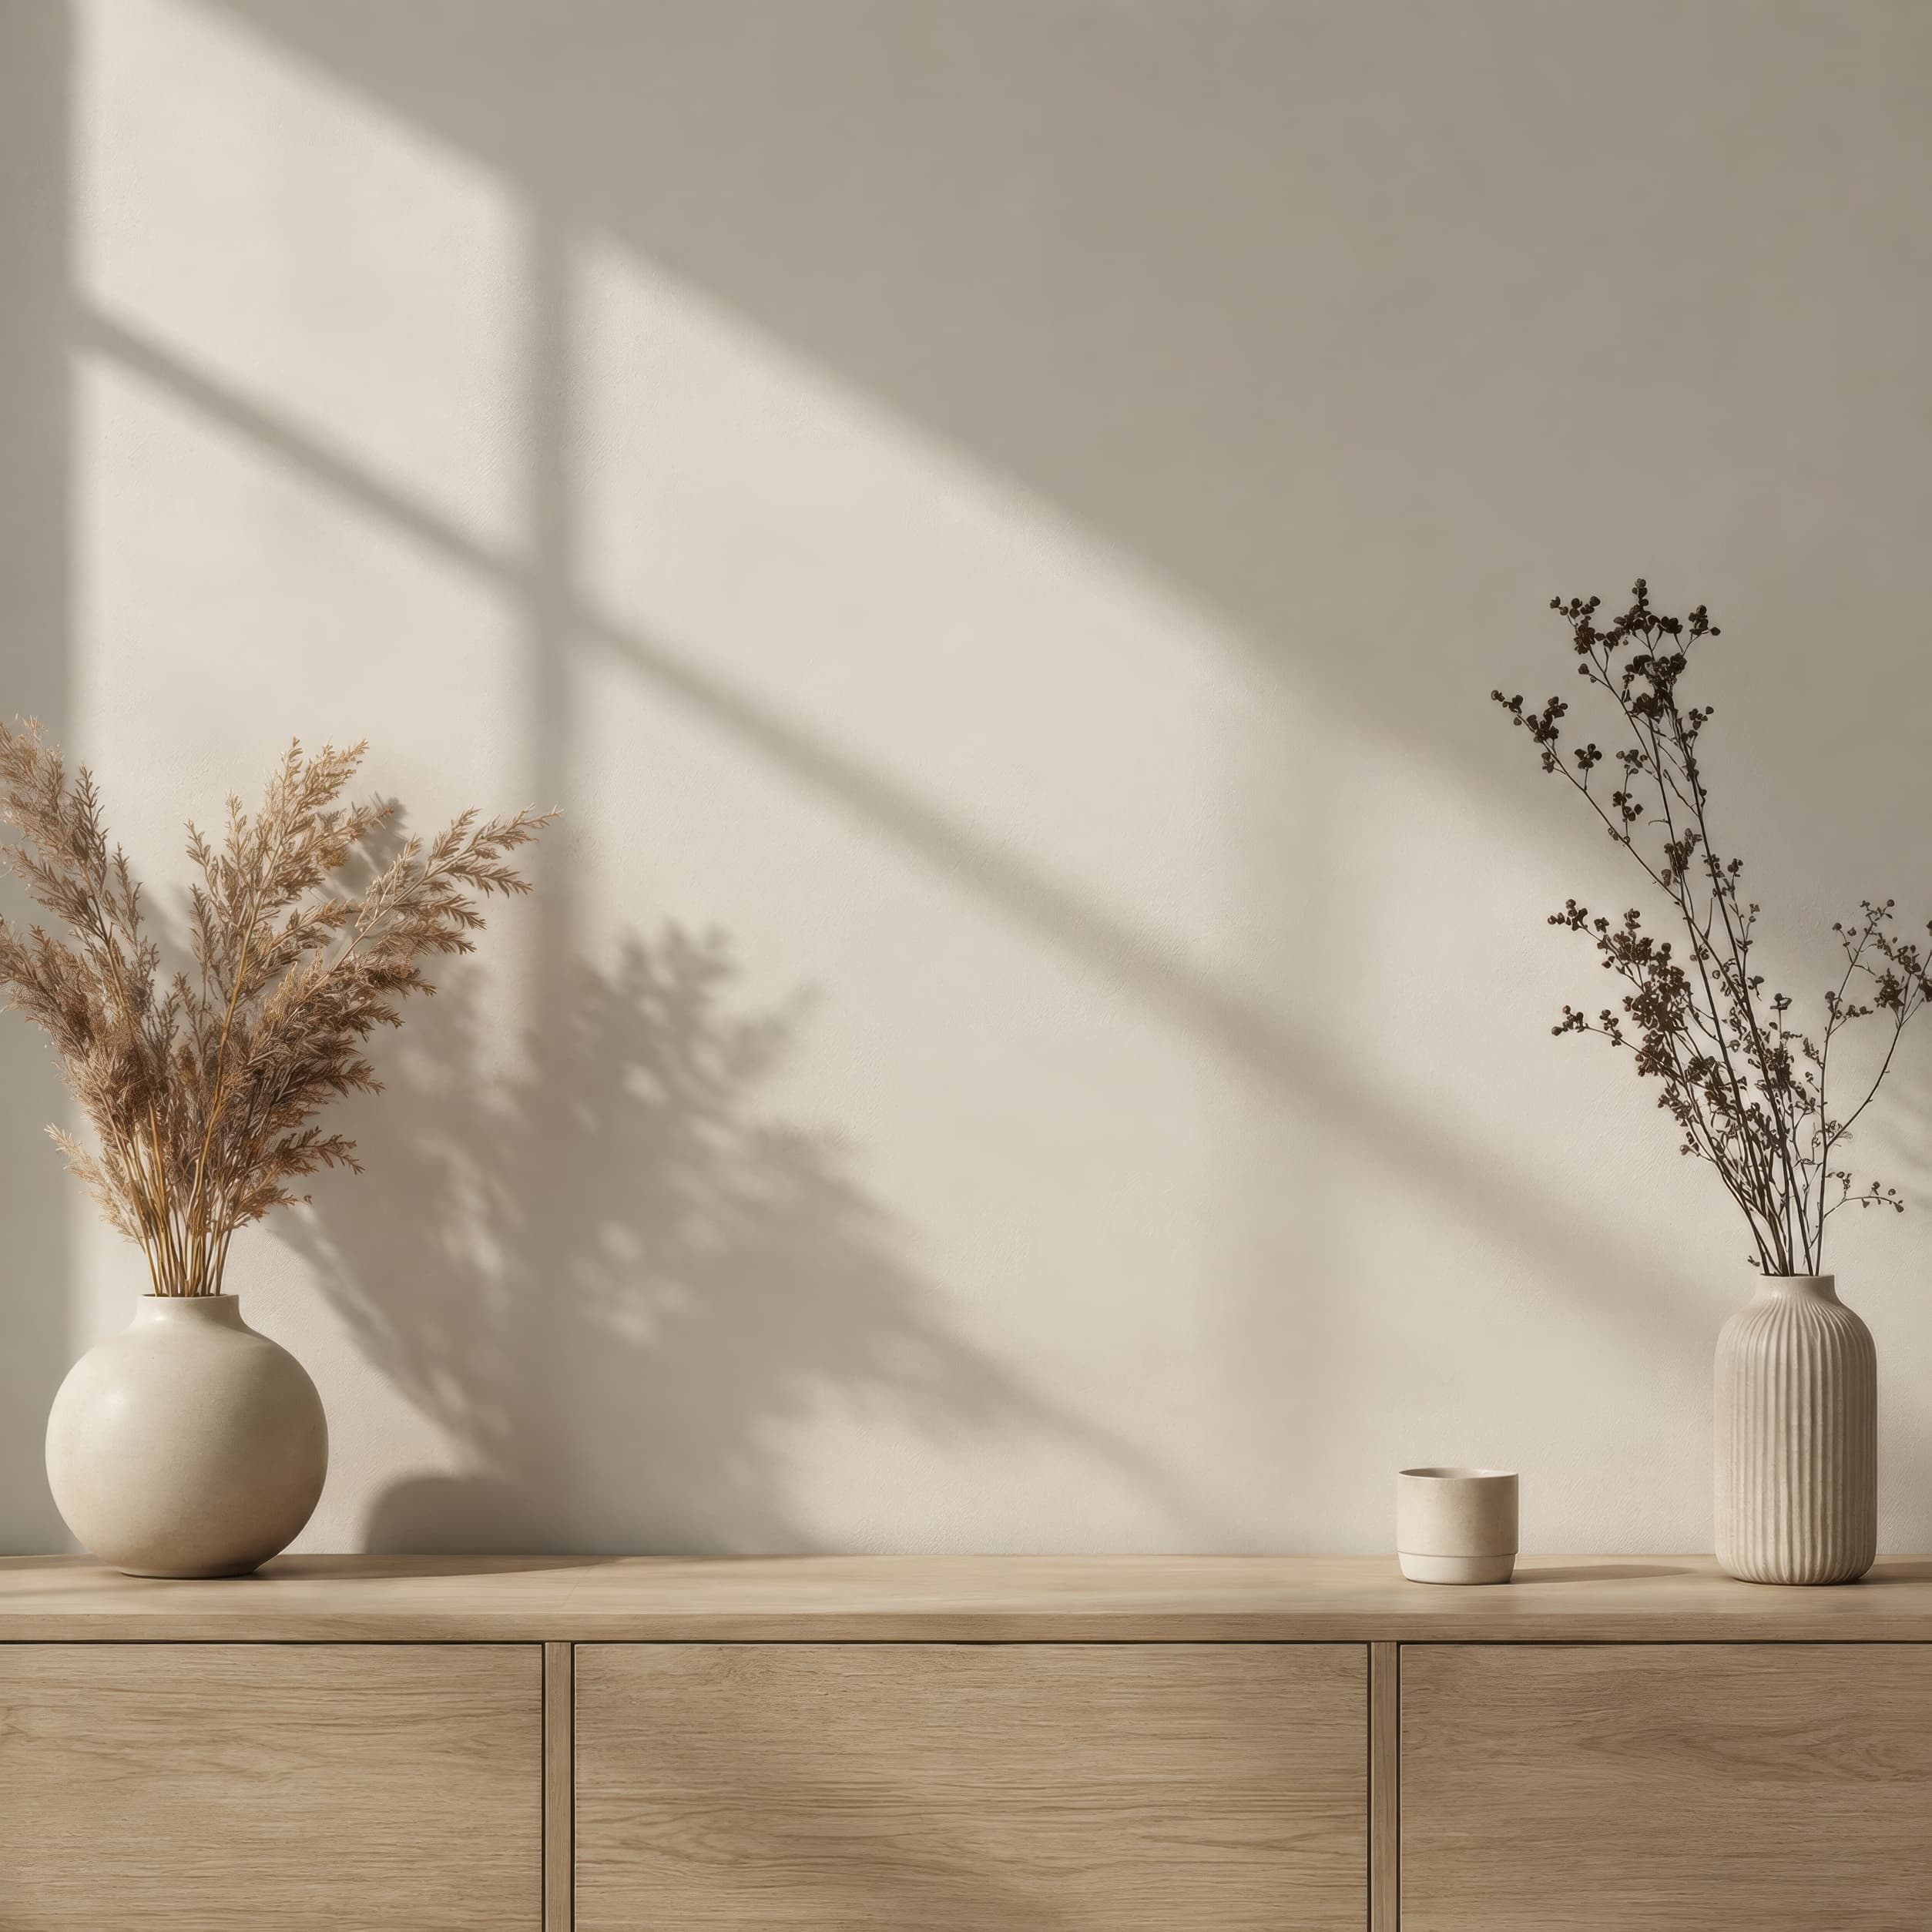
Room pick 4
Calibrated wall reference: 58 × 58 in (147 × 147 cm)
Try this room in the editor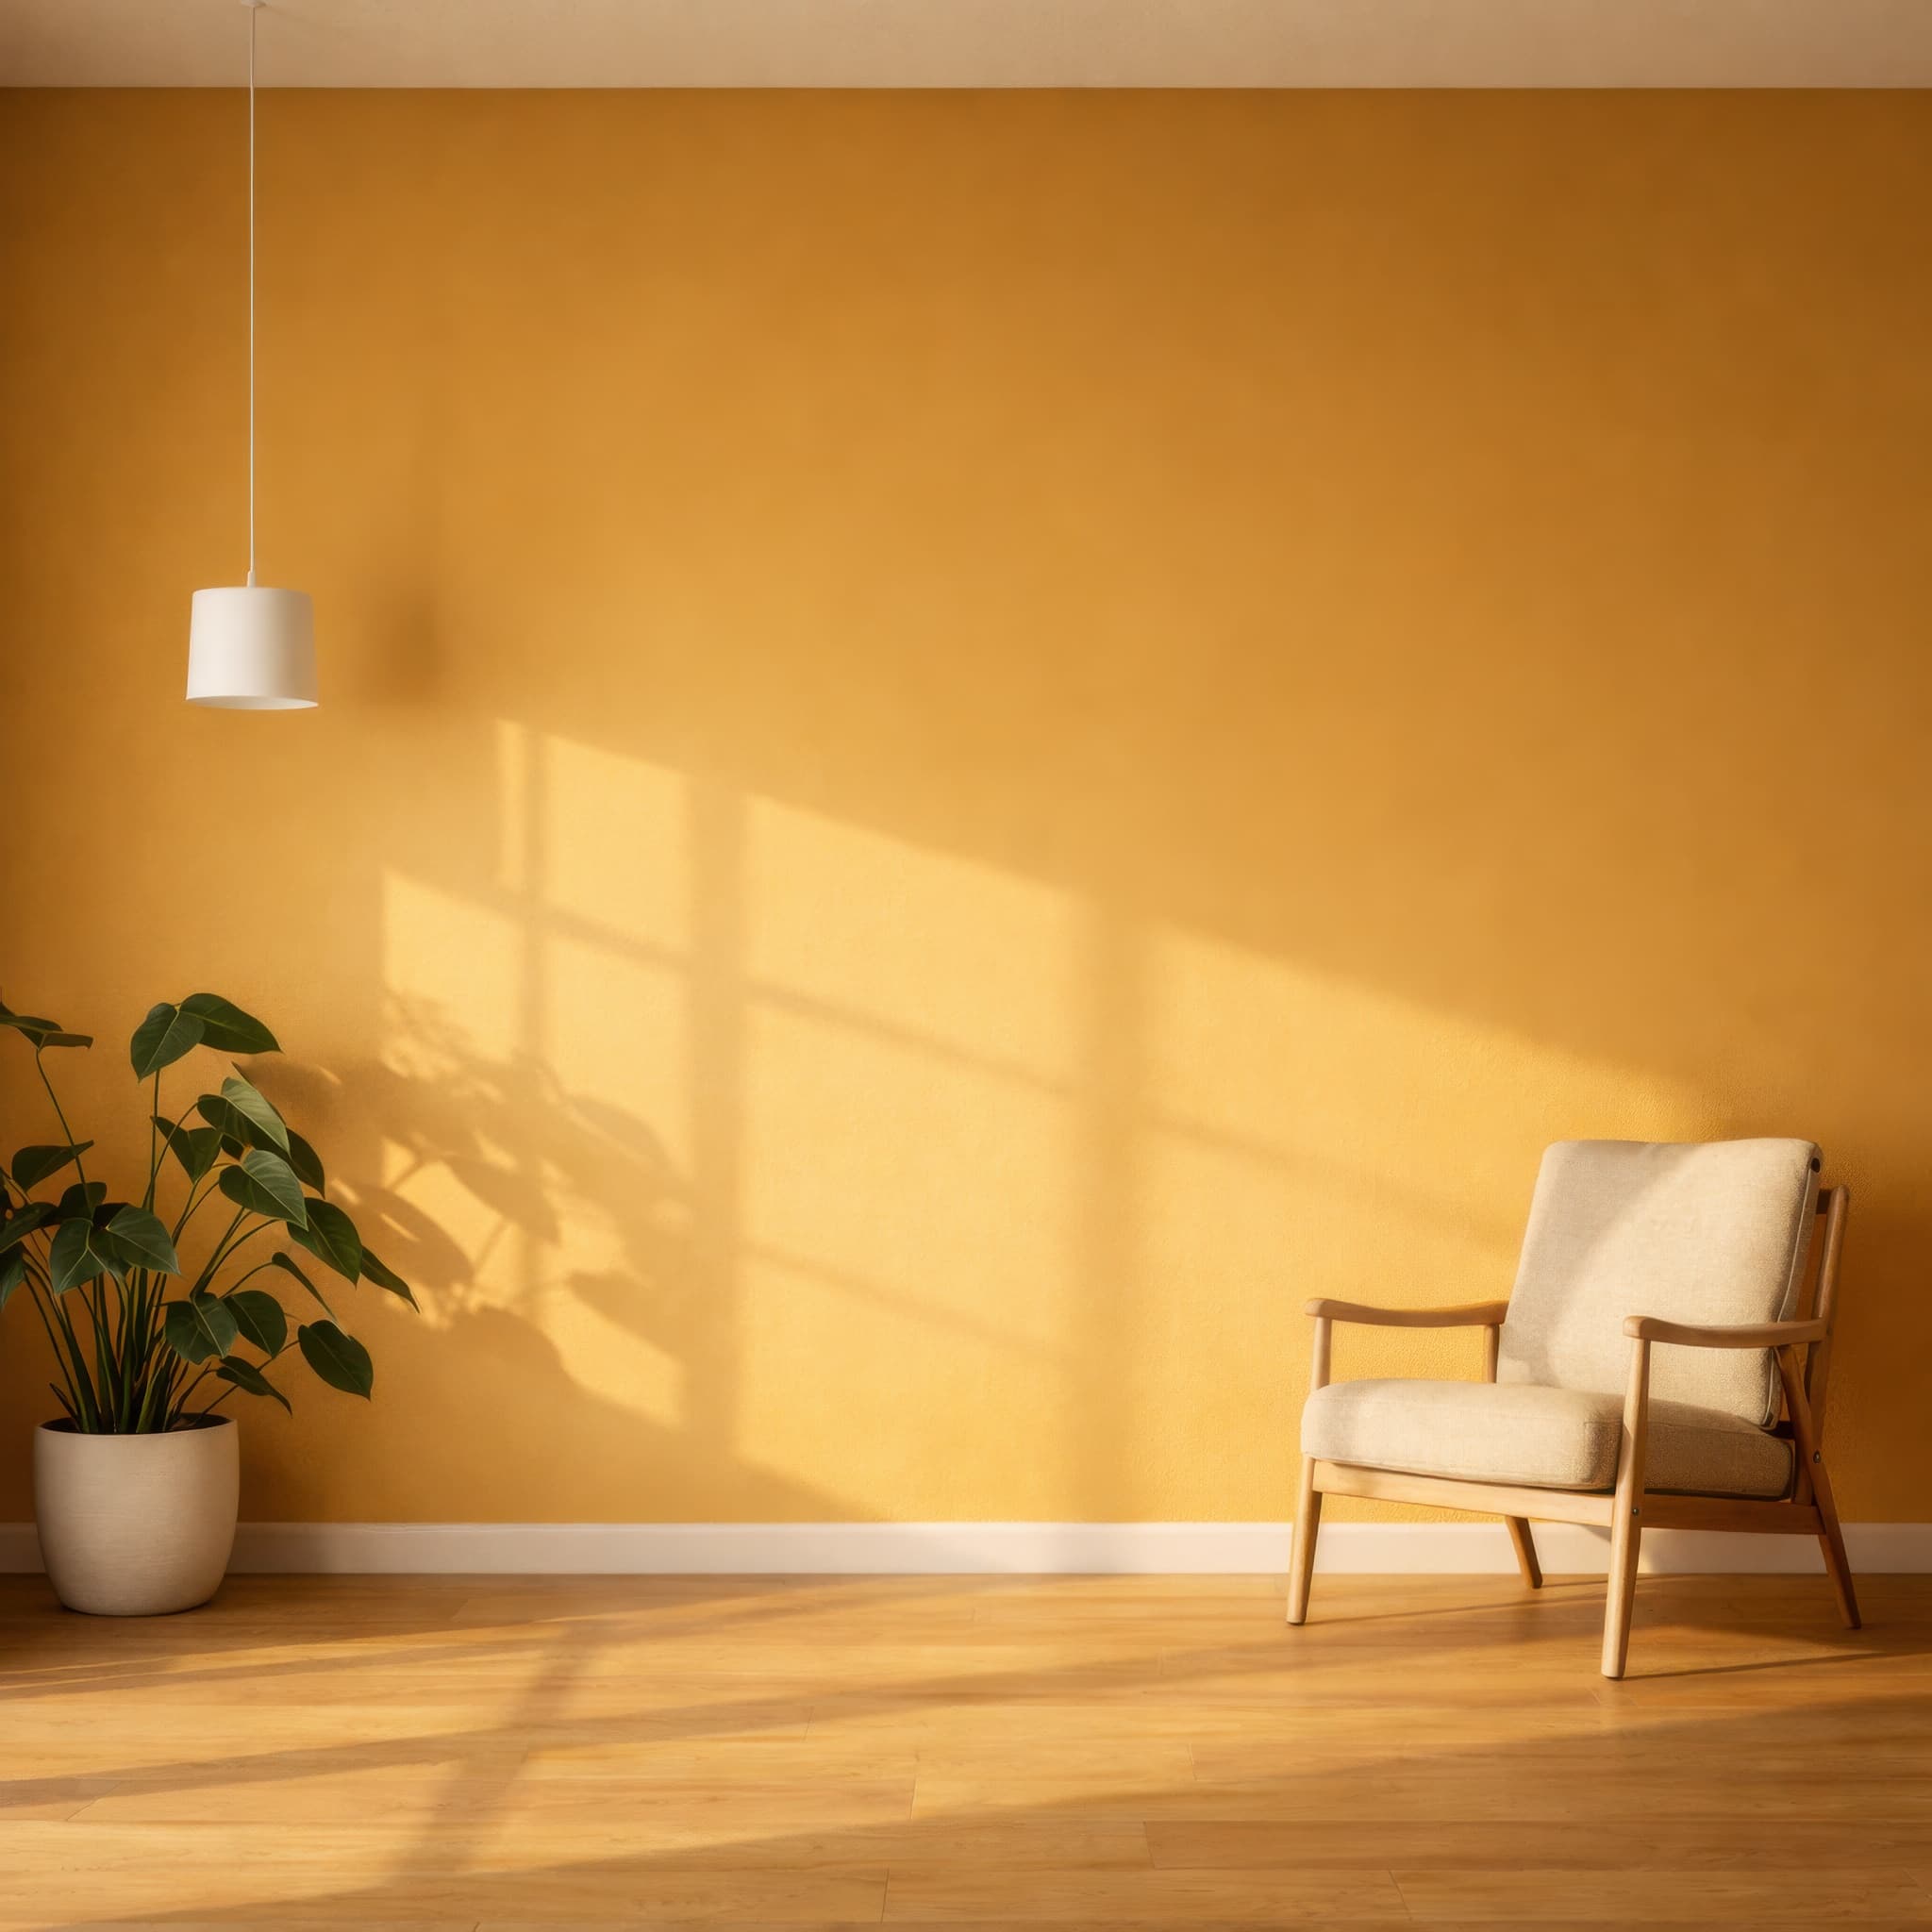
Room pick 5
Calibrated wall reference: 95.8 × 95.8 in (243 × 243 cm)
Try this room in the editor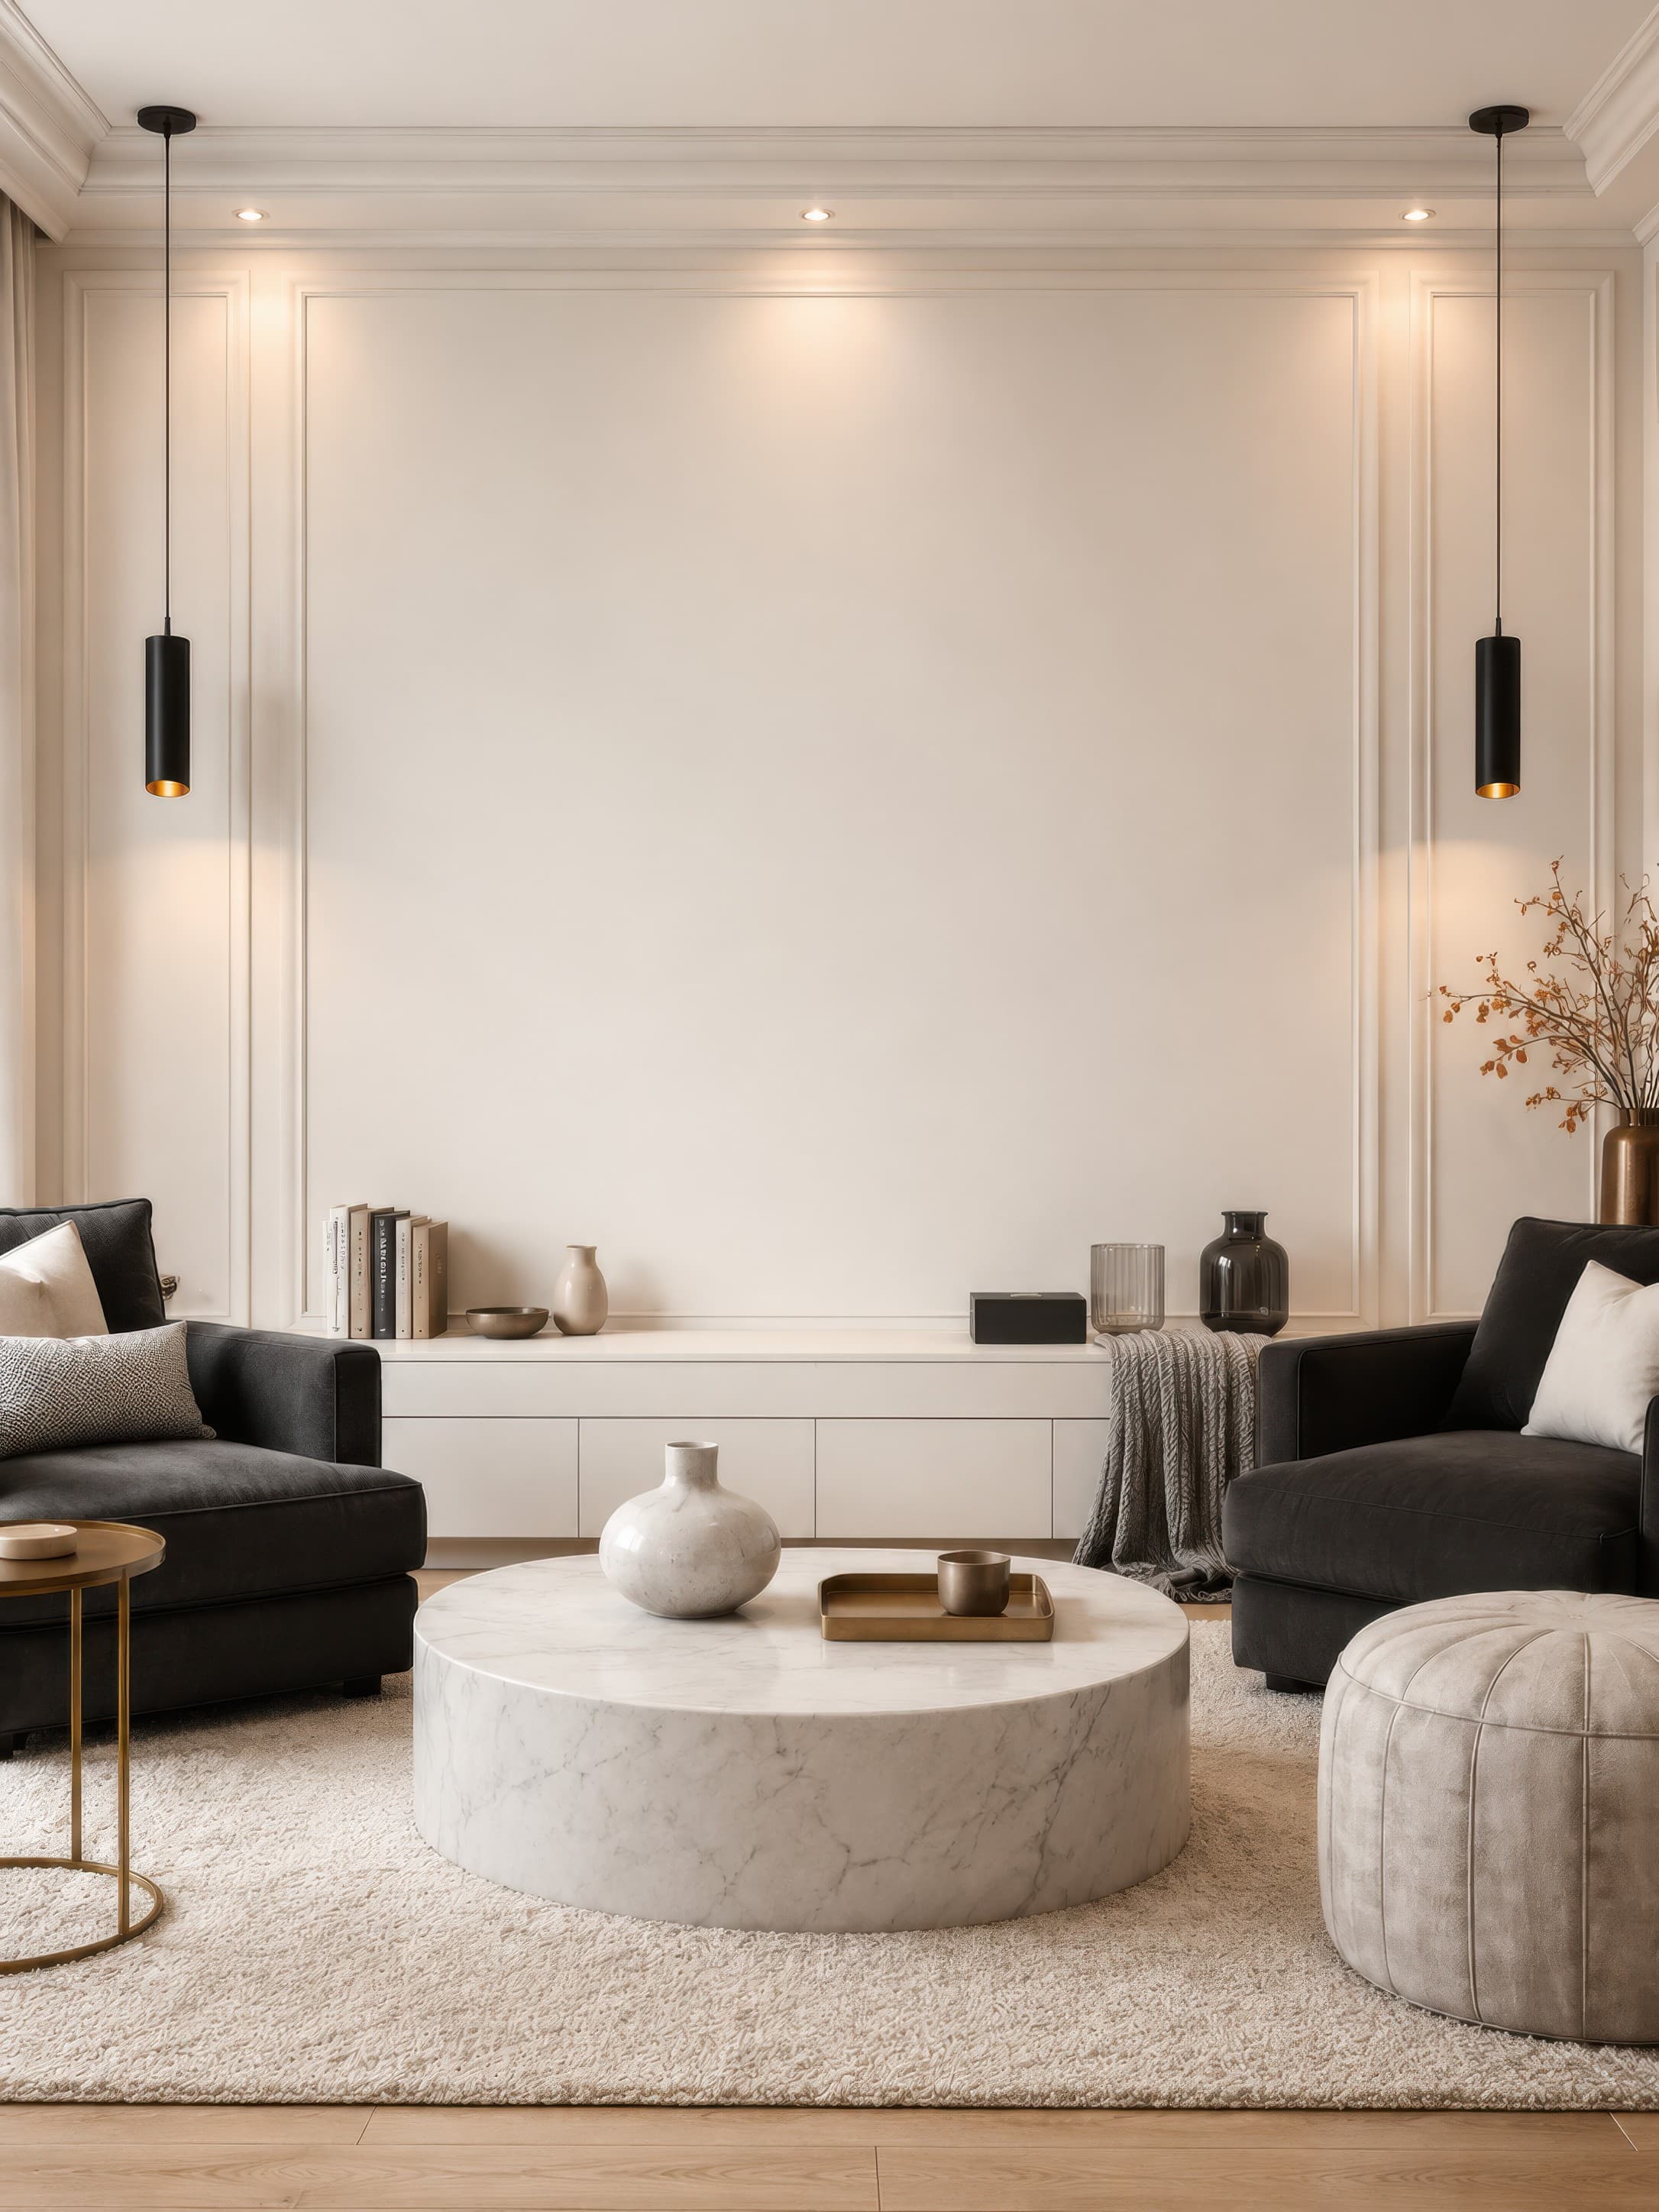
Room pick 6
Calibrated wall reference: 107.7 × 143.6 in (274 × 365 cm)
Try this room in the editor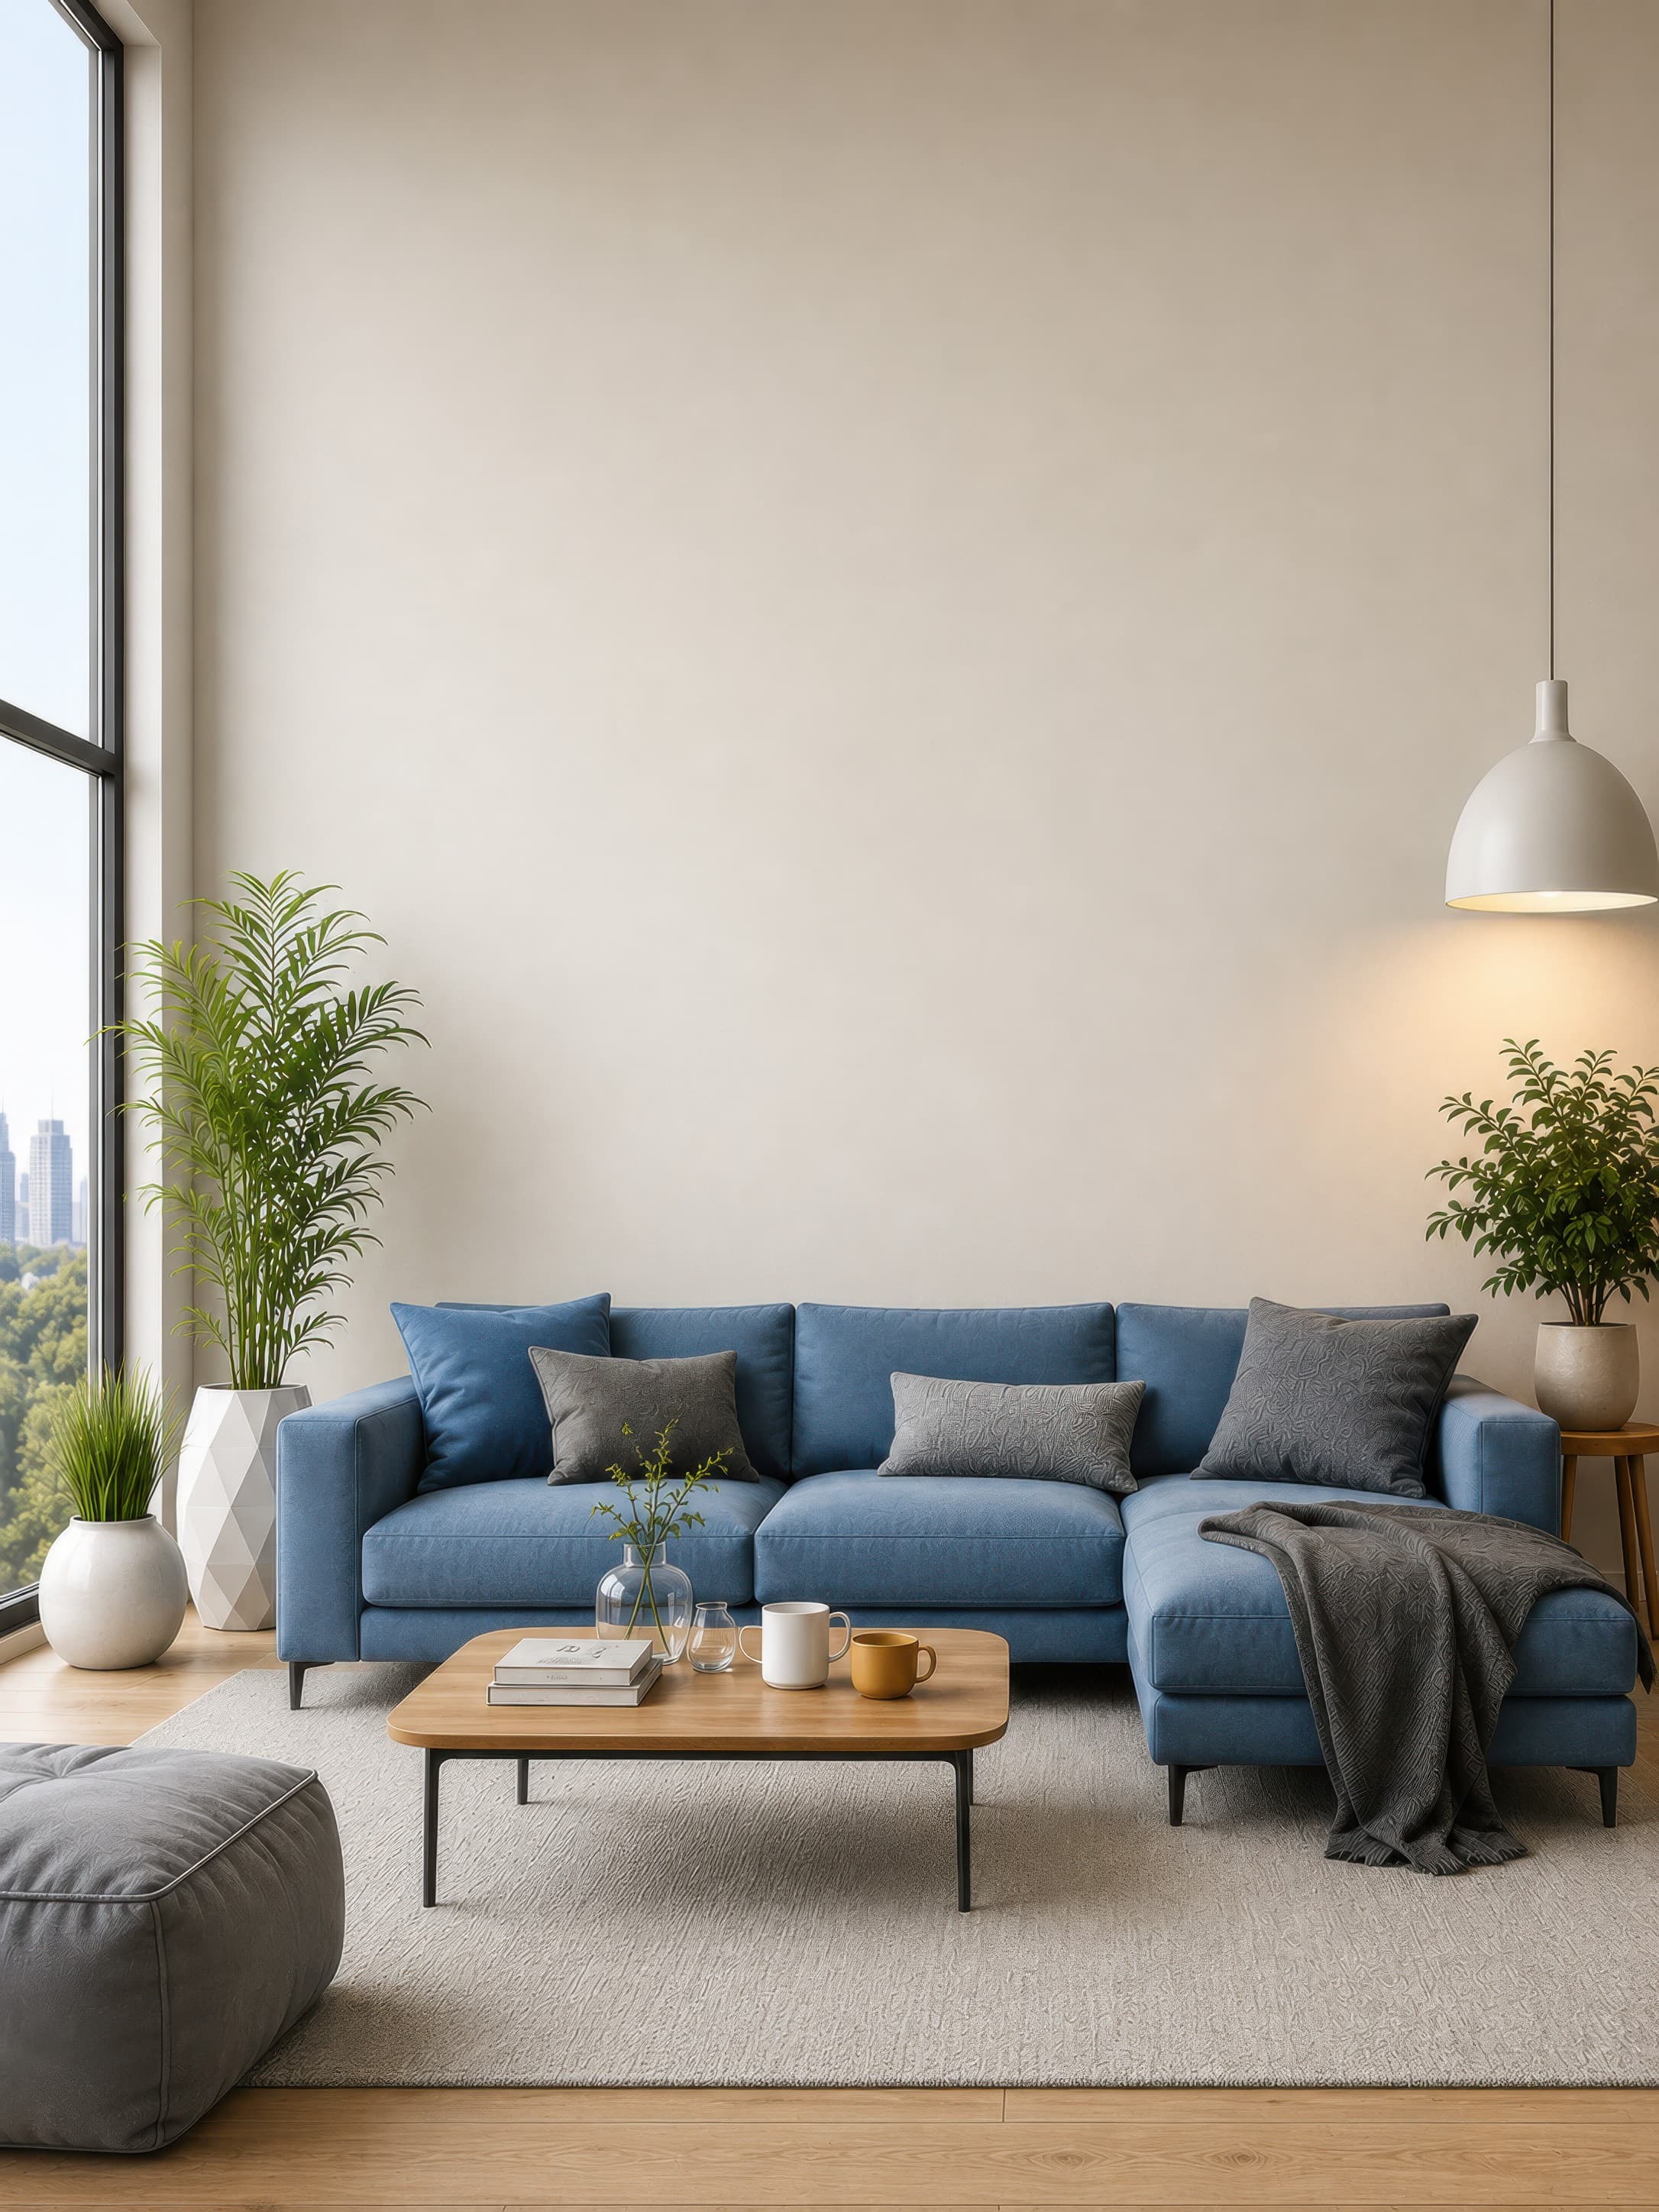
Room pick 7
Calibrated wall reference: 141.1 × 188.2 in (358 × 478 cm)
Try this room in the editor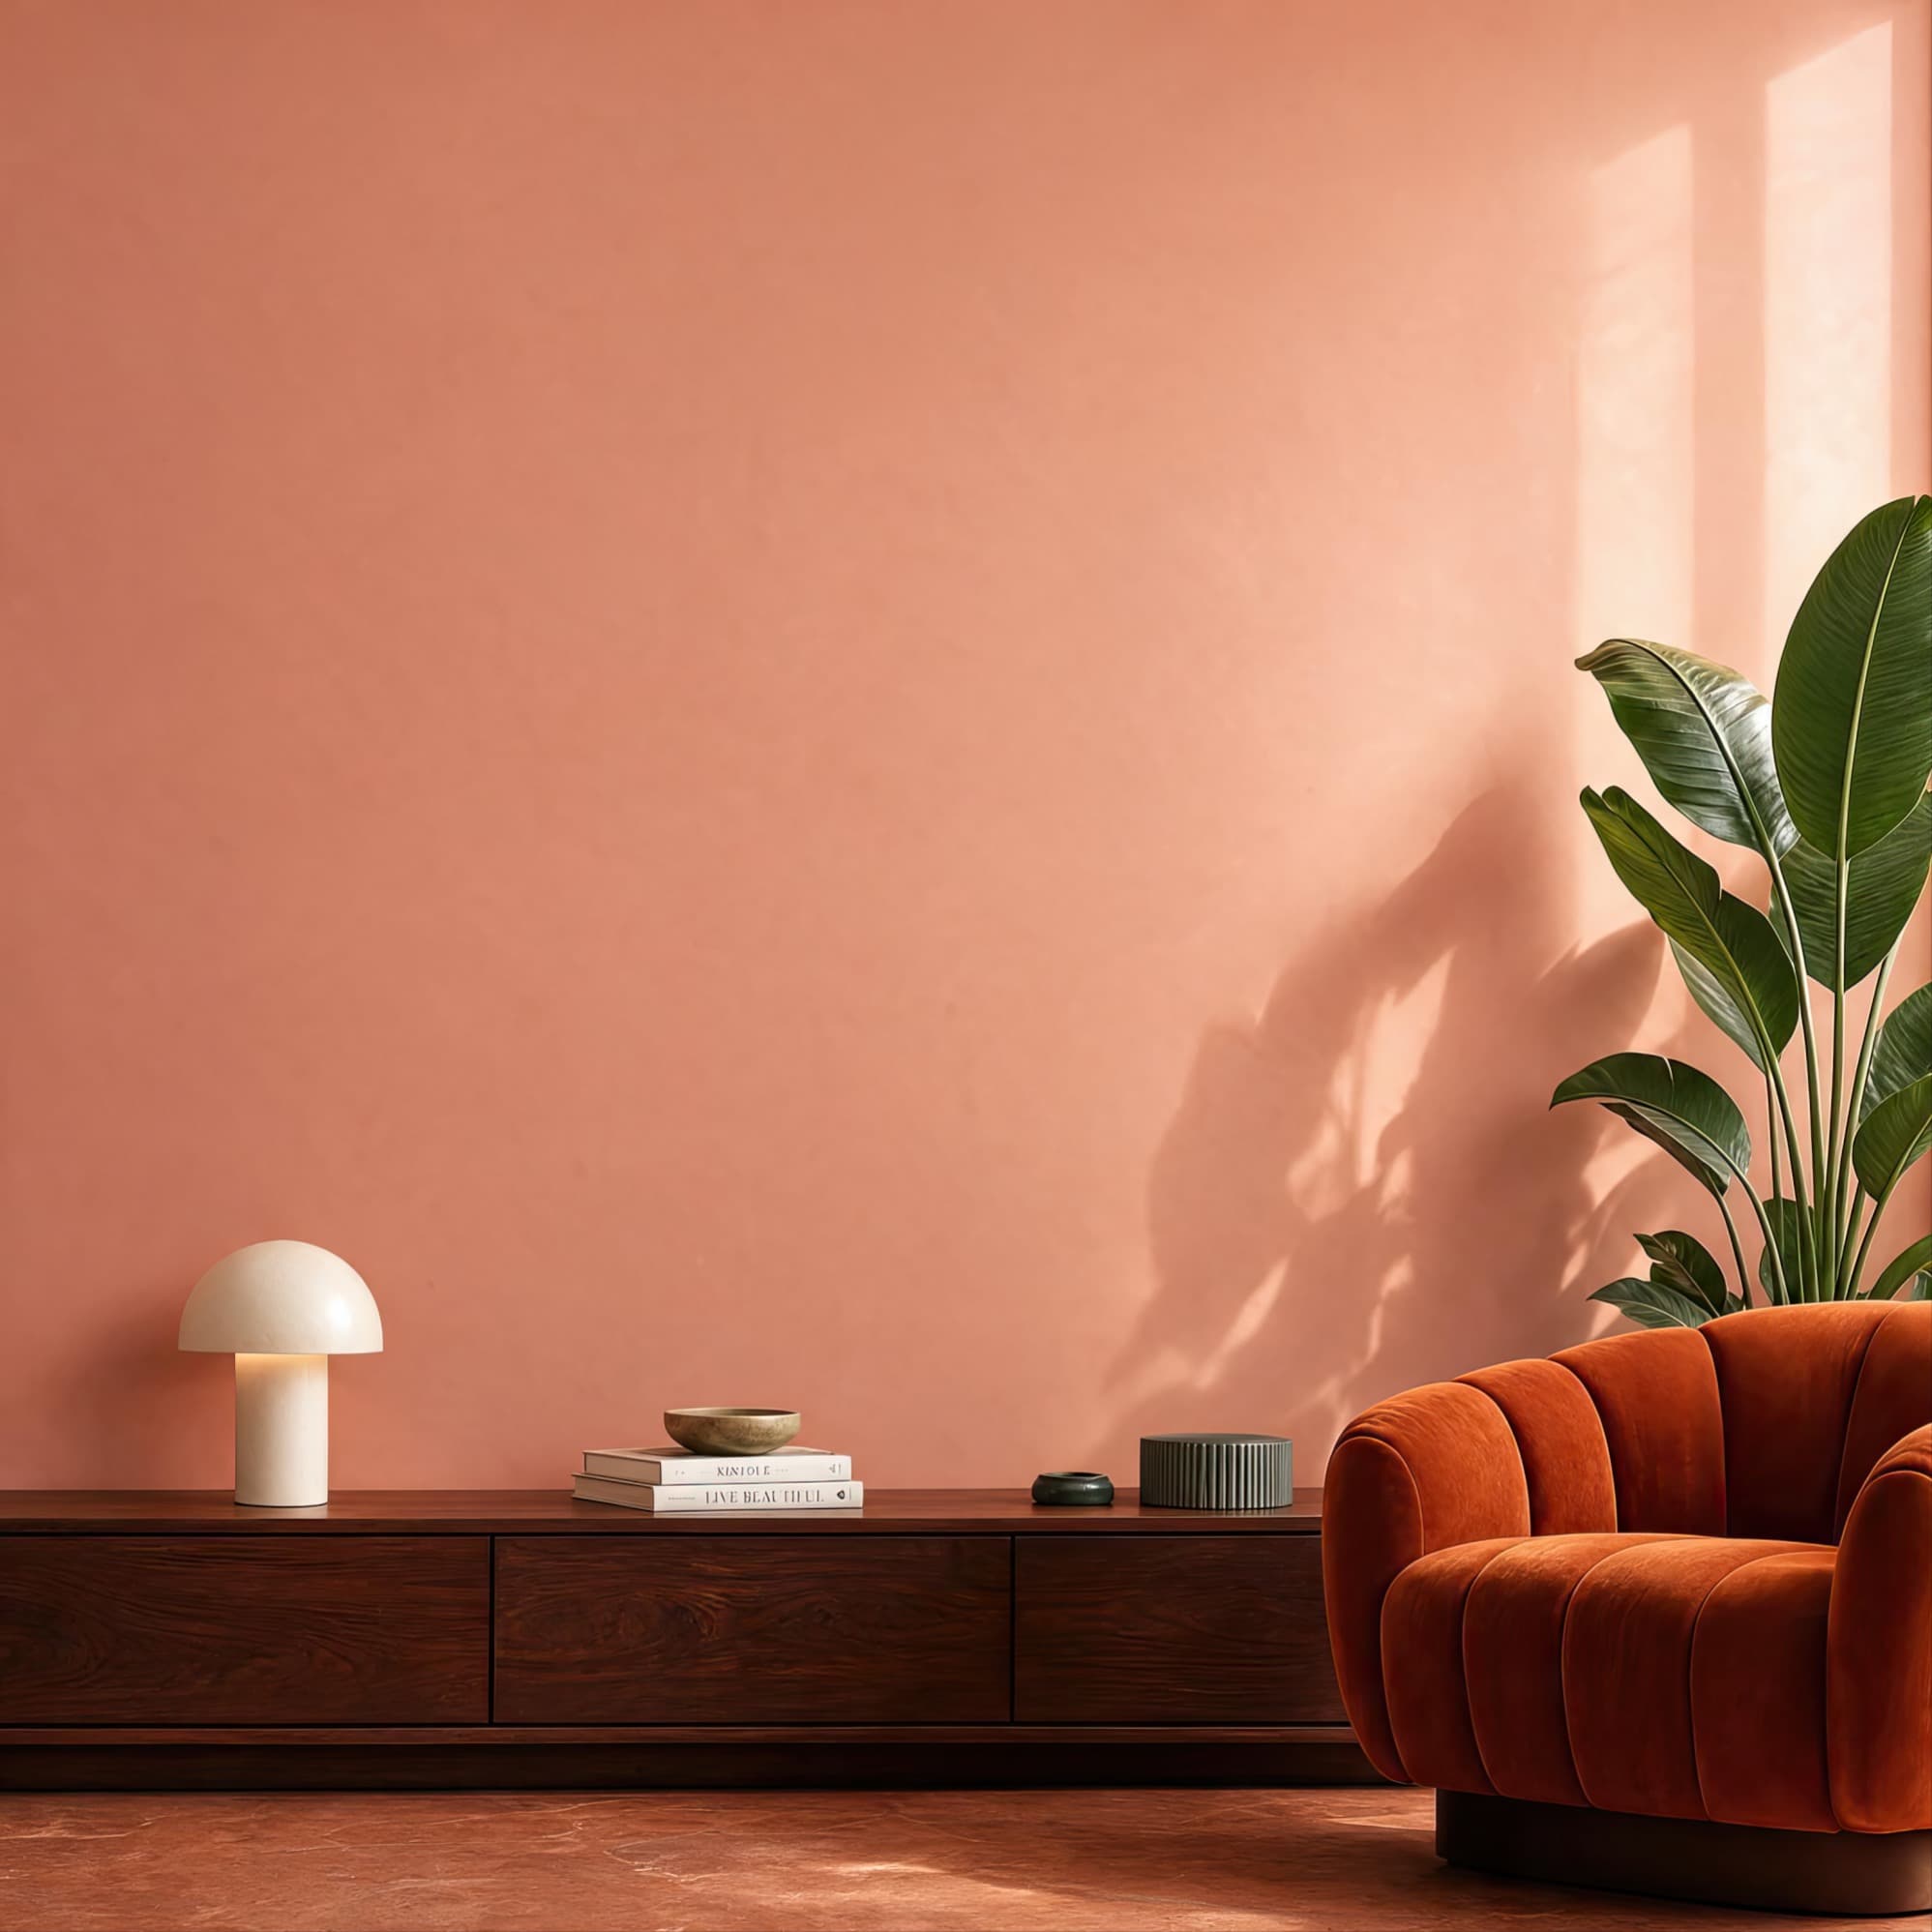
Room pick 8
Calibrated wall reference: 120 × 120 in (305 × 305 cm)
Try this room in the editor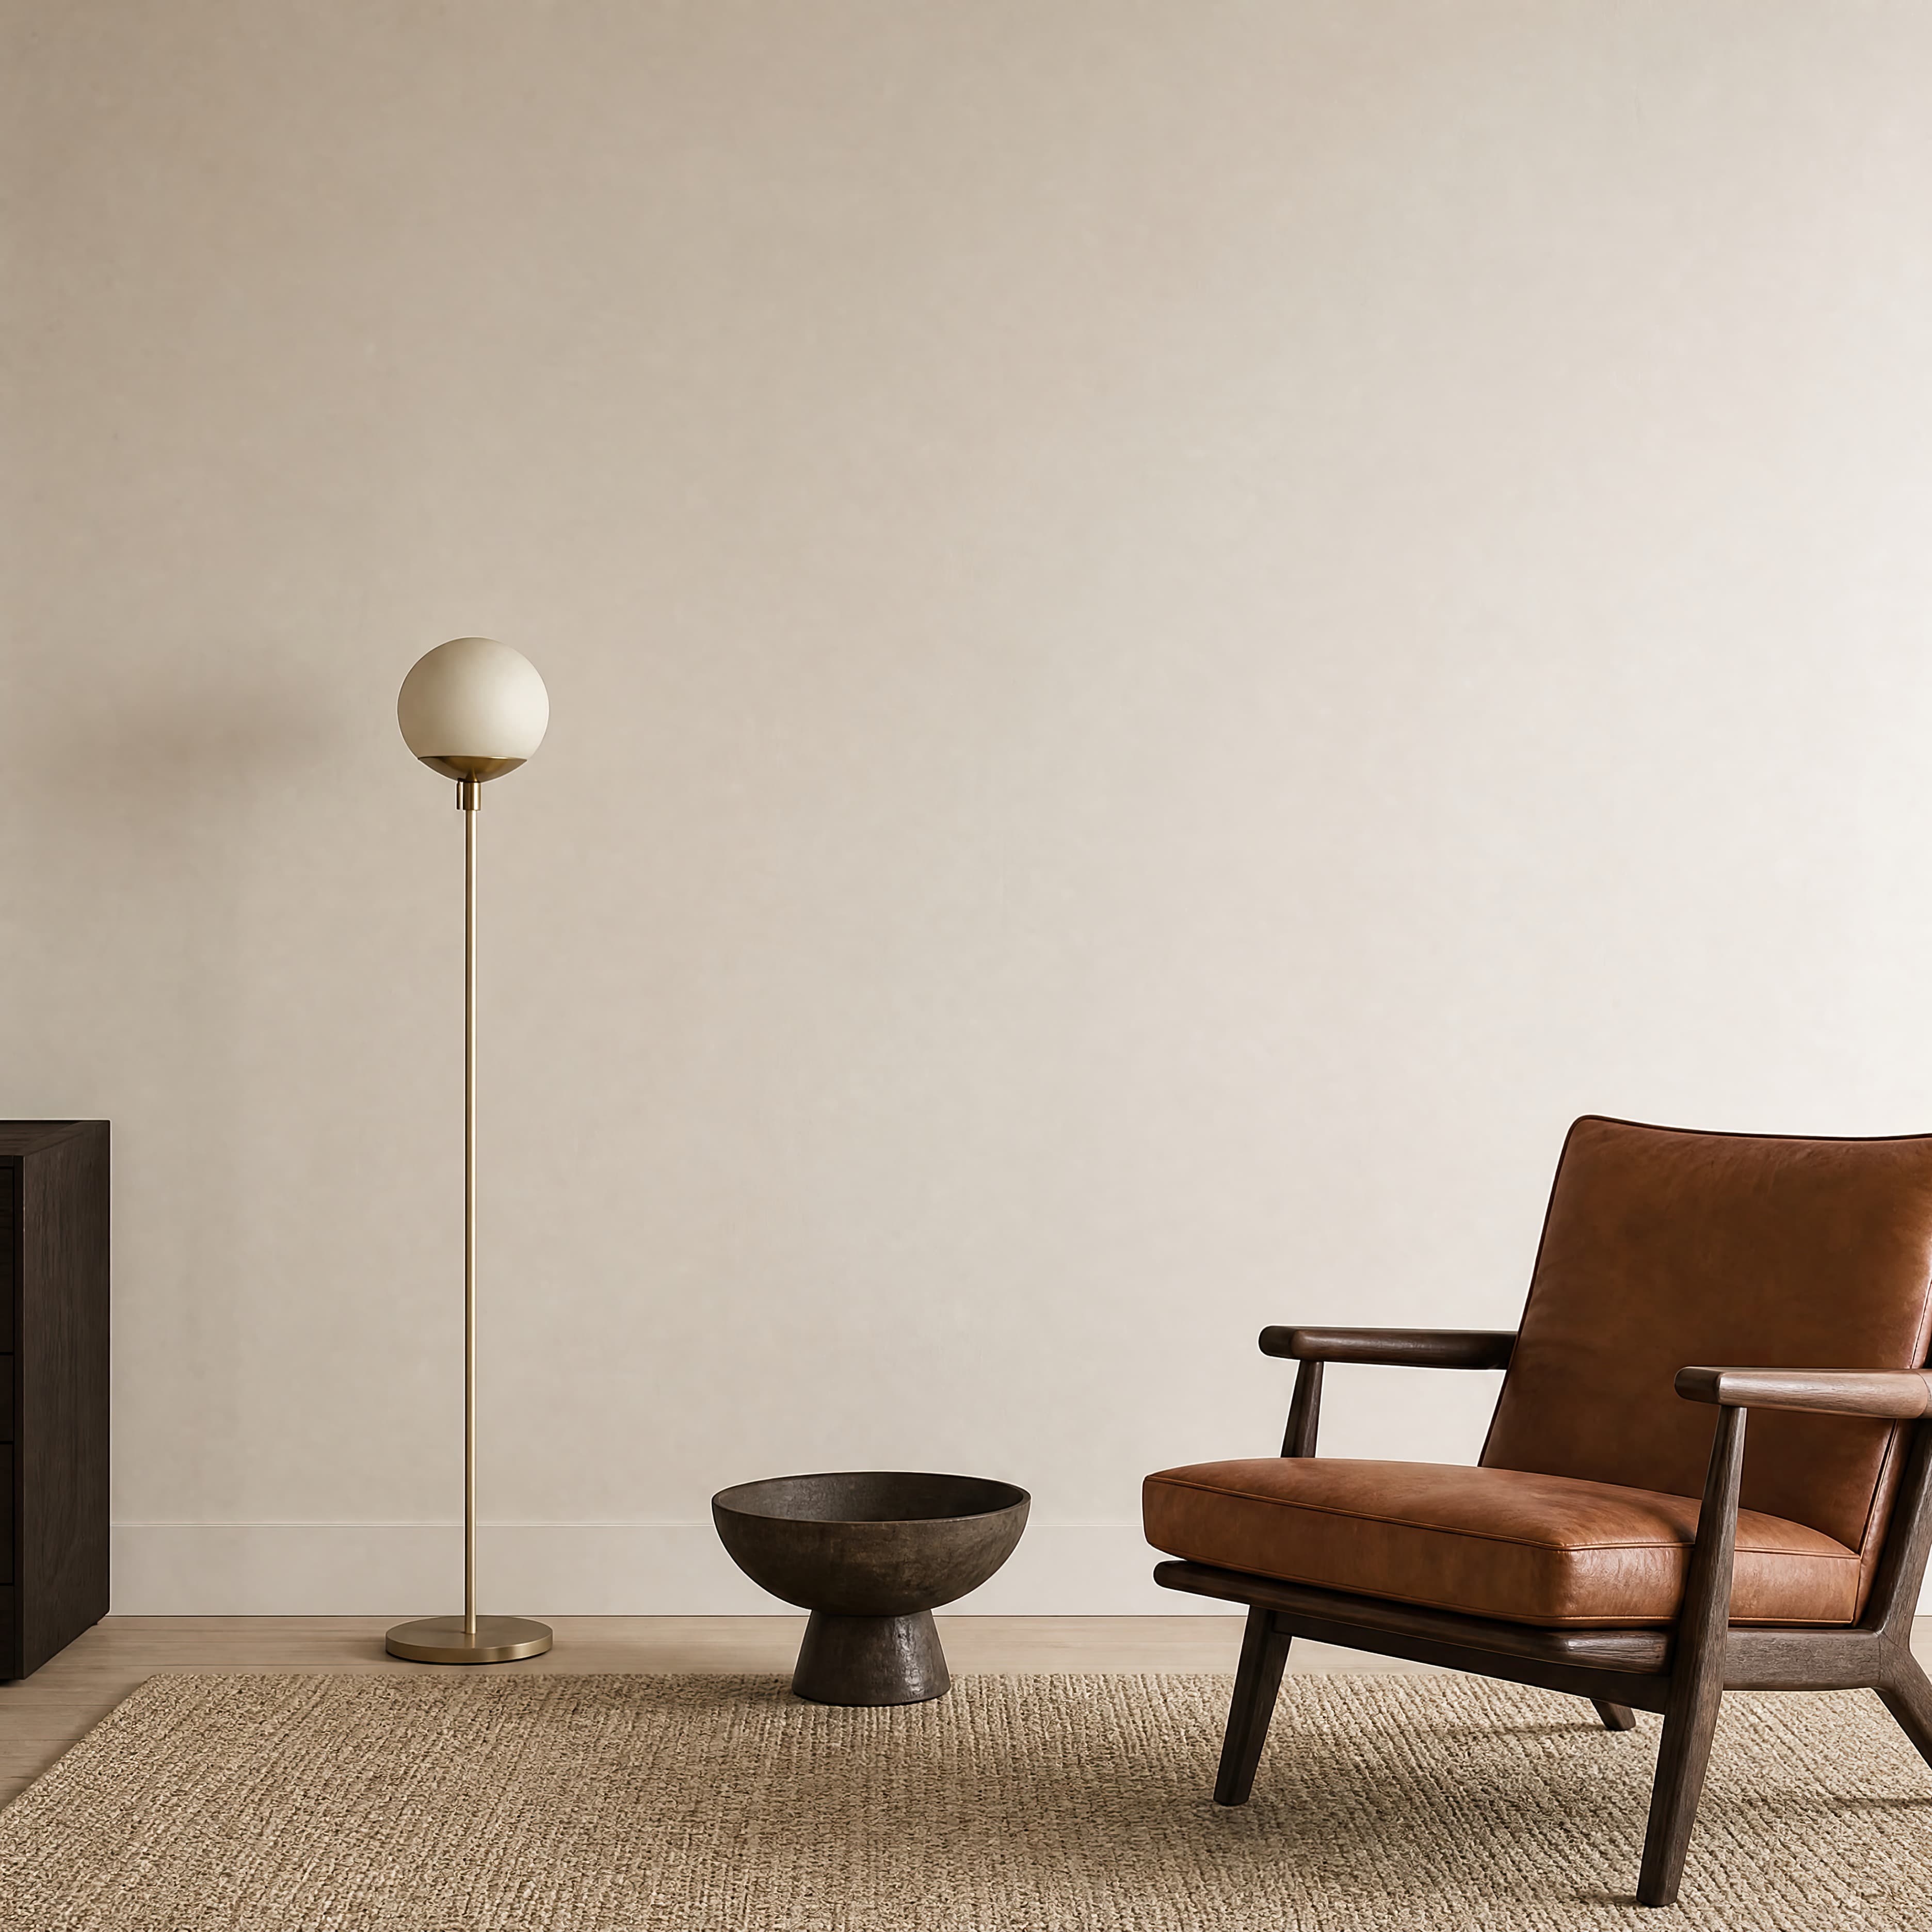
Room pick 9
Calibrated wall reference: 127.7 × 127.7 in (324 × 324 cm)
Try this room in the editor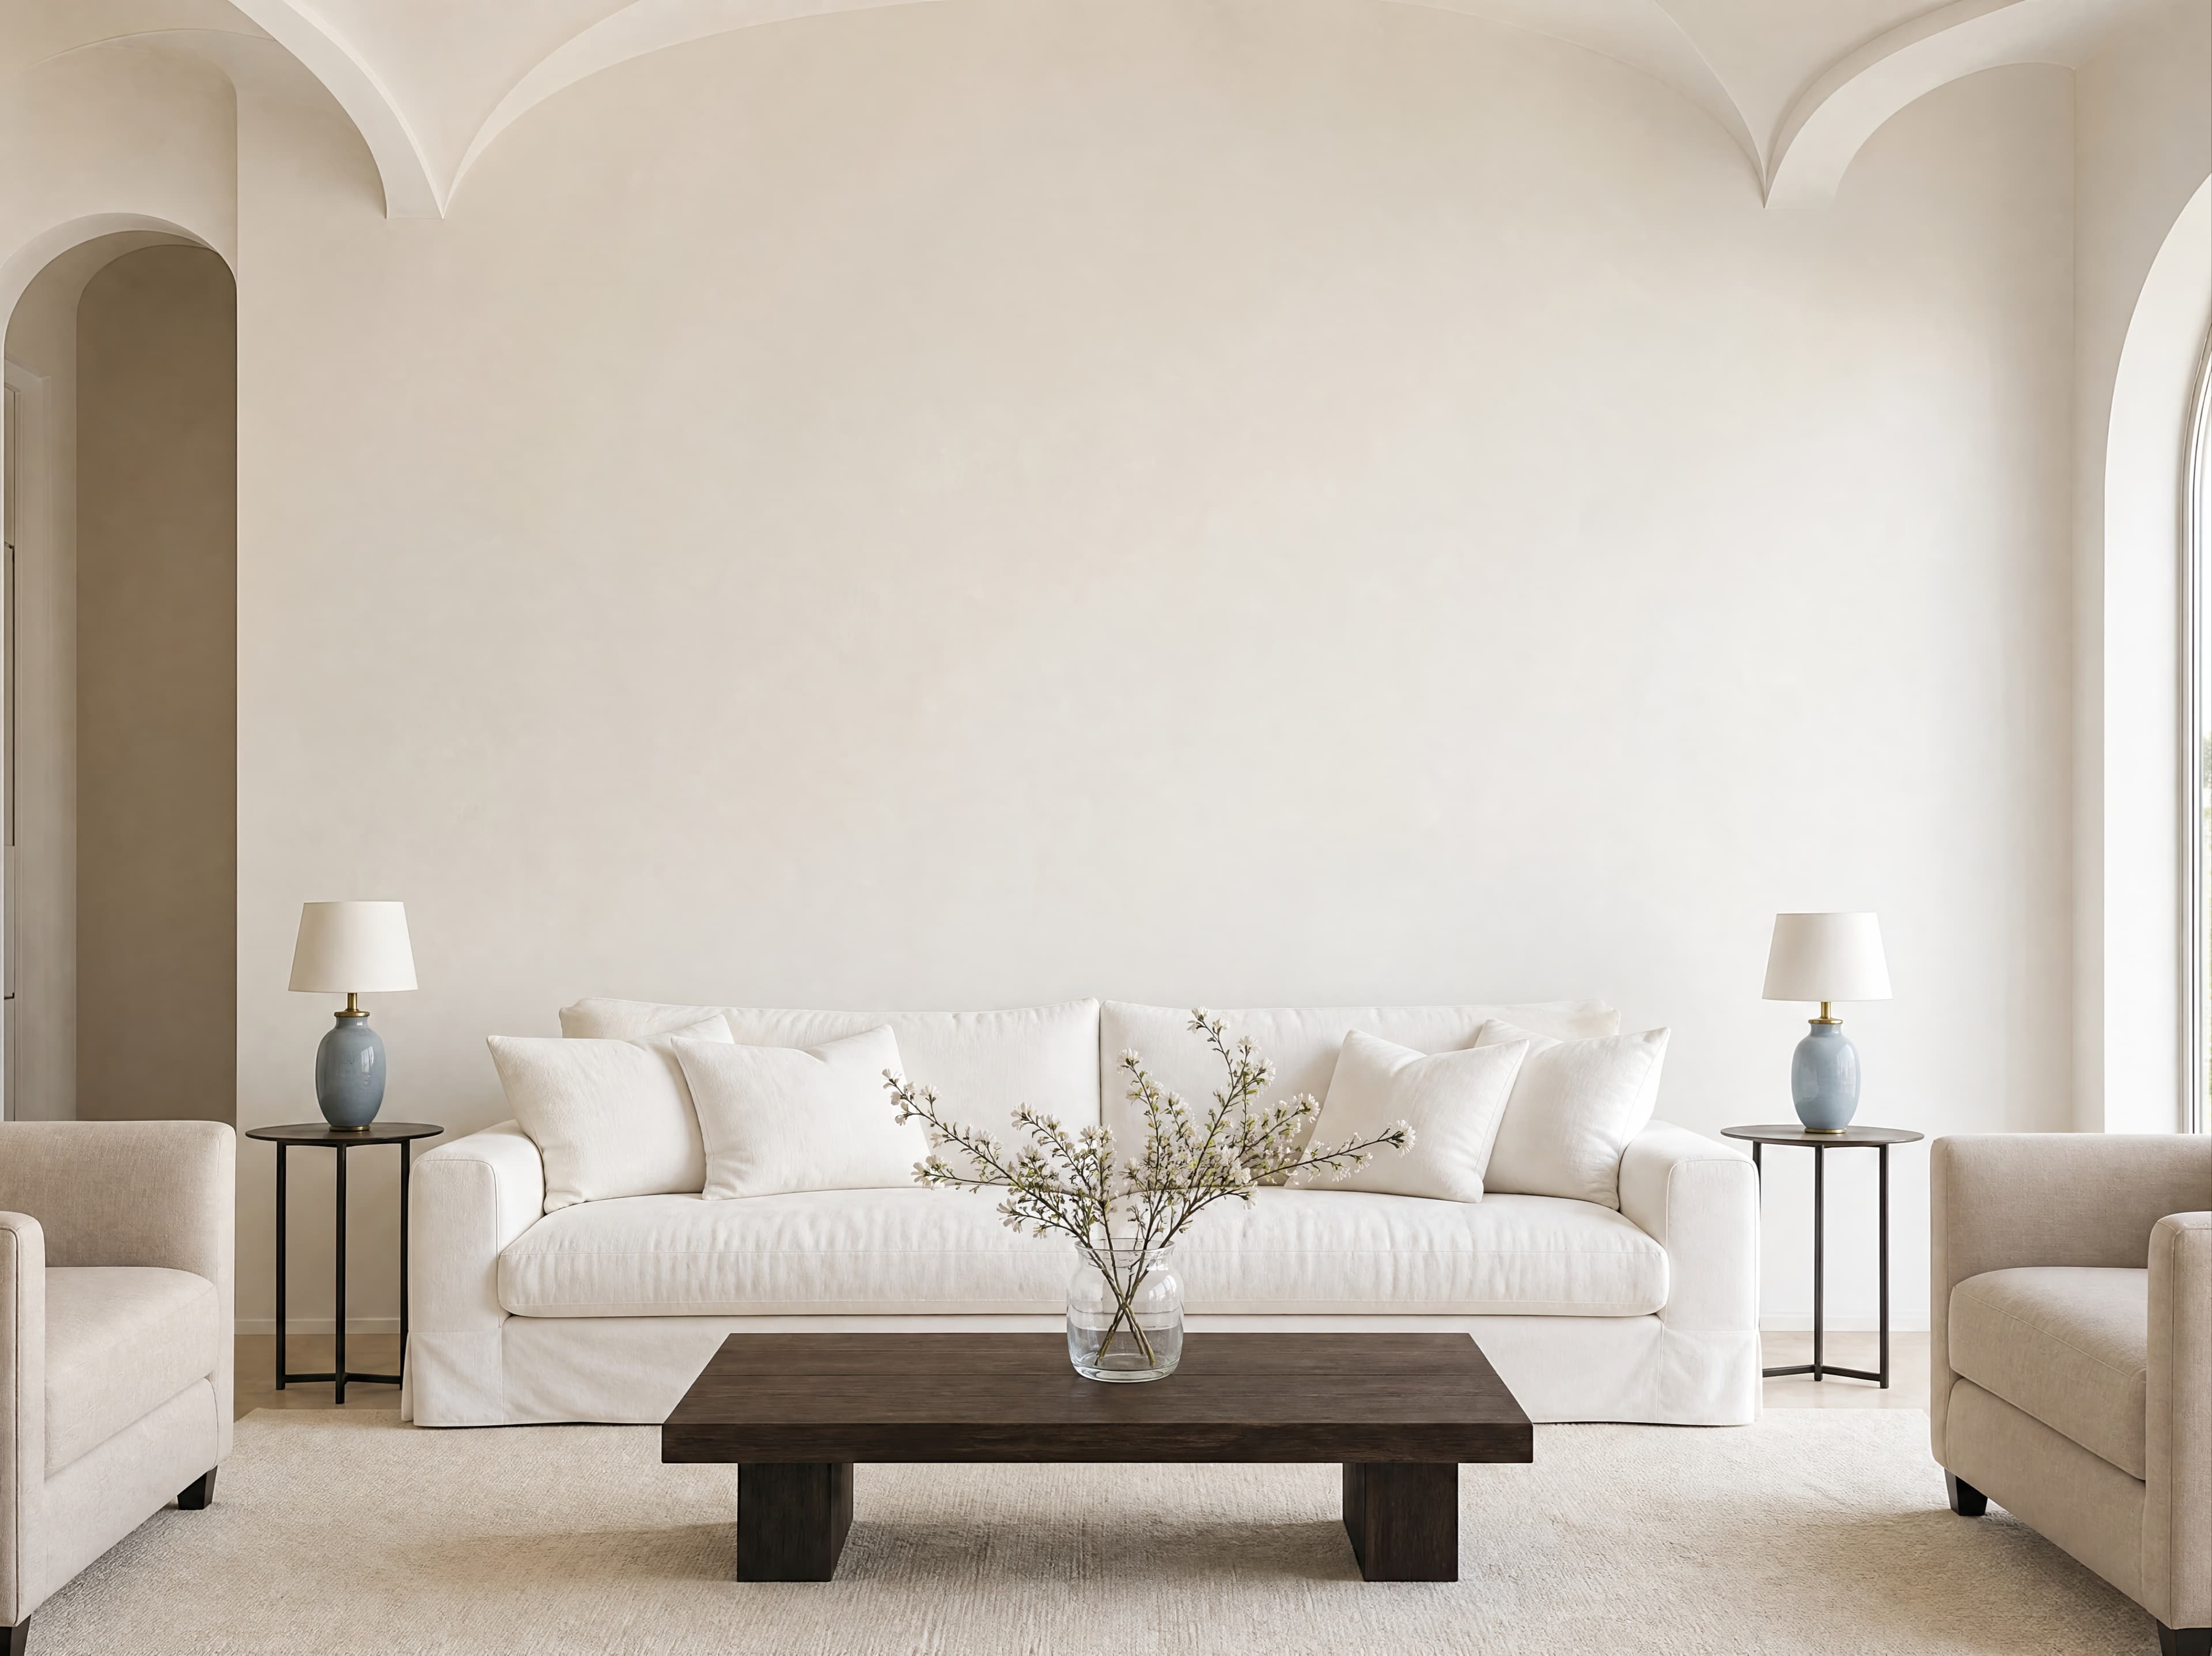
Room pick 10
Calibrated wall reference: 191.5 × 143.6 in (486 × 365 cm)
Try this room in the editor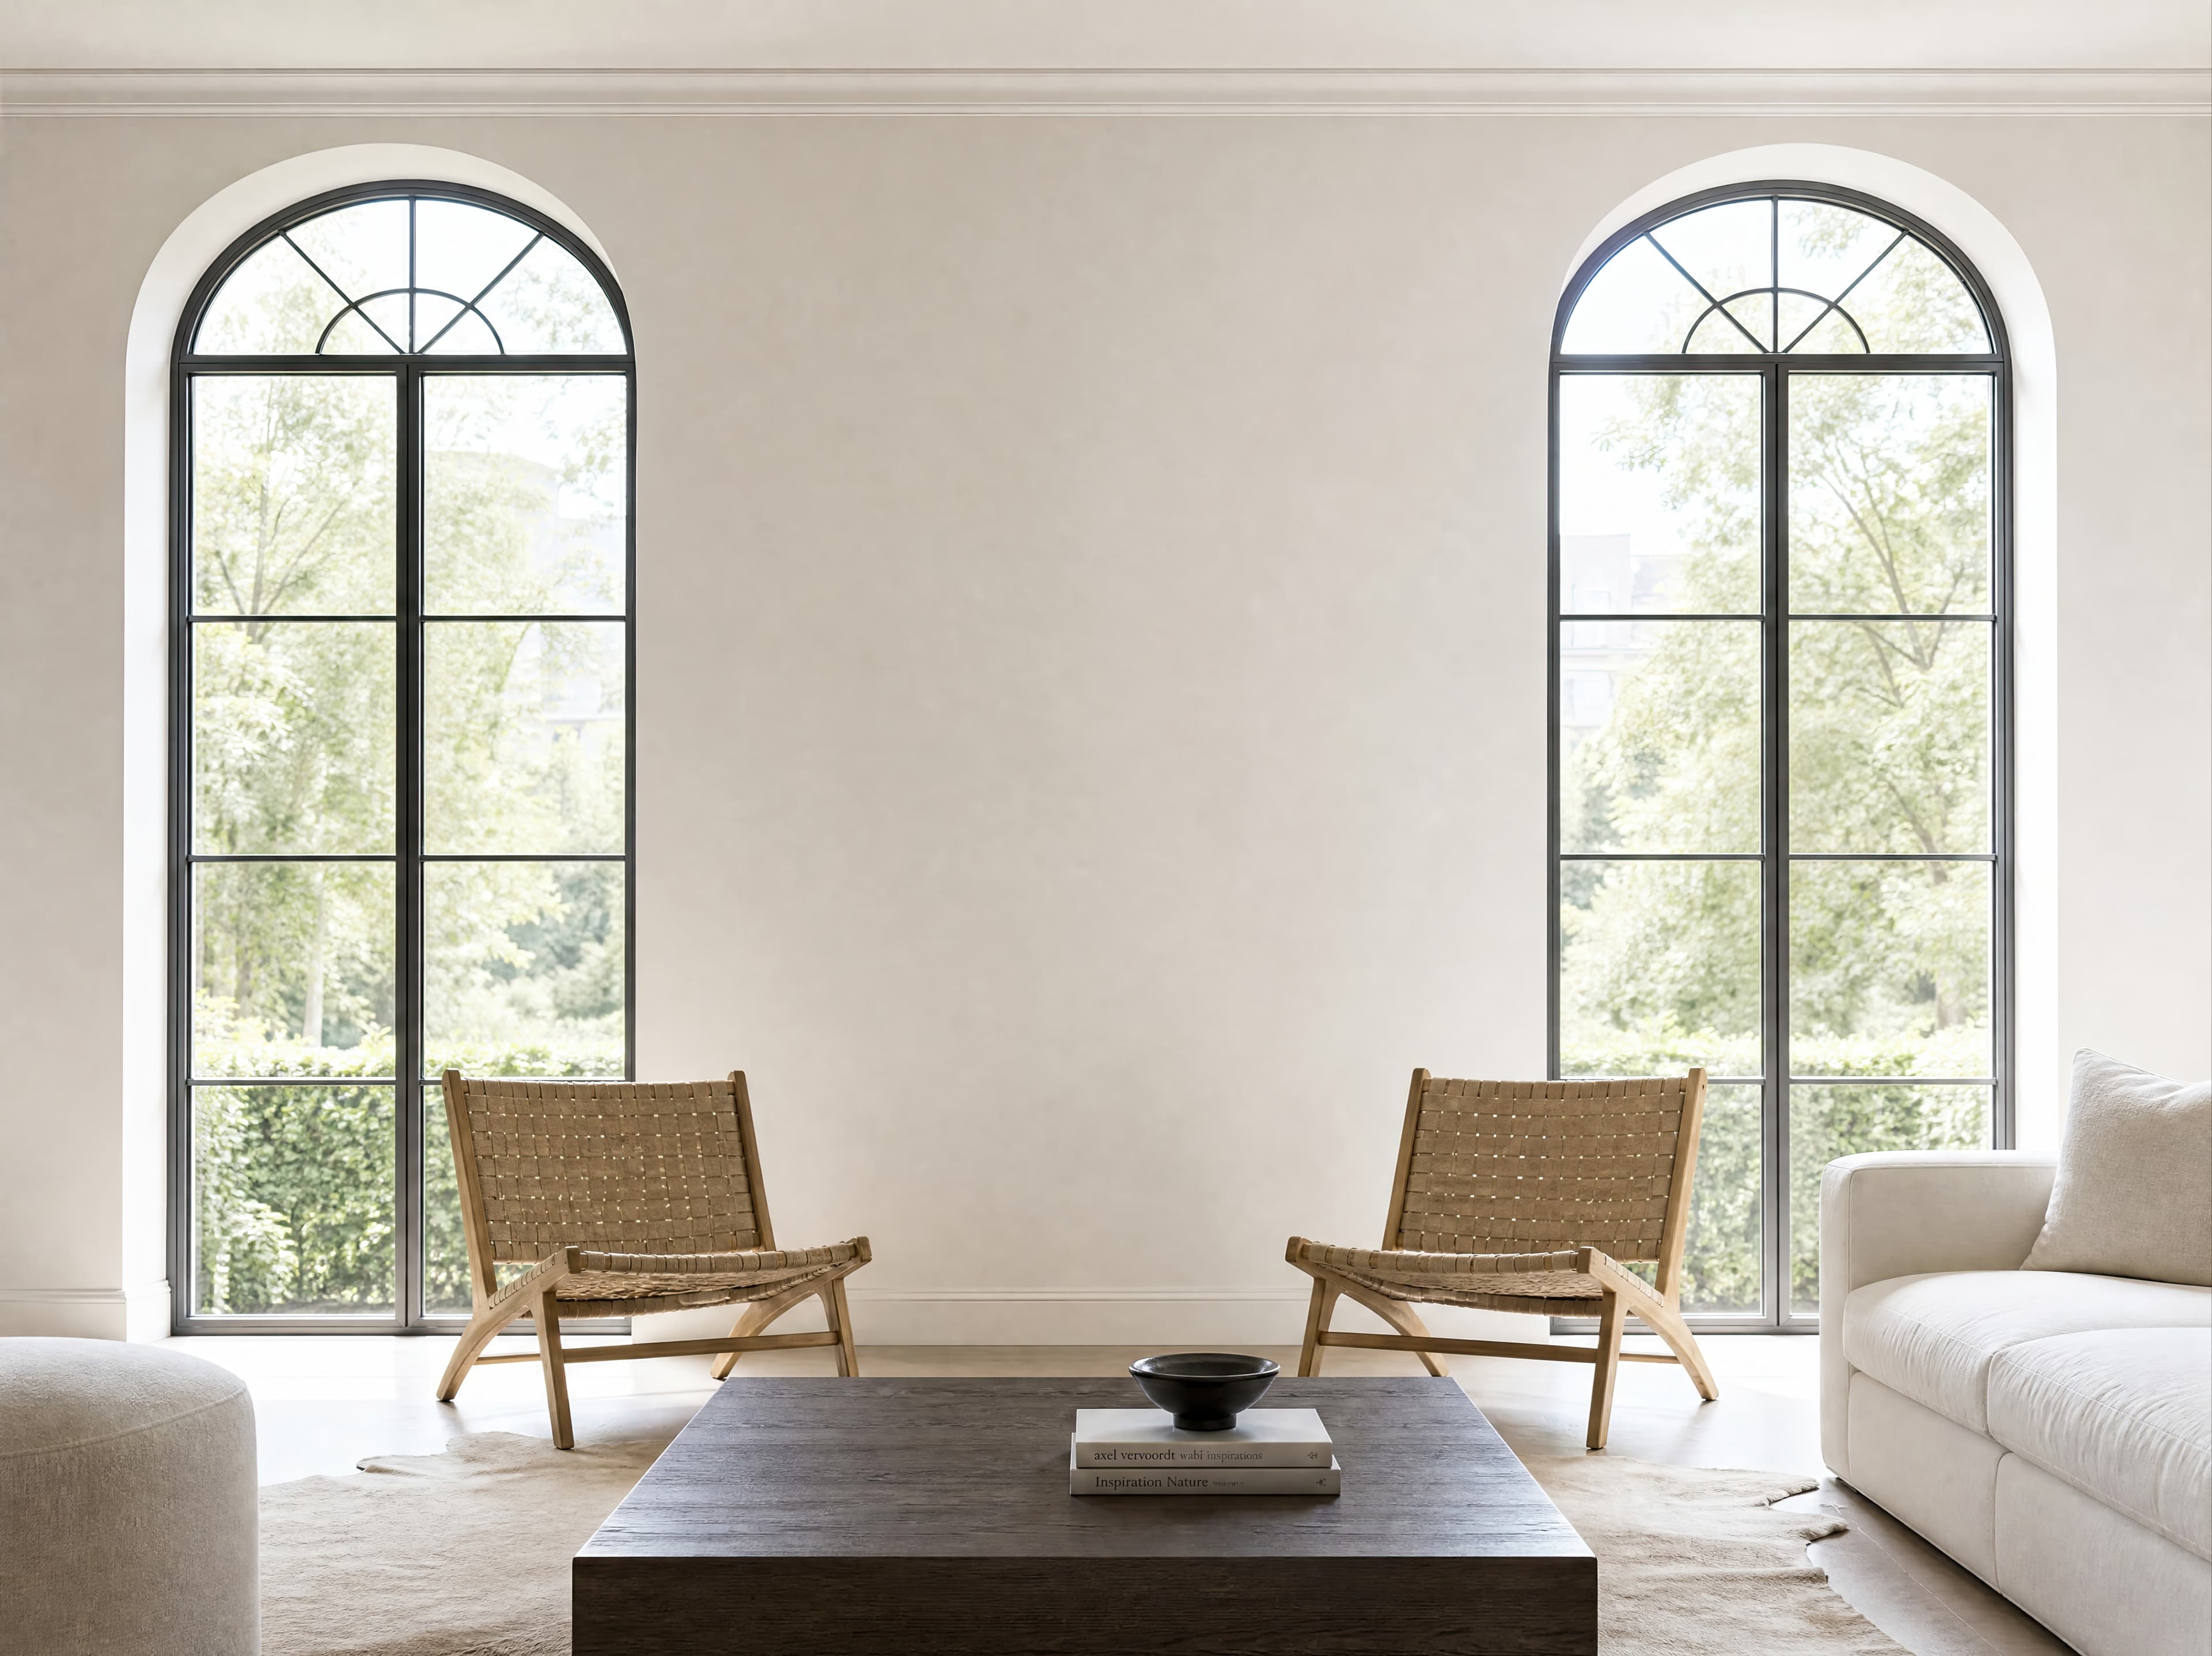
Room pick 11
Calibrated wall reference: 193.4 × 145.1 in (491 × 369 cm)
Try this room in the editor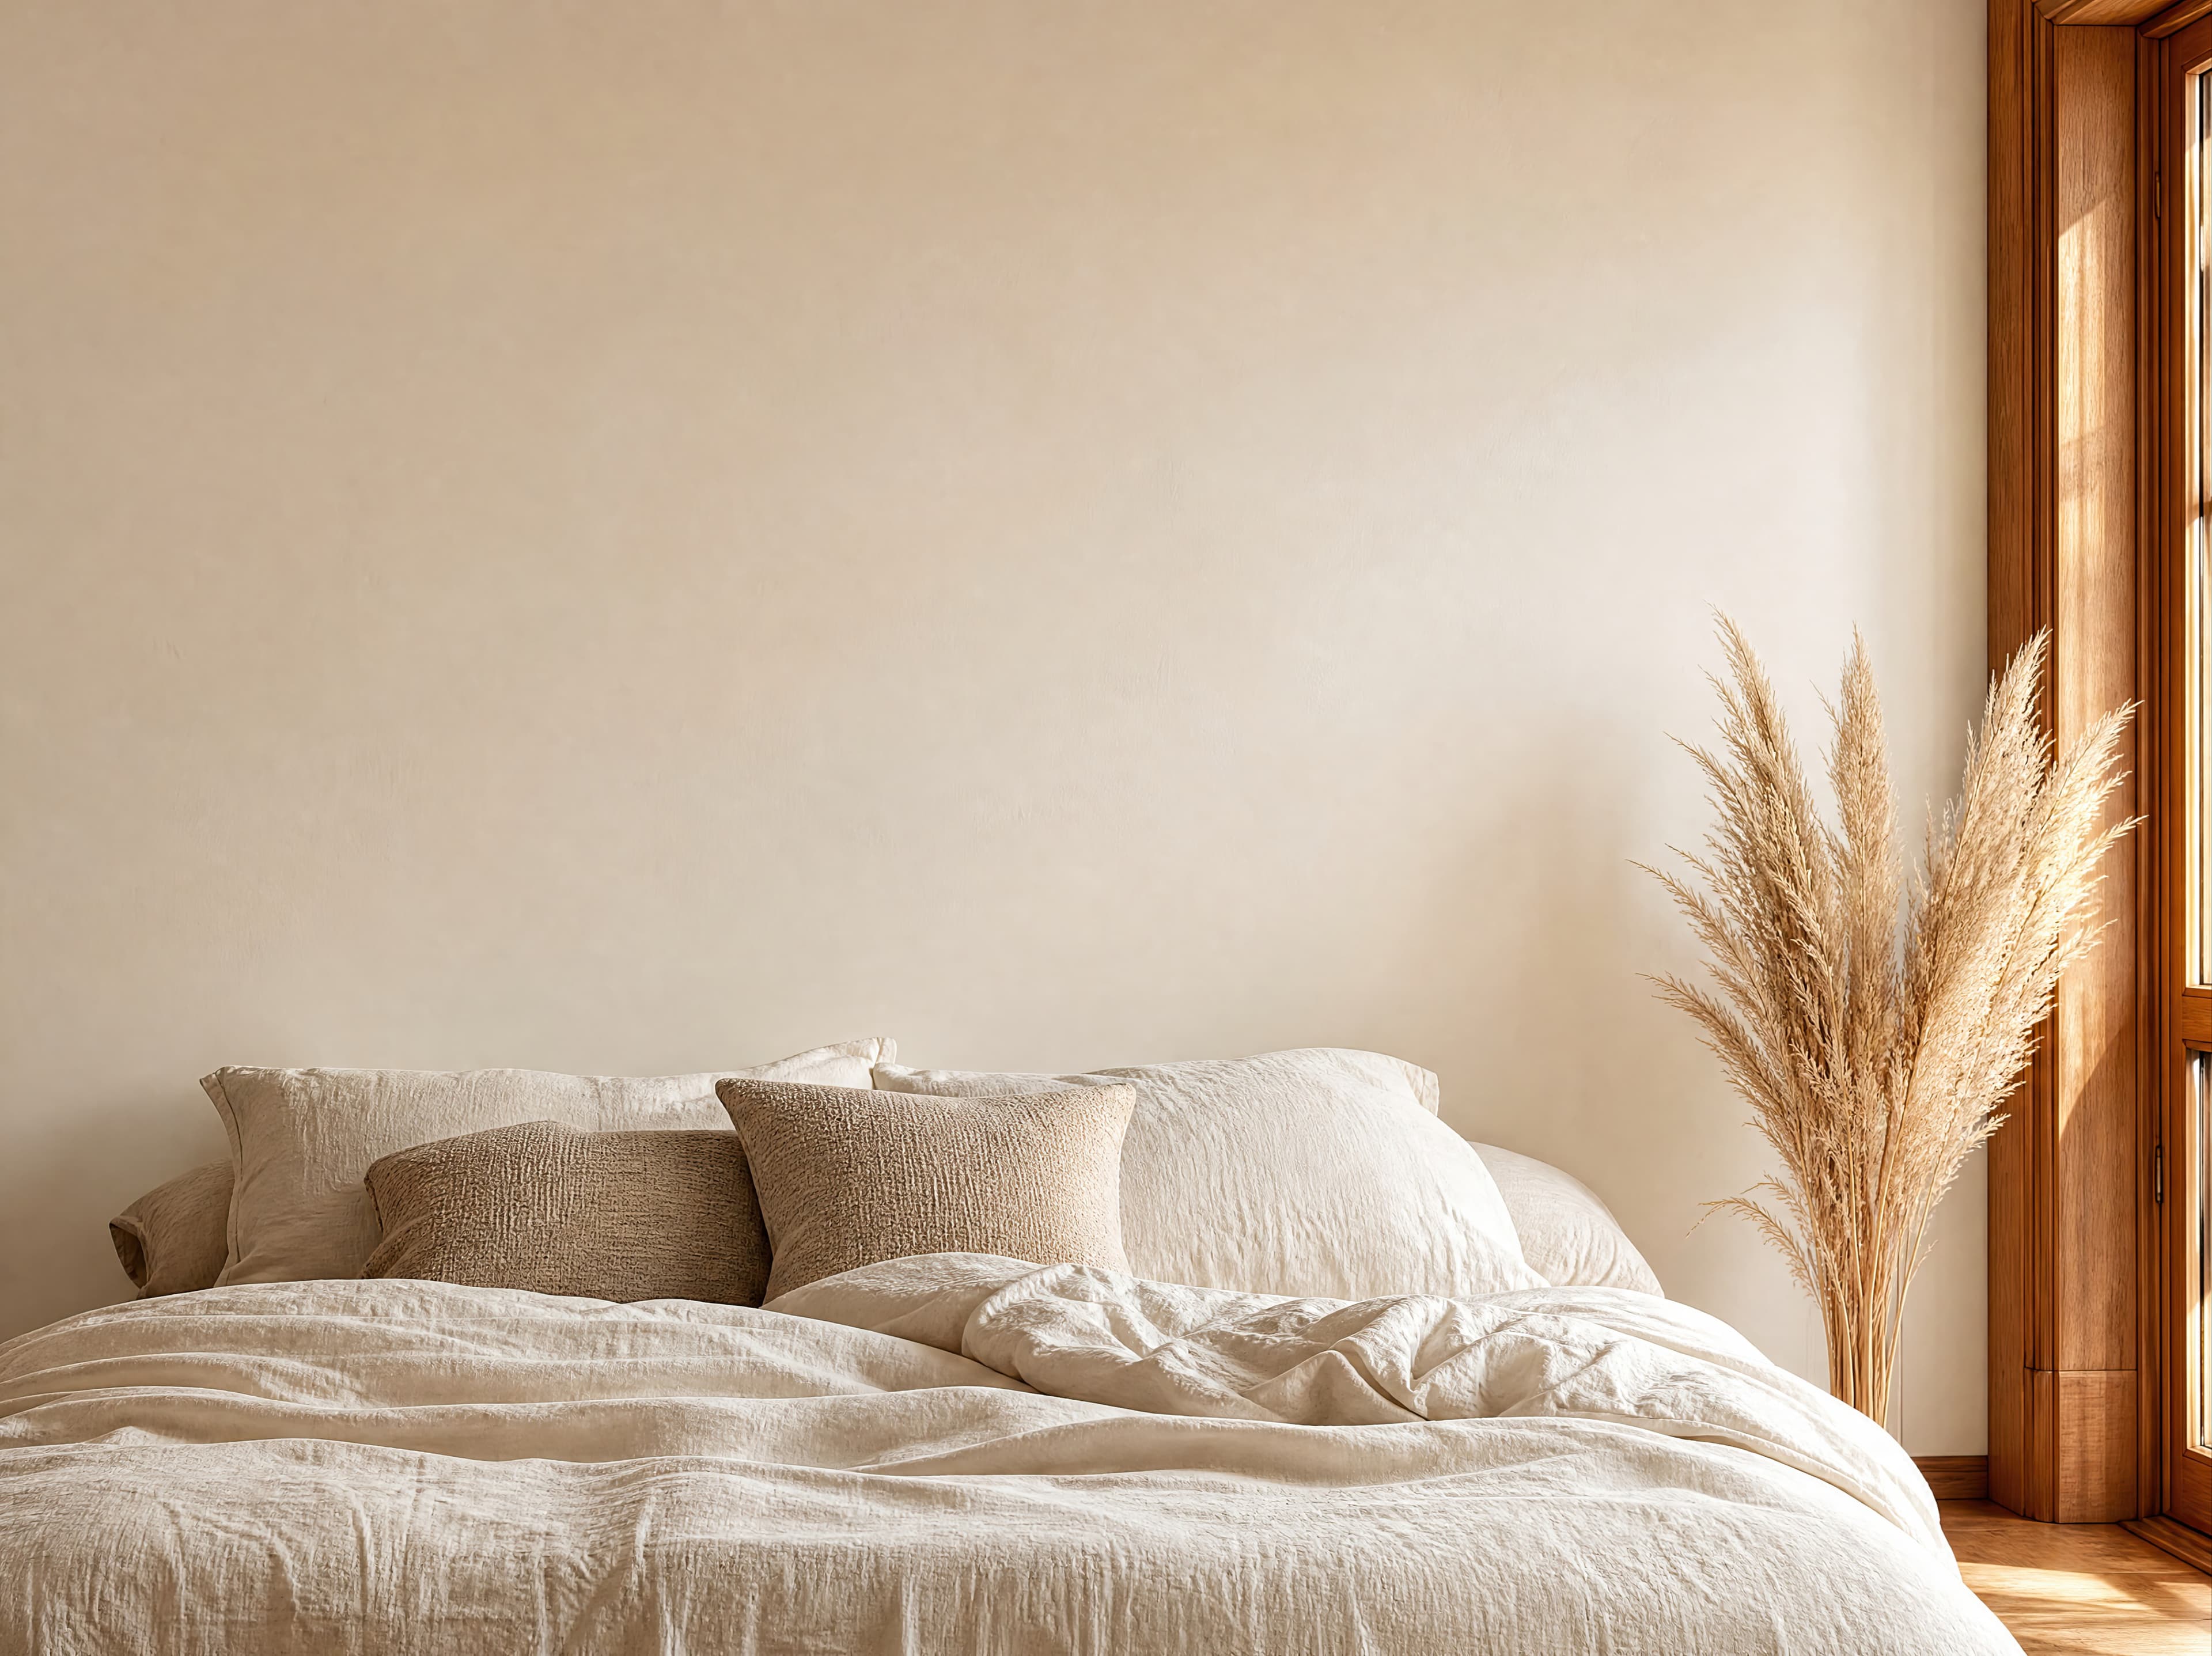
Room pick 12
Calibrated wall reference: 141.5 × 106.1 in (359 × 269 cm)
Try this room in the editor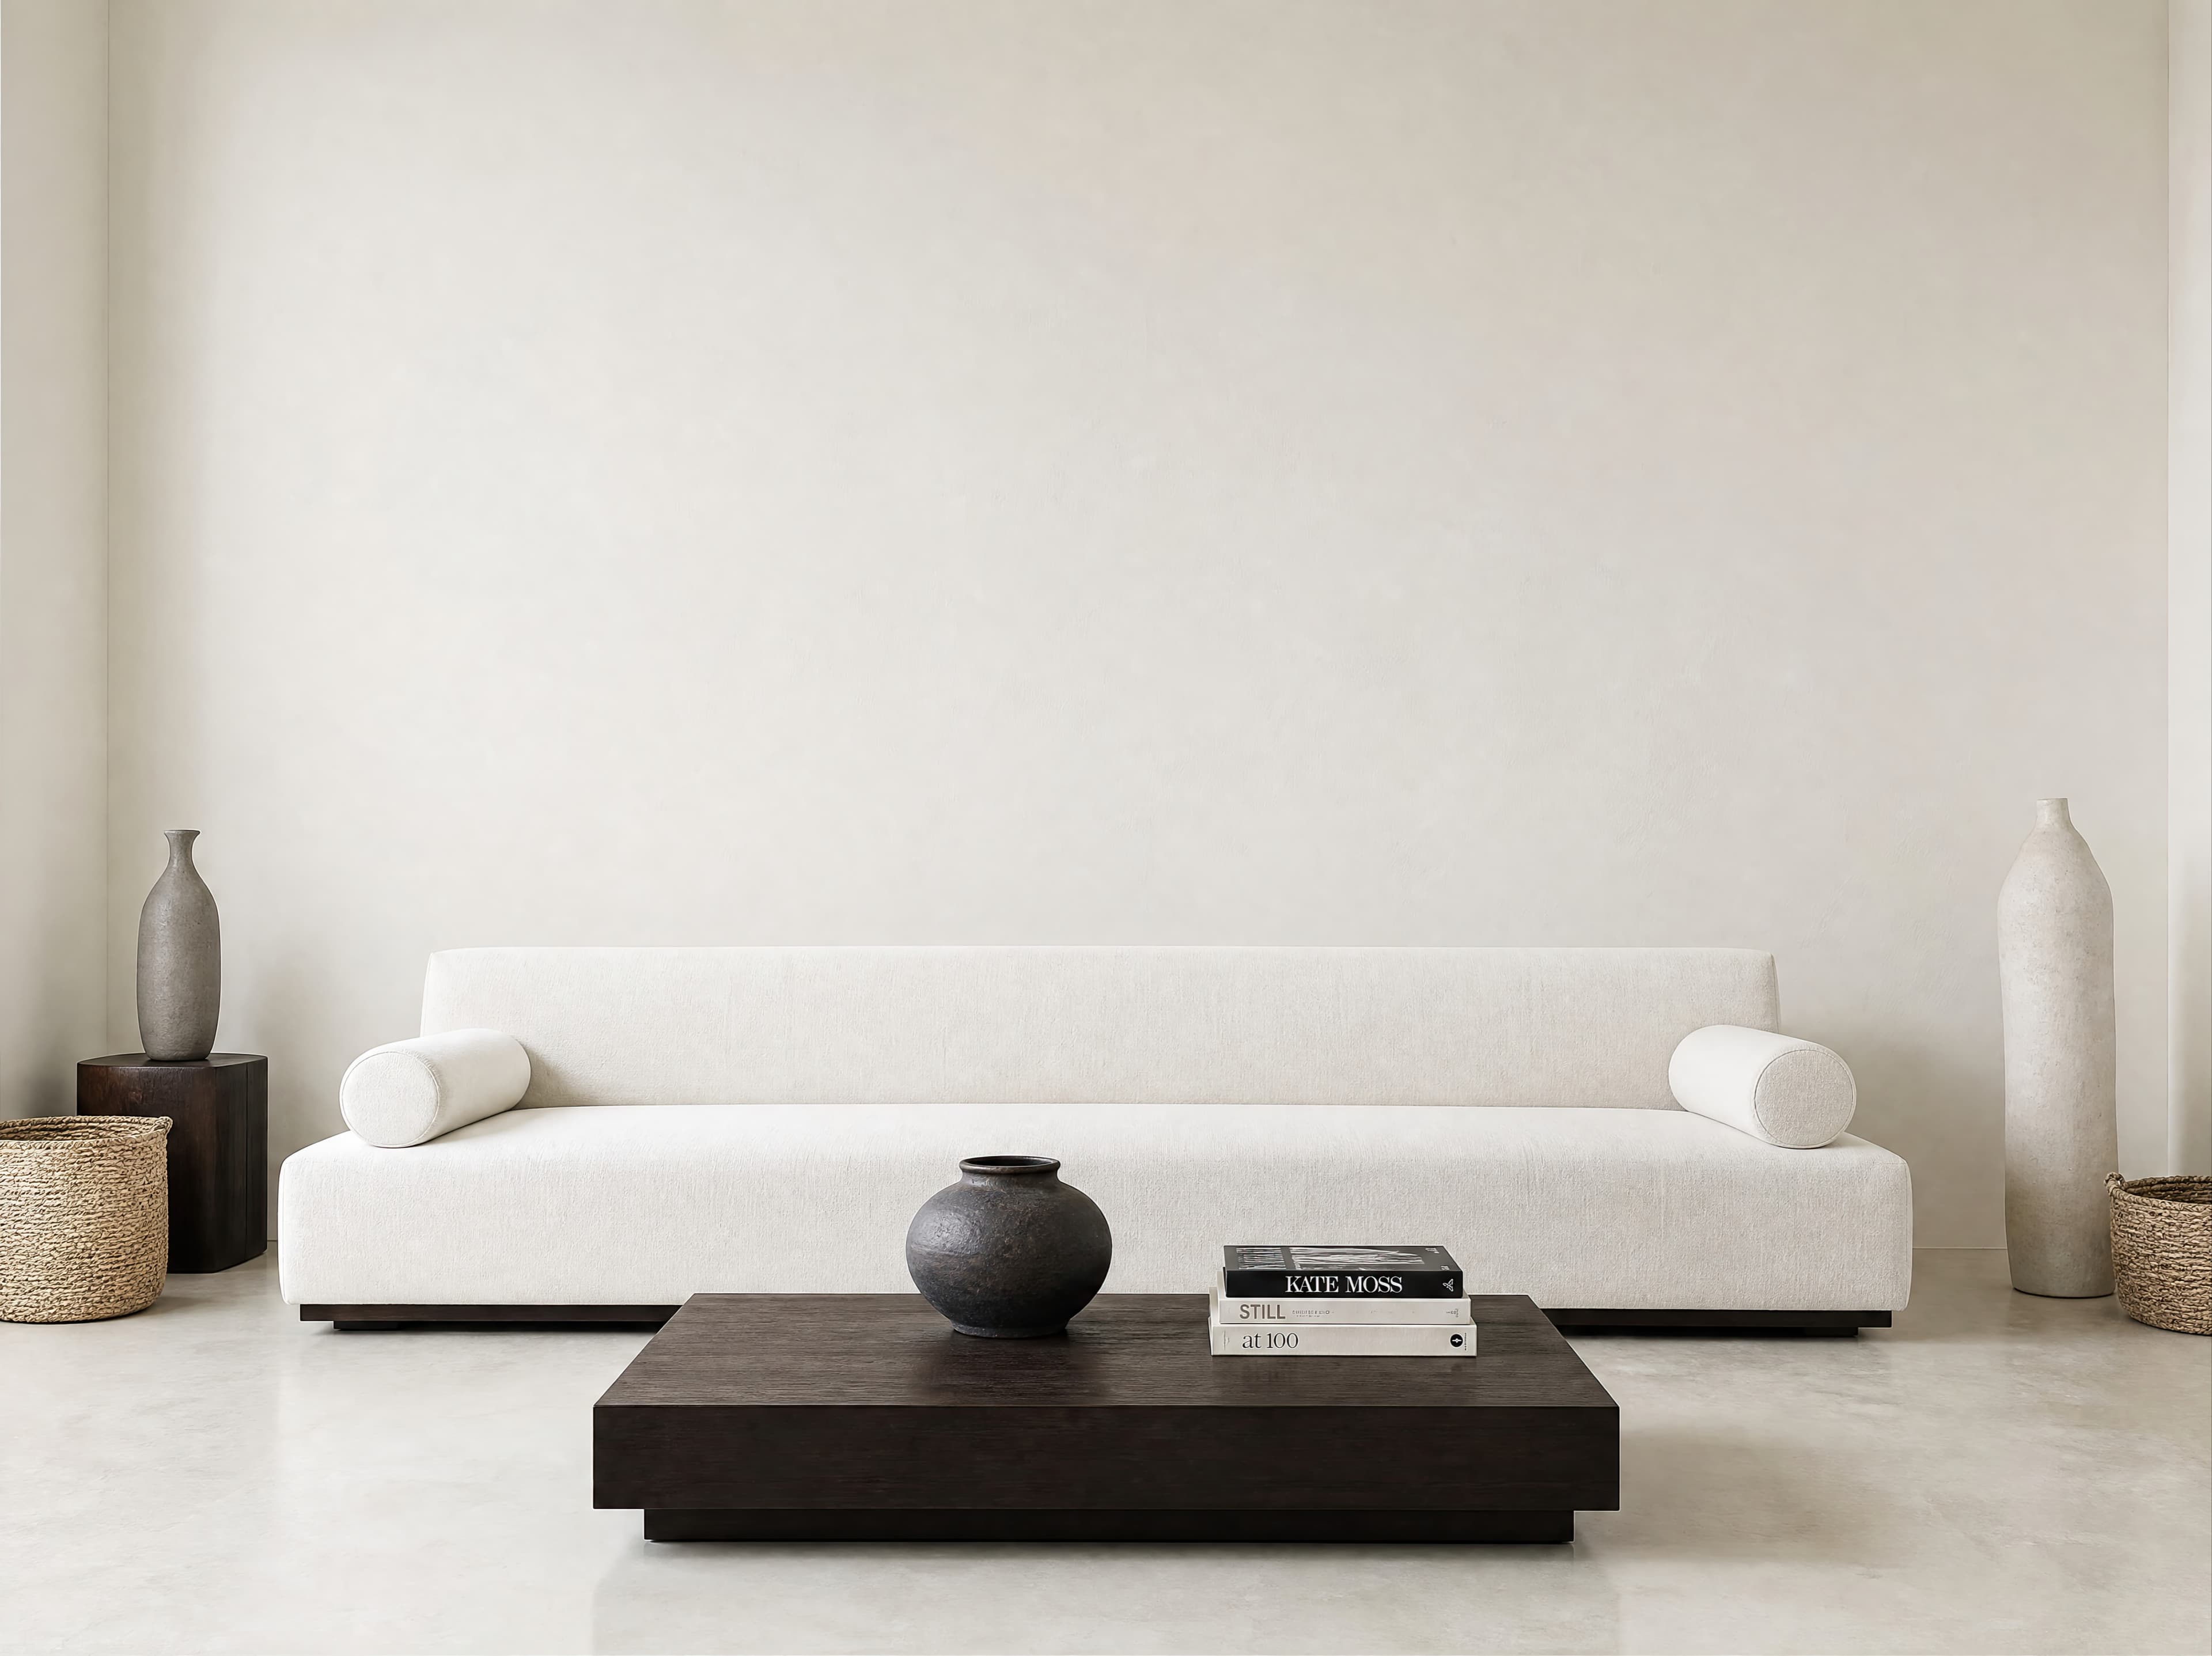
Room pick 13
Calibrated wall reference: 180 × 135 in (457 × 343 cm)
Try this room in the editor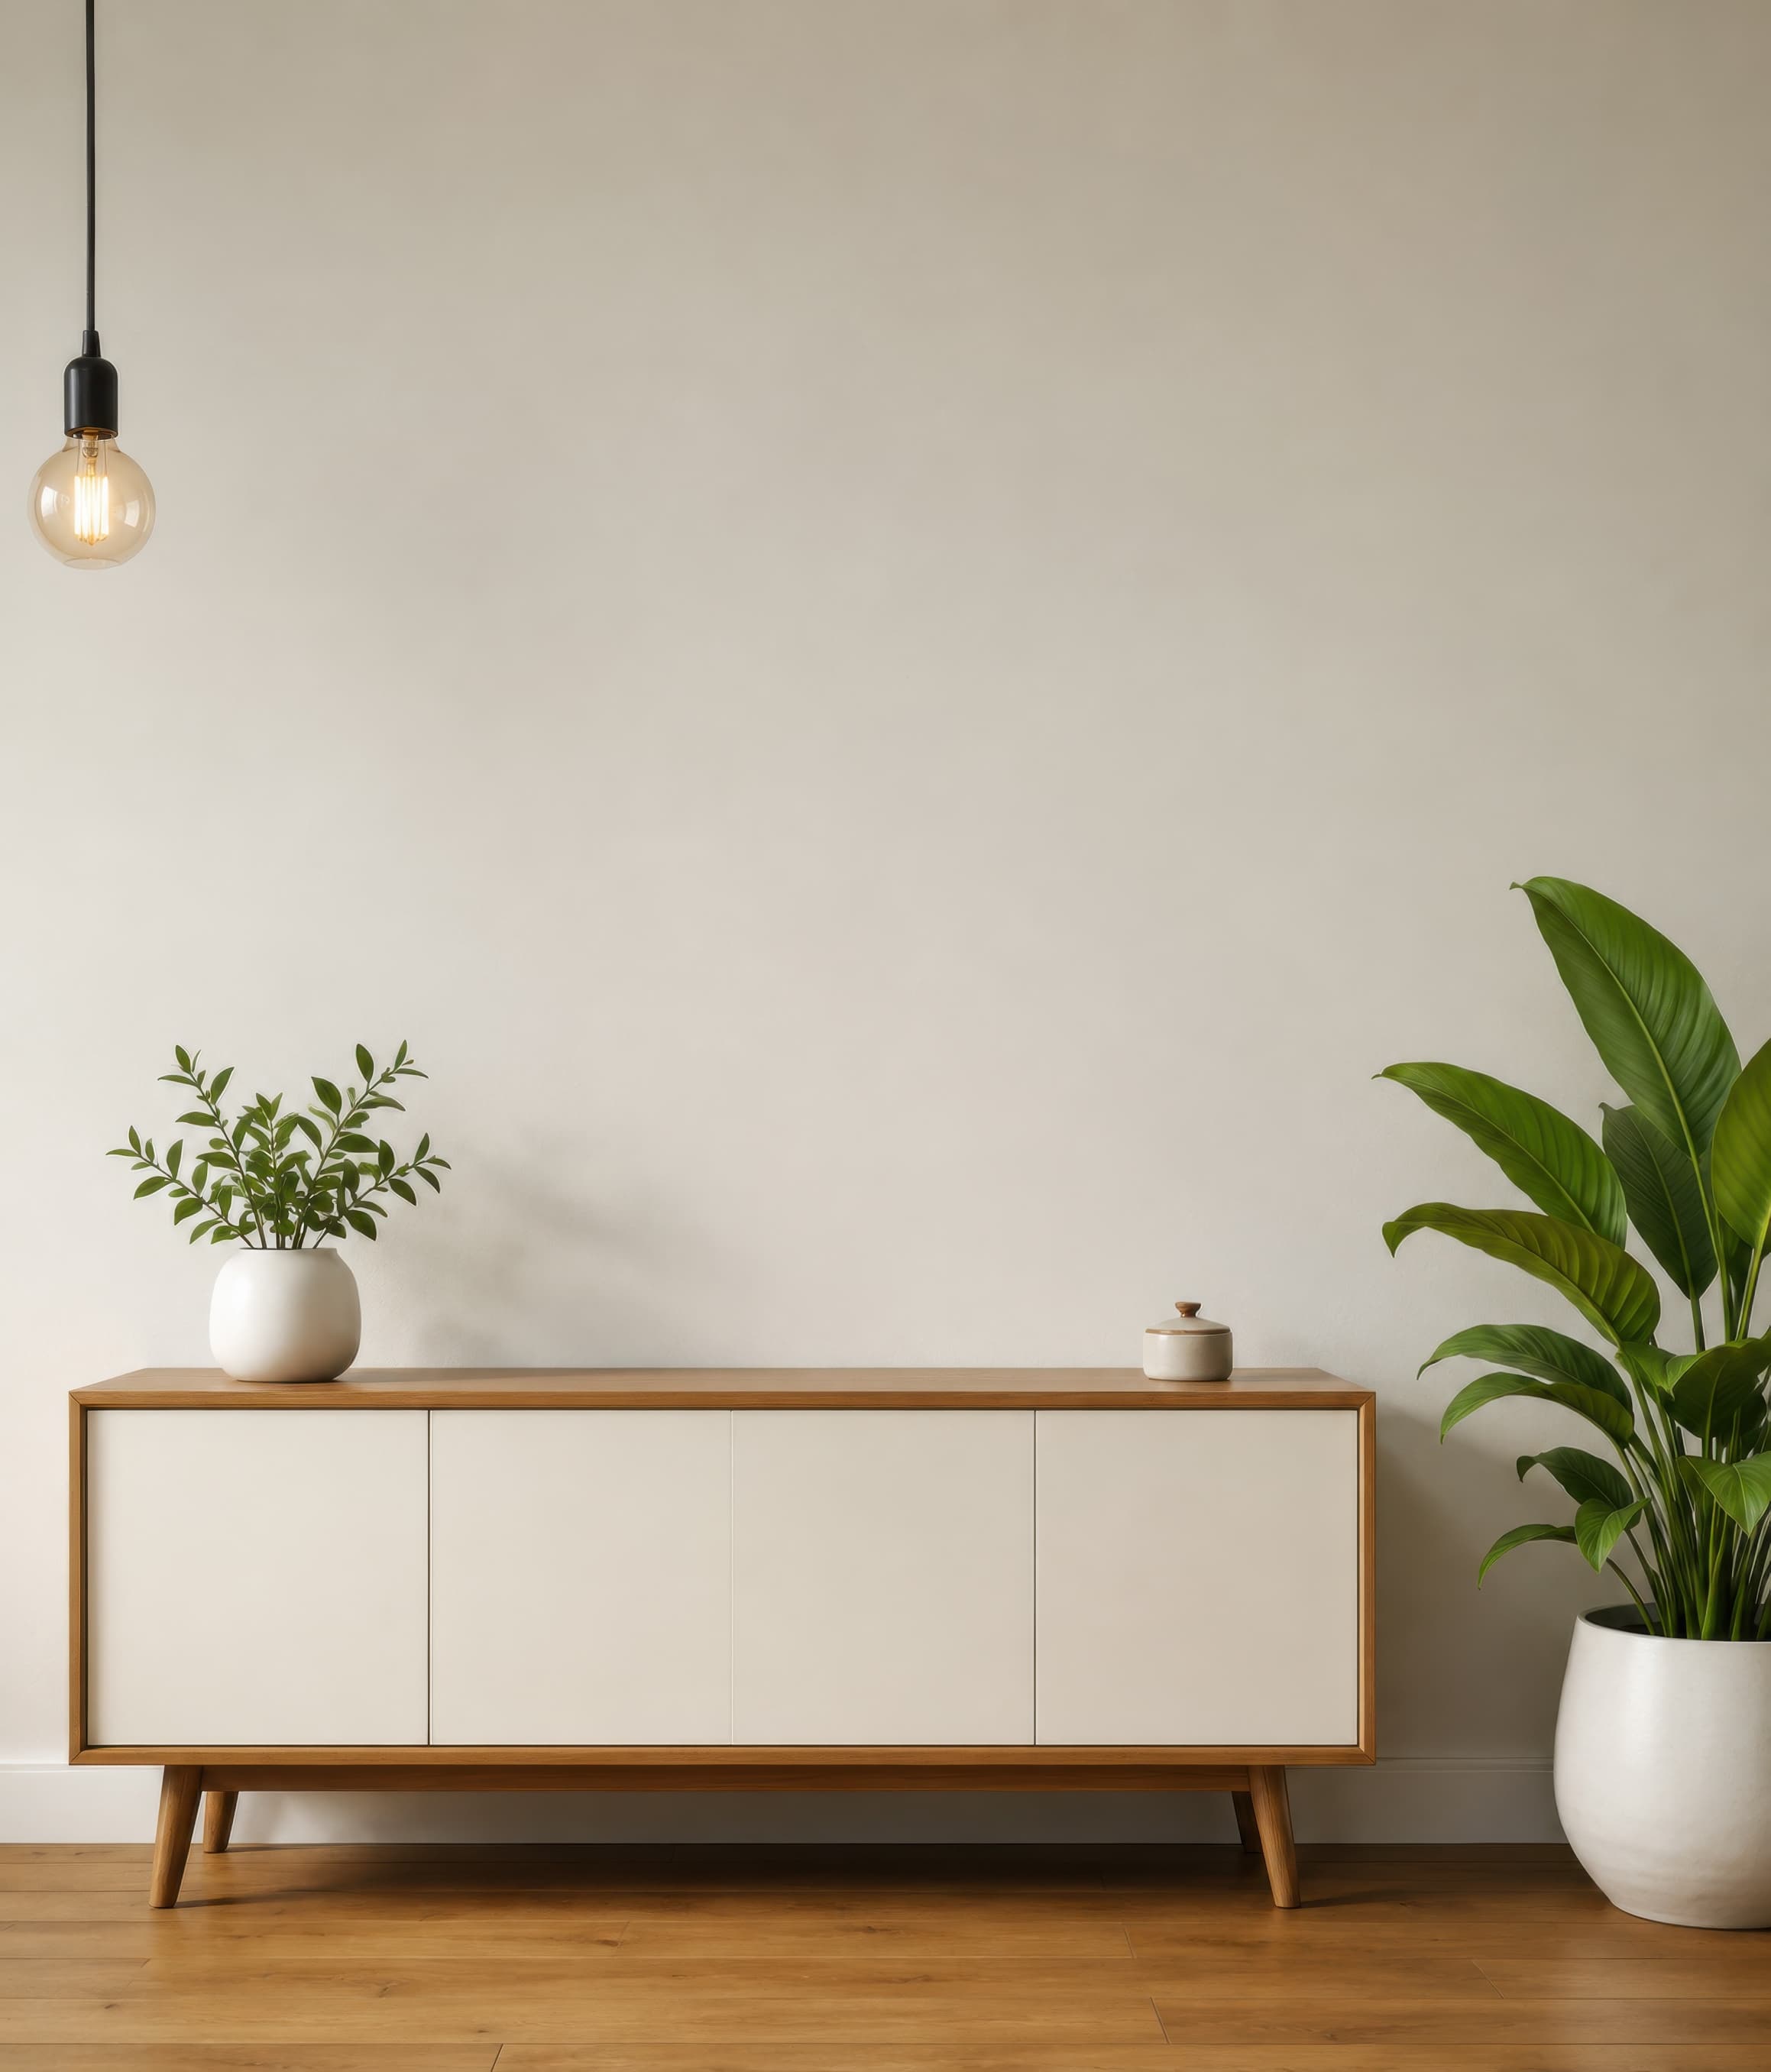
Room pick 14
Calibrated wall reference: 76.8 × 89.9 in (195 × 228 cm)
Try this room in the editor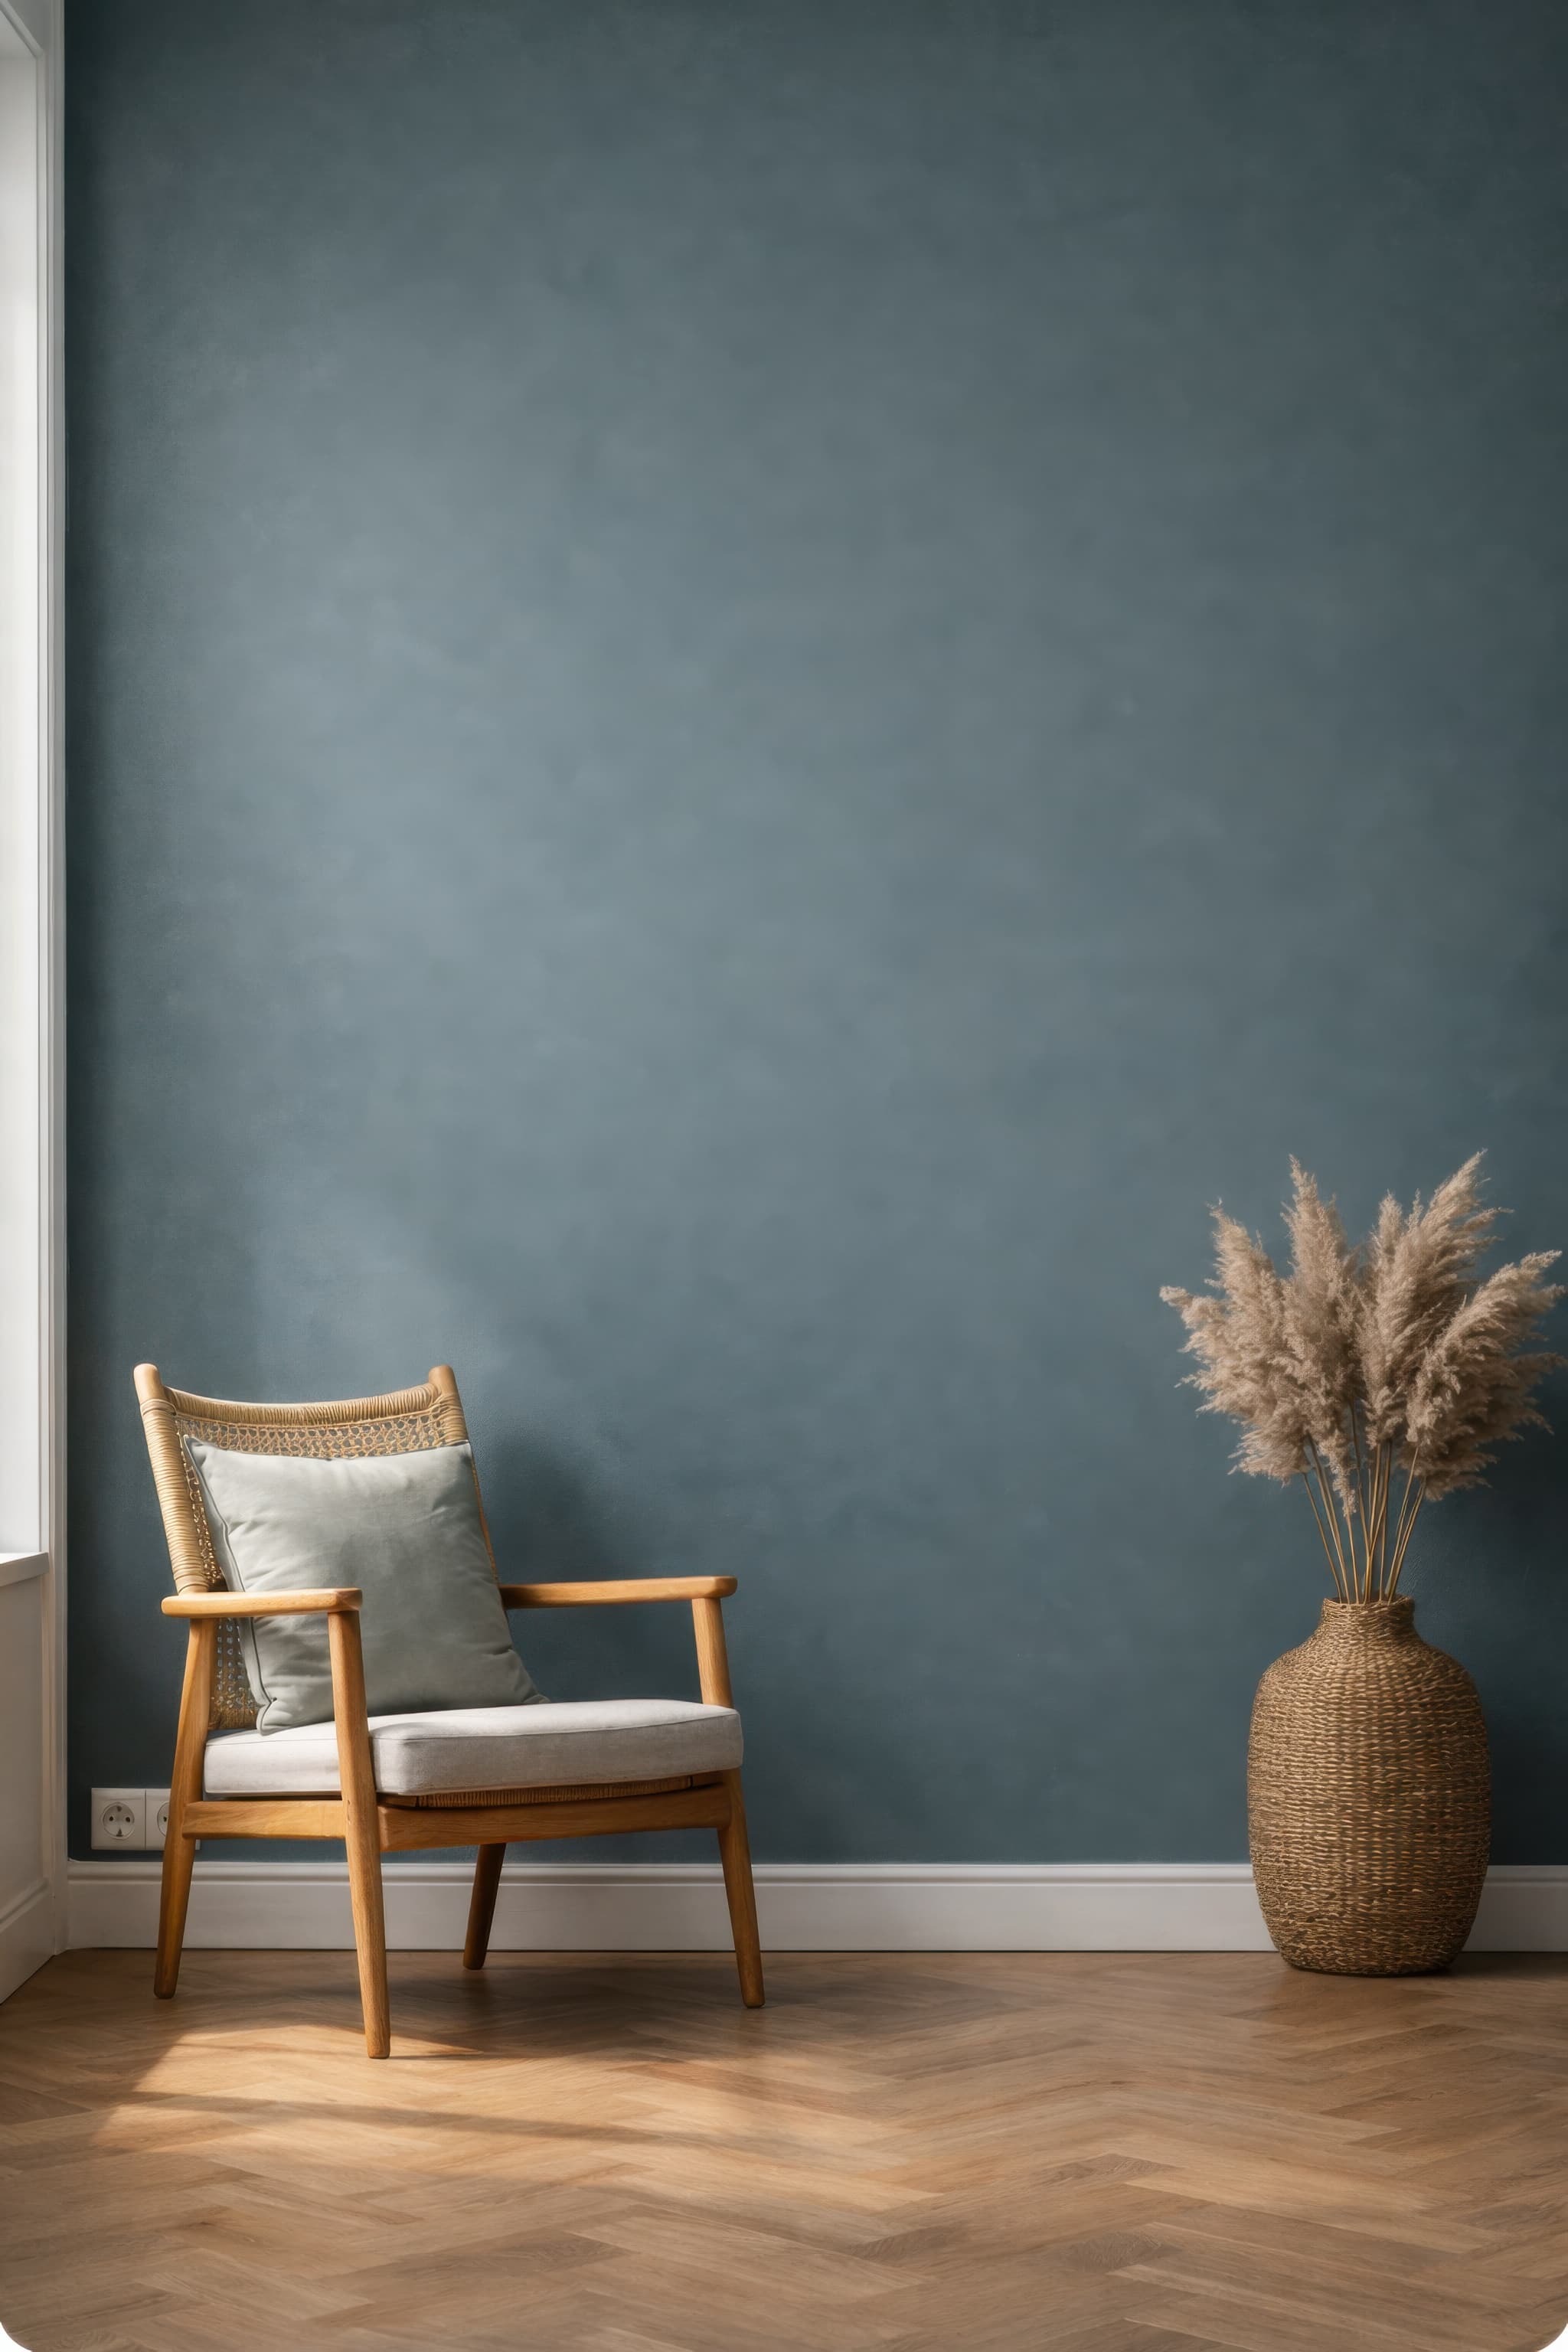
Room pick 15
Calibrated wall reference: 73.8 × 98.4 in (187 × 250 cm)
Try this room in the editor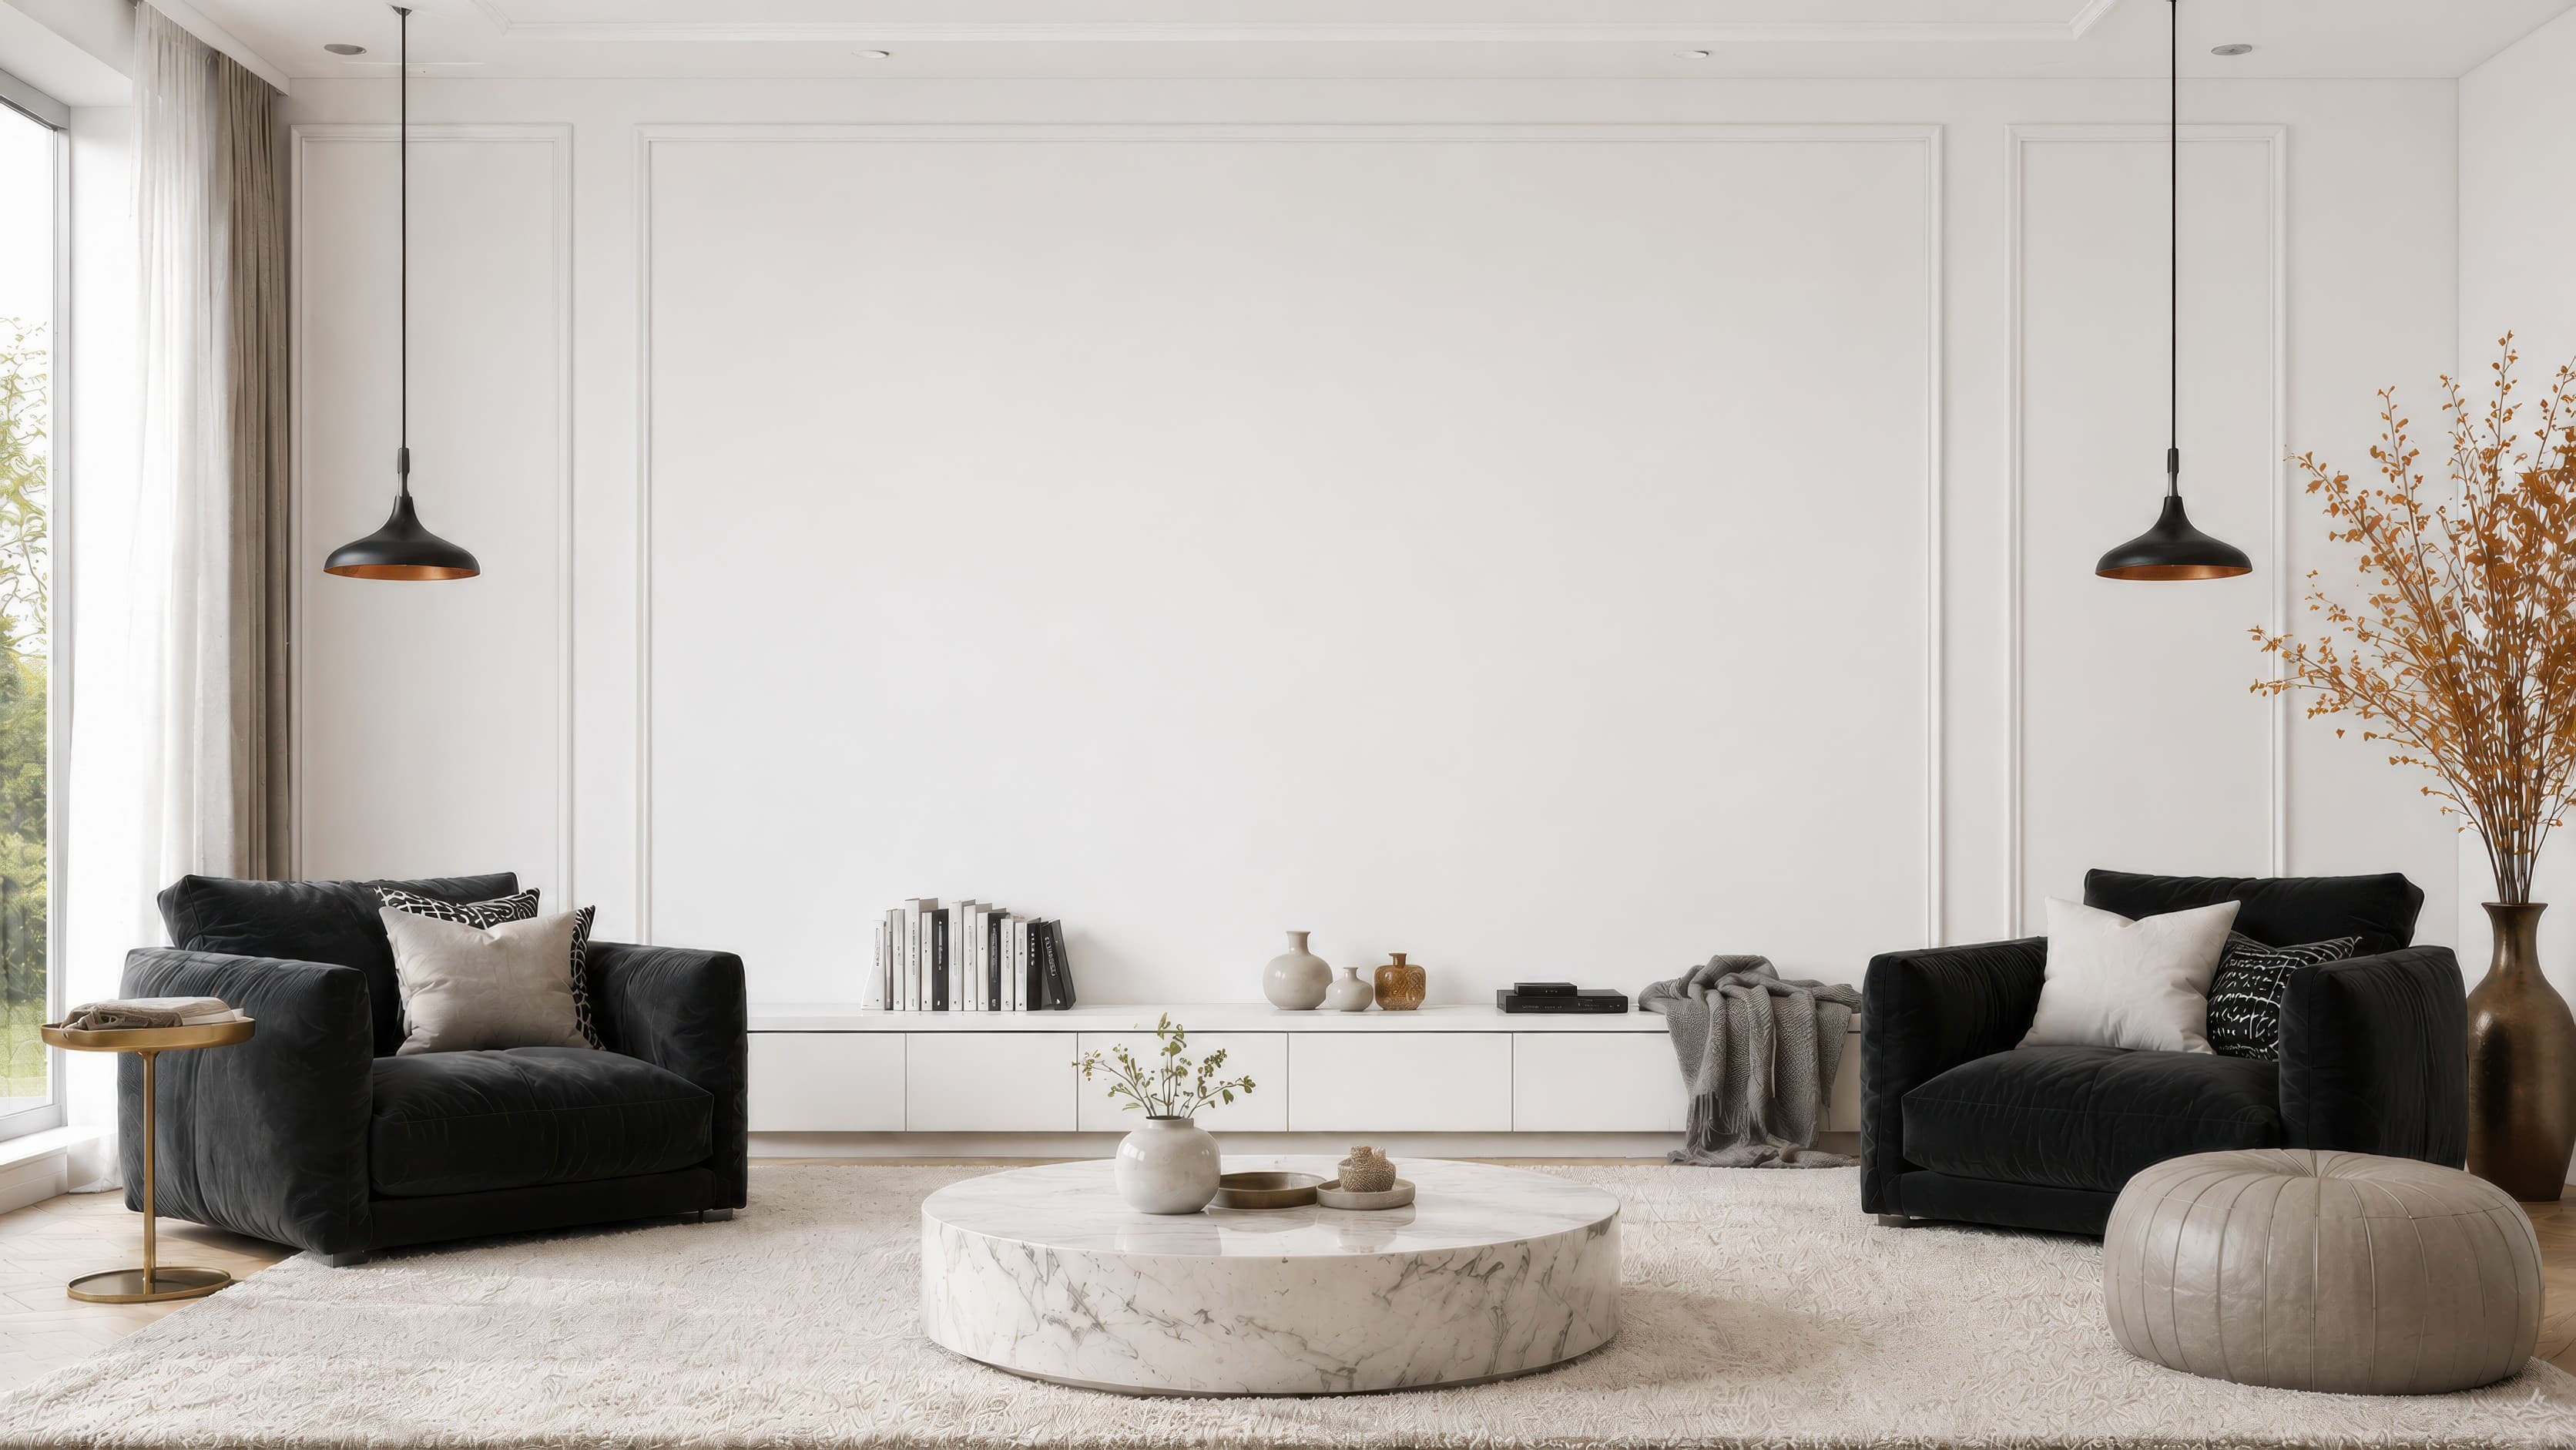
Room pick 16
Calibrated wall reference: 205.2 × 115.1 in (521 × 292 cm)
Try this room in the editor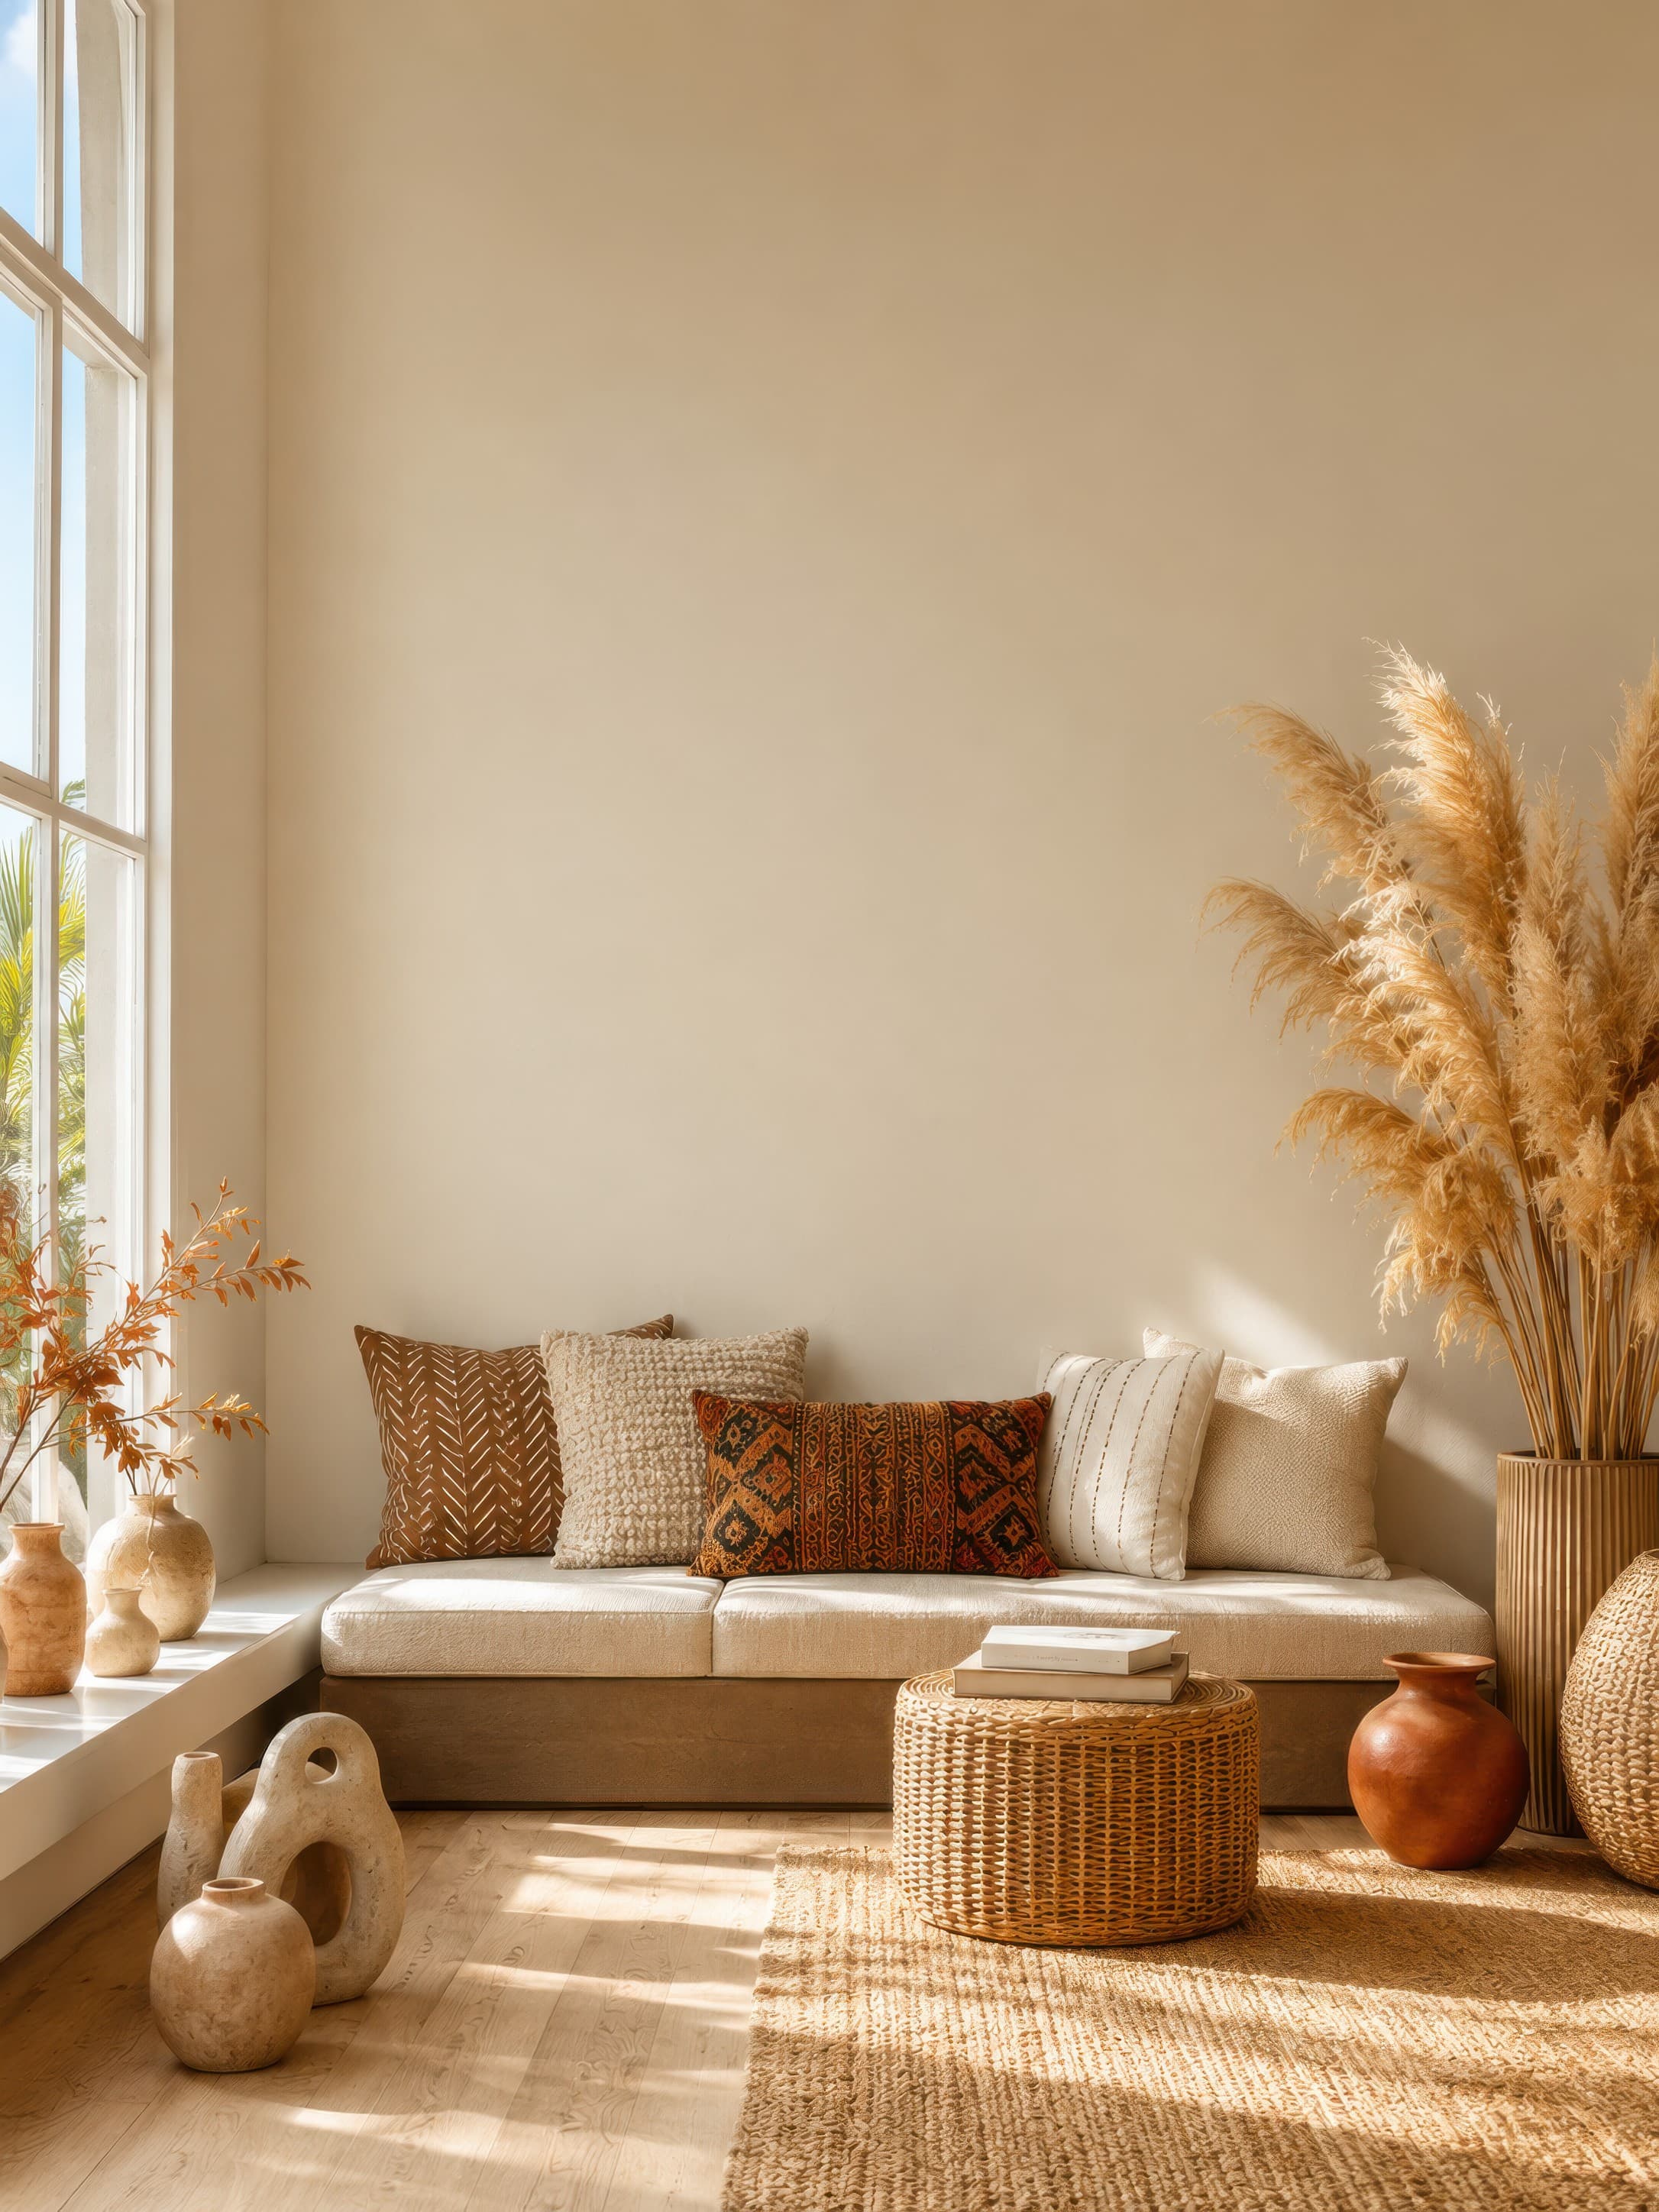
Room pick 17
Calibrated wall reference: 90 × 120 in (229 × 305 cm)
Try this room in the editor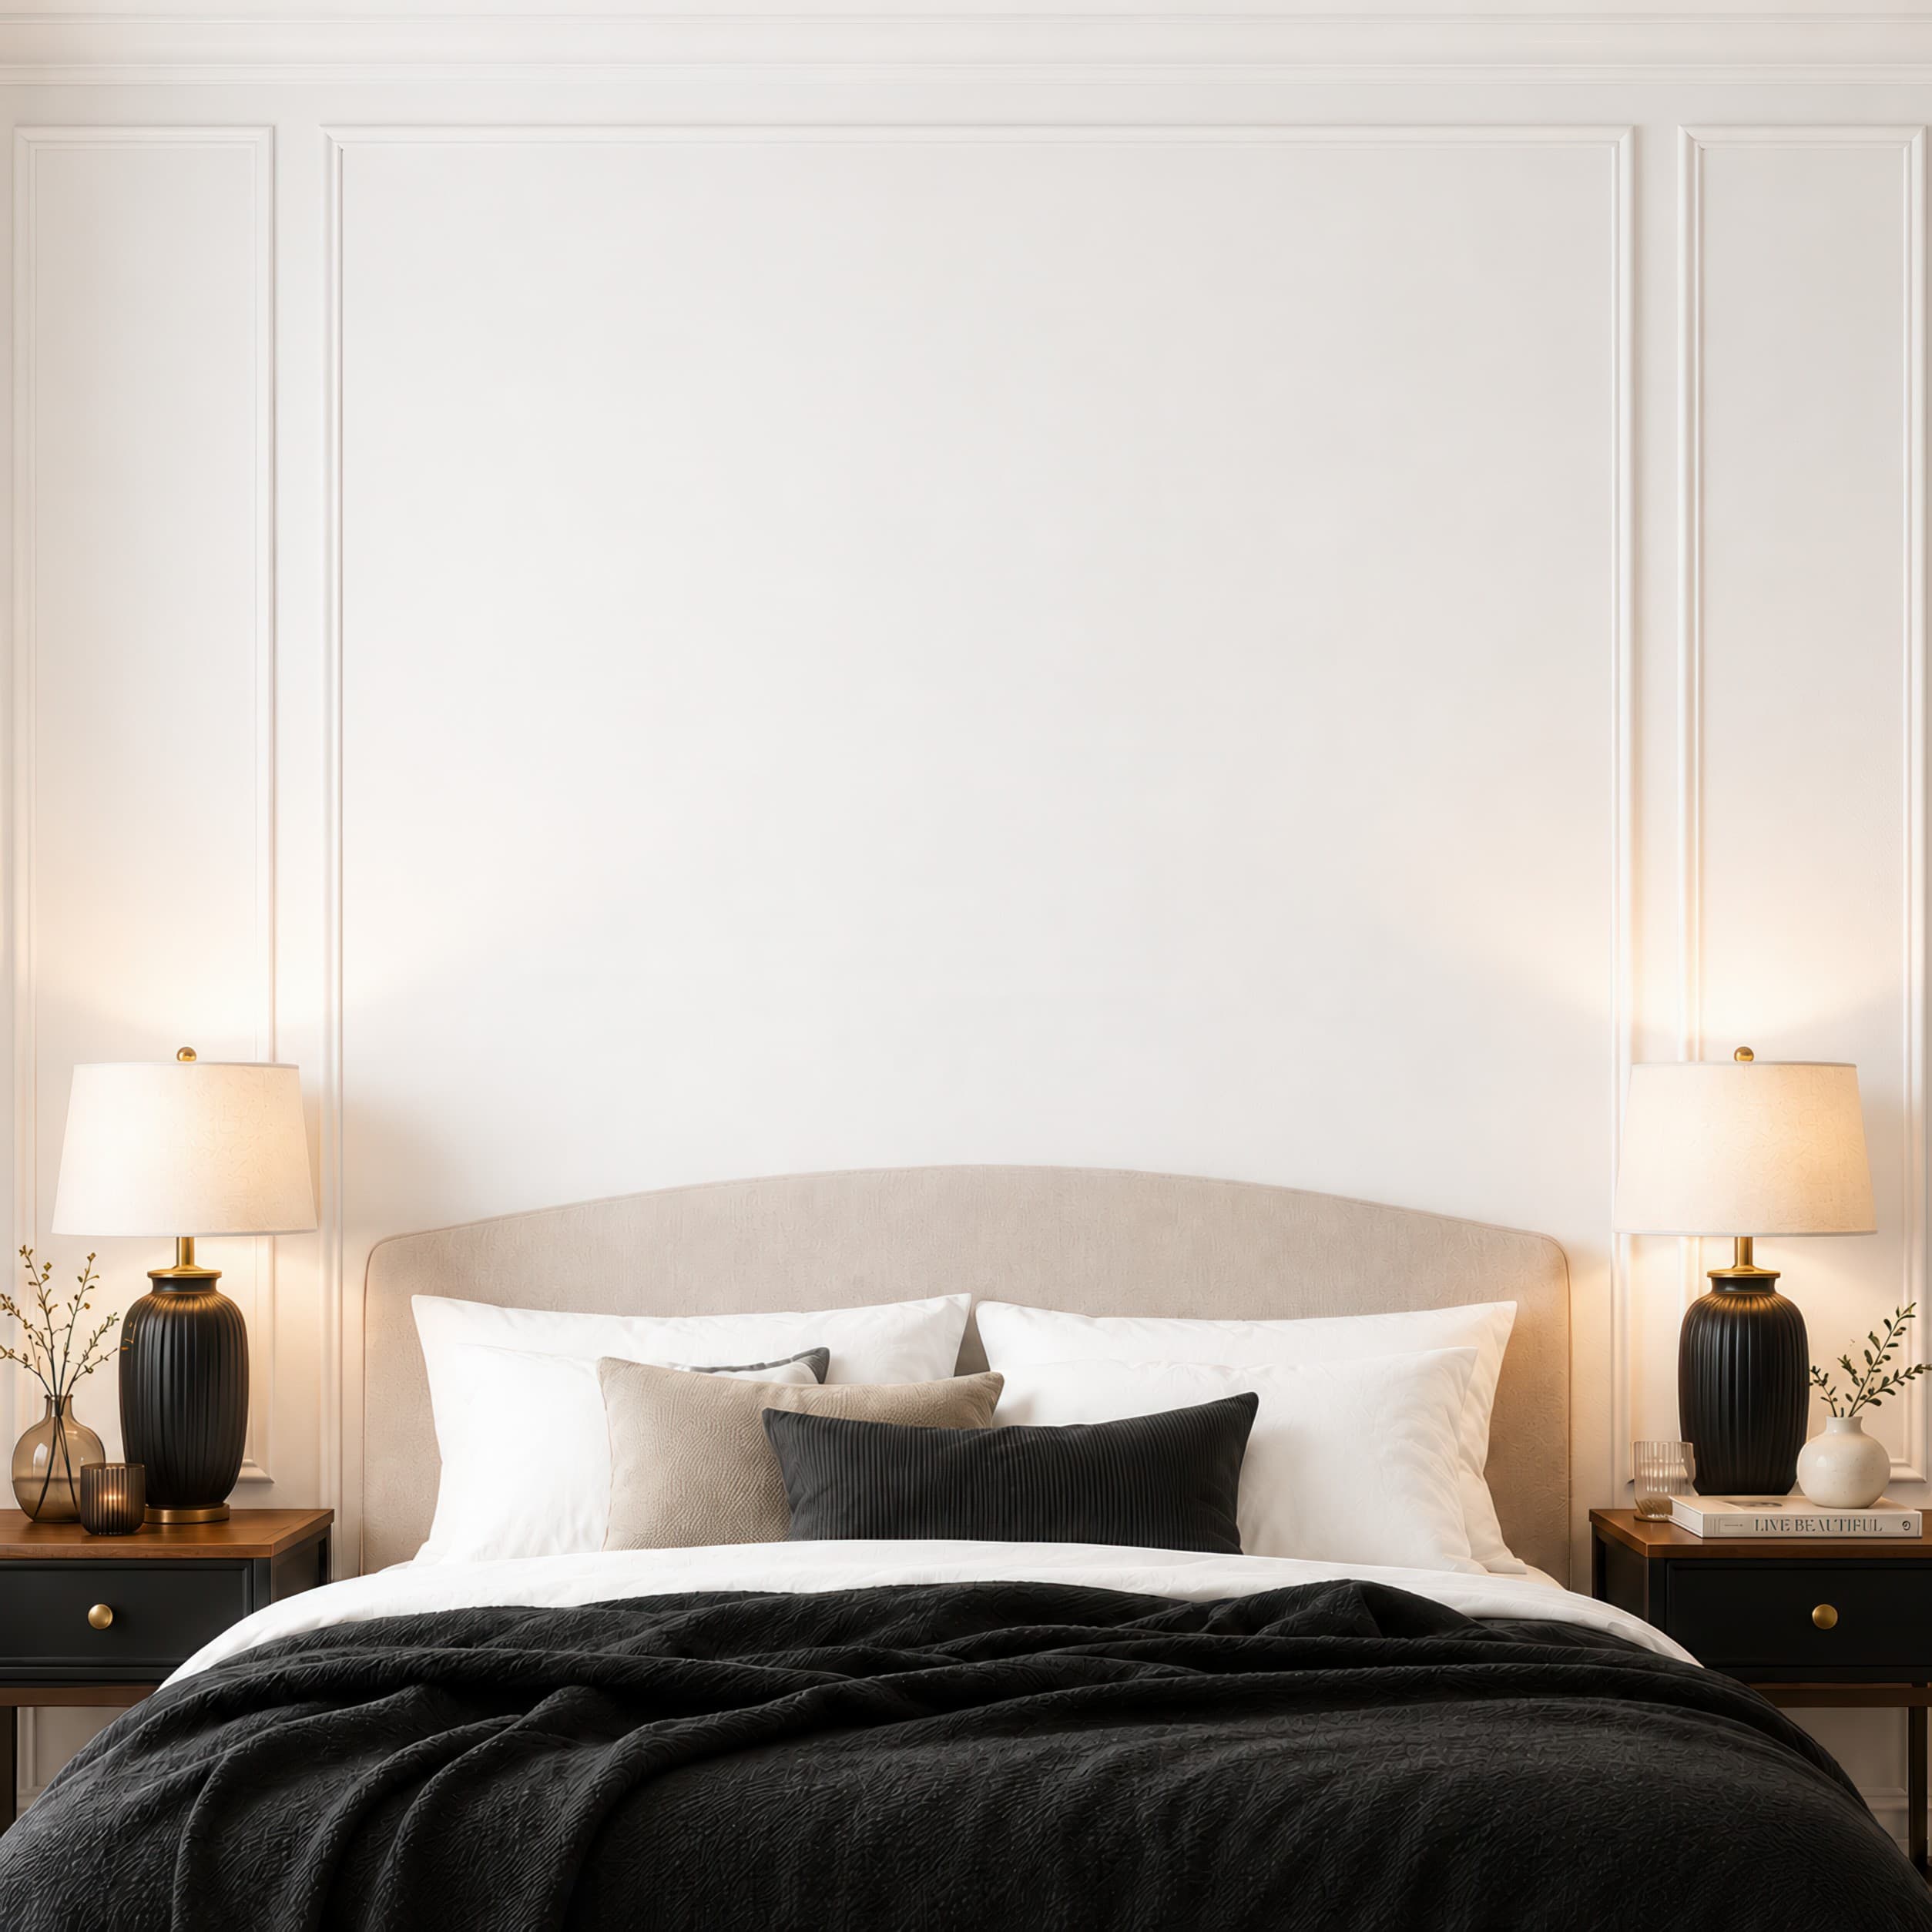
Room pick 18
Calibrated wall reference: 96.3 × 96.3 in (245 × 245 cm)
Try this room in the editor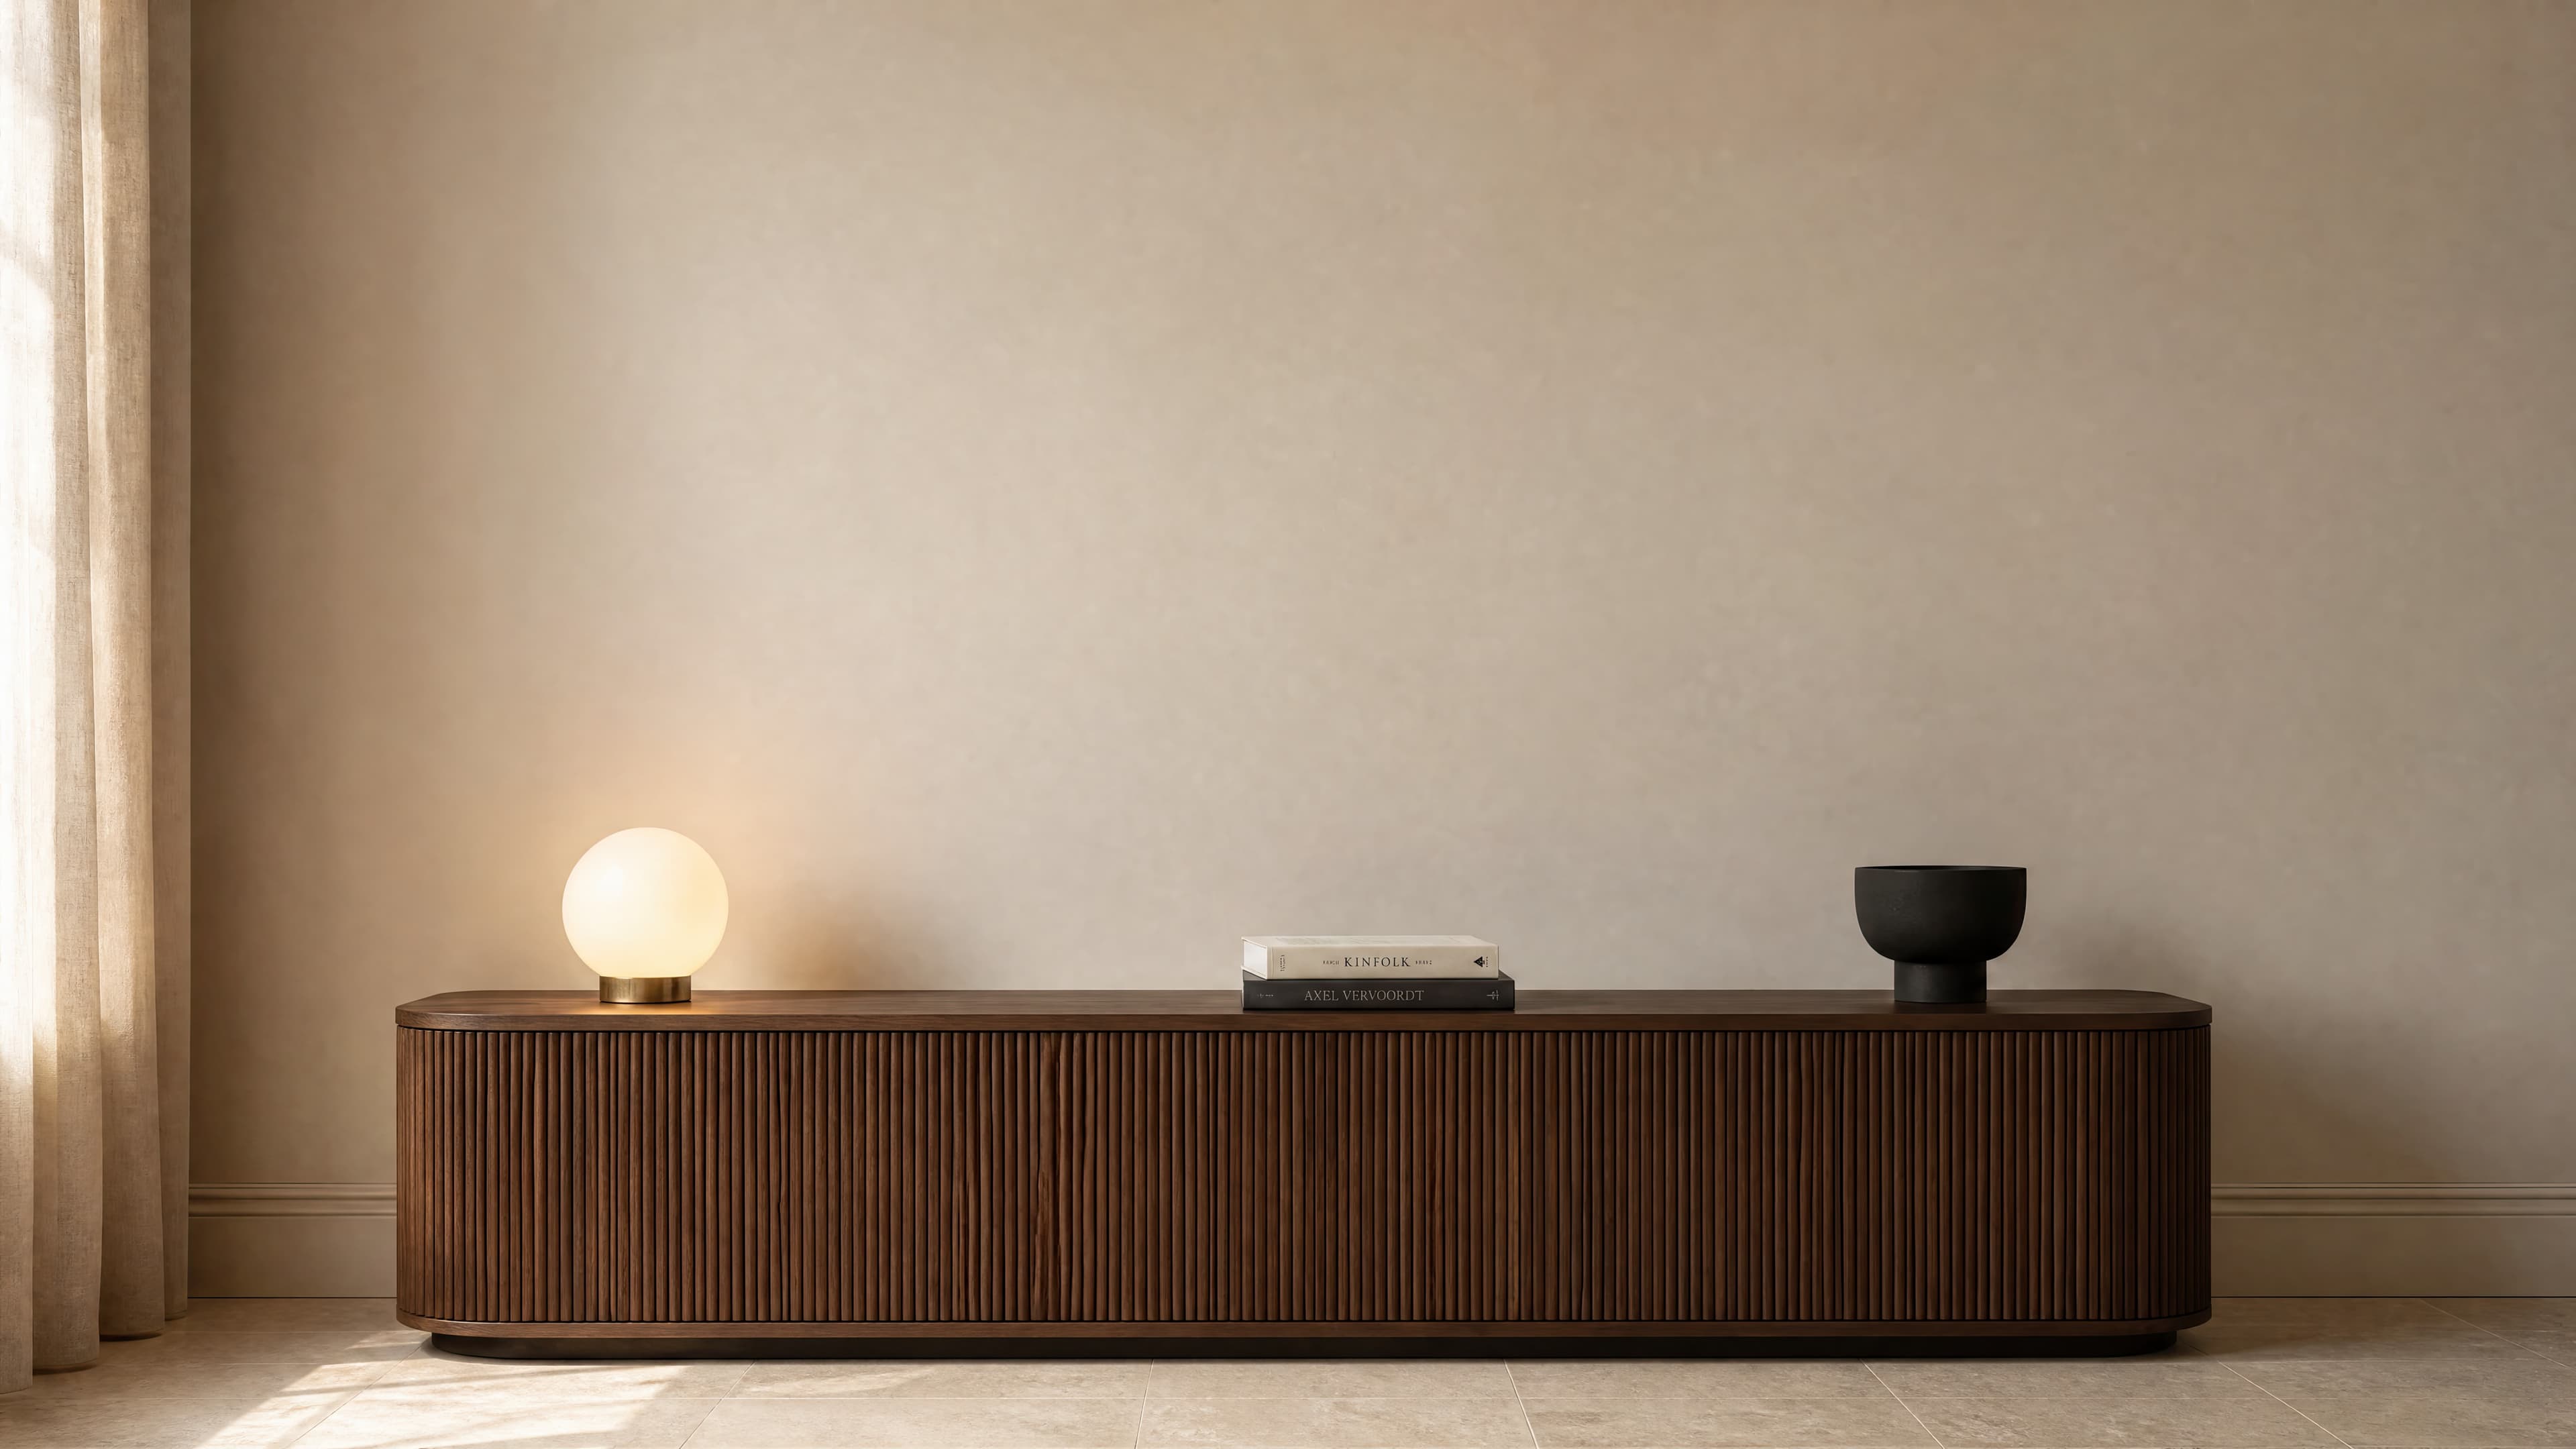
Room pick 19
Calibrated wall reference: 178.6 × 100.4 in (454 × 255 cm)
Try this room in the editor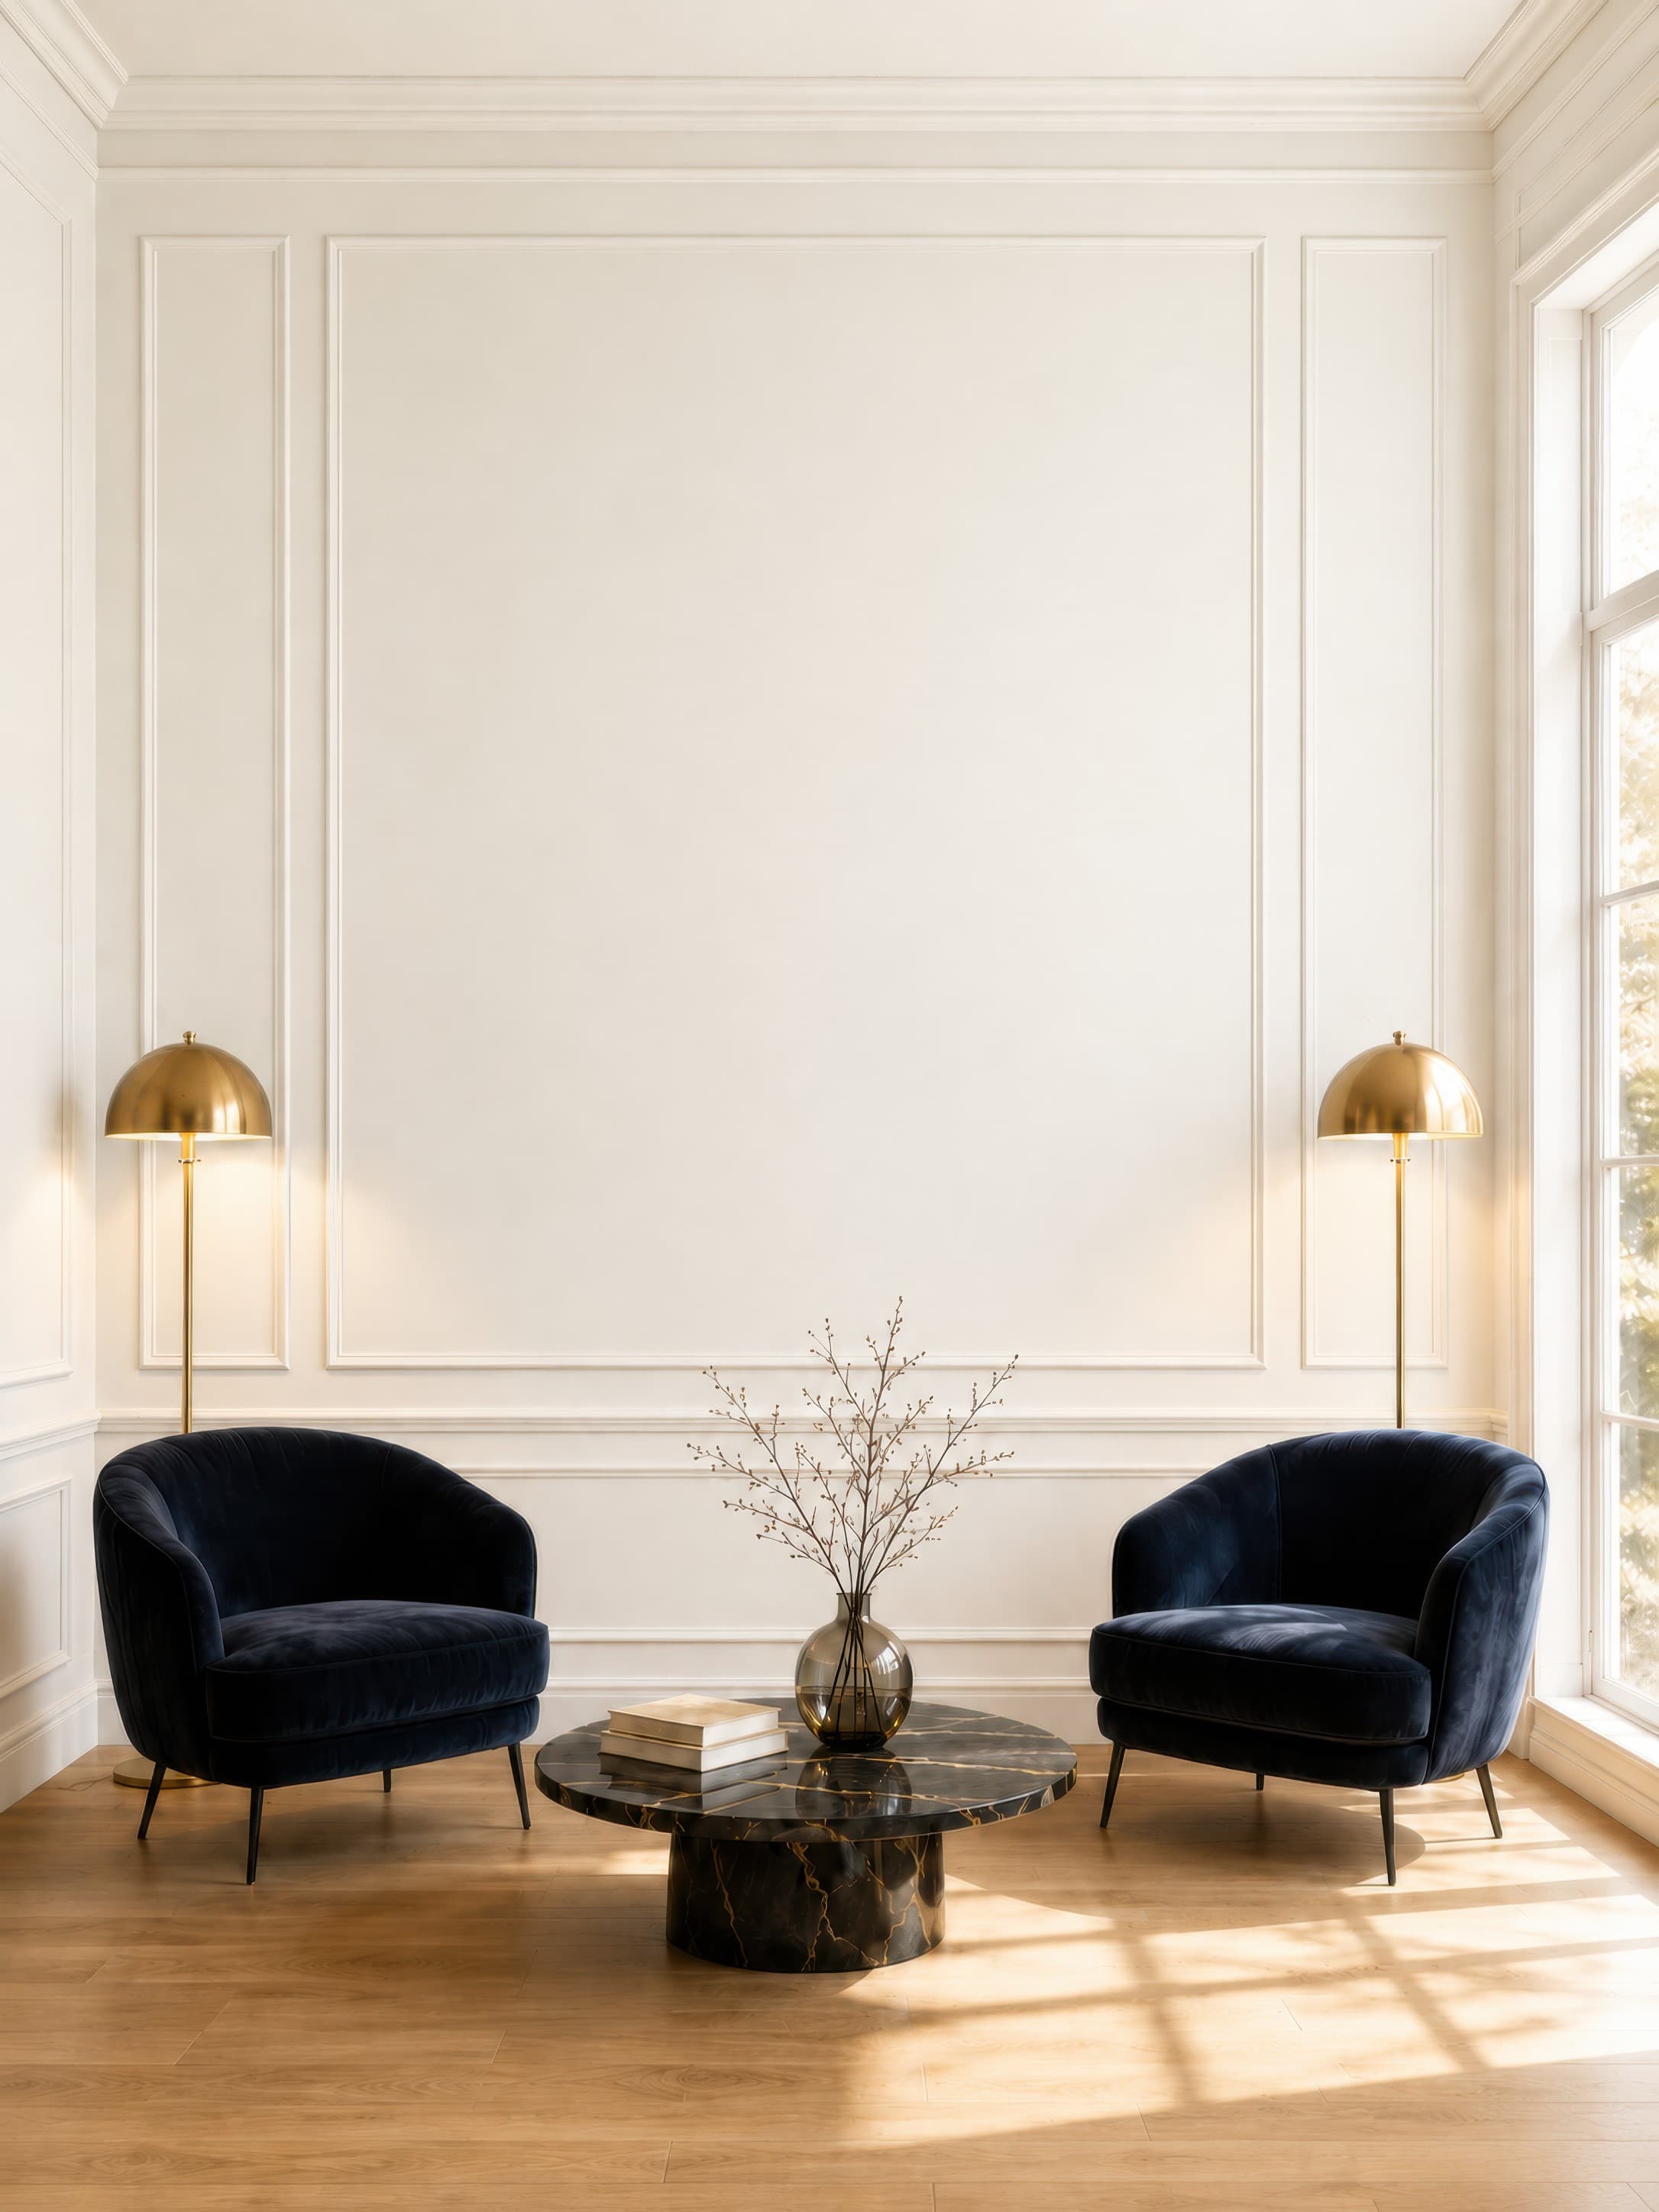
Room pick 20
Calibrated wall reference: 102.6 × 136.8 in (261 × 347 cm)
Try this room in the editorGuide 1
Gallery-wrap canvas continues around the sides and normally appears without a paper mat or glass. A floating frame leaves a narrow reveal between the canvas and moulding. The current WallMockup editor does not generate those side-edge details. Use it for a truthful front-on room view, then add real product photography or a separately produced construction detail when the wrap or floating frame is part of the sale.
Canvas suits bold abstracts, painting reproductions, landscapes, photography, and panoramic work because the visible object can carry more depth than a thin poster. Large residential rooms help communicate statement scale, while a gallery scene can support an original or limited-edition presentation. A smaller bedroom side wall is useful for modest portrait canvases.
Guide 2
A restrained cast shadow can anchor the front-on object, but it must not be treated as evidence of a specific stretcher depth or frame gap. Keep the artwork face undistorted. If edge depth matters to the listing, photograph the real product or create a dedicated detail with a workflow that supports that construction.
Canvas surfaces can be matte, satin, or textured. Do not add a glass reflection to an unglazed canvas. If the product has visible texture, a room-scale mockup proves size while a separate close crop proves the surface; one image rarely communicates both well.
Guide 3
For an unframed canvas, the listed face size is usually the room-scale dimension. A floating frame makes the final outer object wider and taller, so use that outer measurement for placement even though the present editor cannot show the frame construction accurately. Keep size consistent across rooms, and do not let a large blank wall turn a 16×20 canvas into an apparent 30×40 statement piece.
Size reference
These are visual starting points, not universal room rules. Use the complete framed object or multi-panel group, then verify the result with the exact furniture and wall dimensions available to you.
| Placement | Starting point | Check before export |
|---|---|---|
| Unframed canvas | Use the canvas face dimensions as the displayed artwork size. | Hide the paper frame and mat; do not imply that the room view shows the wrap edge. |
| Floating-frame canvas | Use the outer floating-frame dimensions for room scale. | Create the floating-frame detail outside the current editor or use real product photography. |
| Canvas set | Add all panel widths, outer frames, and gaps to find the installed span. | Do not describe a multi-panel canvas as one print size. |
Use face dimensions for unframed canvas and the known outer dimensions for a floating-frame product.
1
Use the real product file and preserve its natural aspect ratio.
2
Select one of the popular rooms, enter the physical dimensions, and use only presentation controls that match the real product.
3
Check scale, wall contrast, lighting, and the listing crop before downloading.
Canvas normally has no paper mat or glass and may wrap around the sides or sit inside a floating frame. WallMockup currently provides the front-on room-scale view; use separate product detail imagery to show those construction differences.
A listing should show the side edge when wrap or depth affects the purchase, but the current WallMockup editor does not render that feature. Pair its front-on room view with real product photography or another accurate detail image.
Yes. Keep its physical dimensions and construction consistent. The living room explains domestic scale; the gallery gives the work more negative space and a presentation context.
No. Standard canvas presentation does not use a paper mat. Leave the frame and mat off for the front-on WallMockup view, and show a floating frame only in separate imagery that can represent its reveal accurately.
Upload the artwork, choose one of the selected rooms, enter the real dimensions, and export a listing-ready image without a template file.
Open the editorRoom selection and guidance reviewed by WallMockup product team. Last materially reviewed 2026-08-12. Popularity follows the editor preset order, which is maintained by completed production downloads.