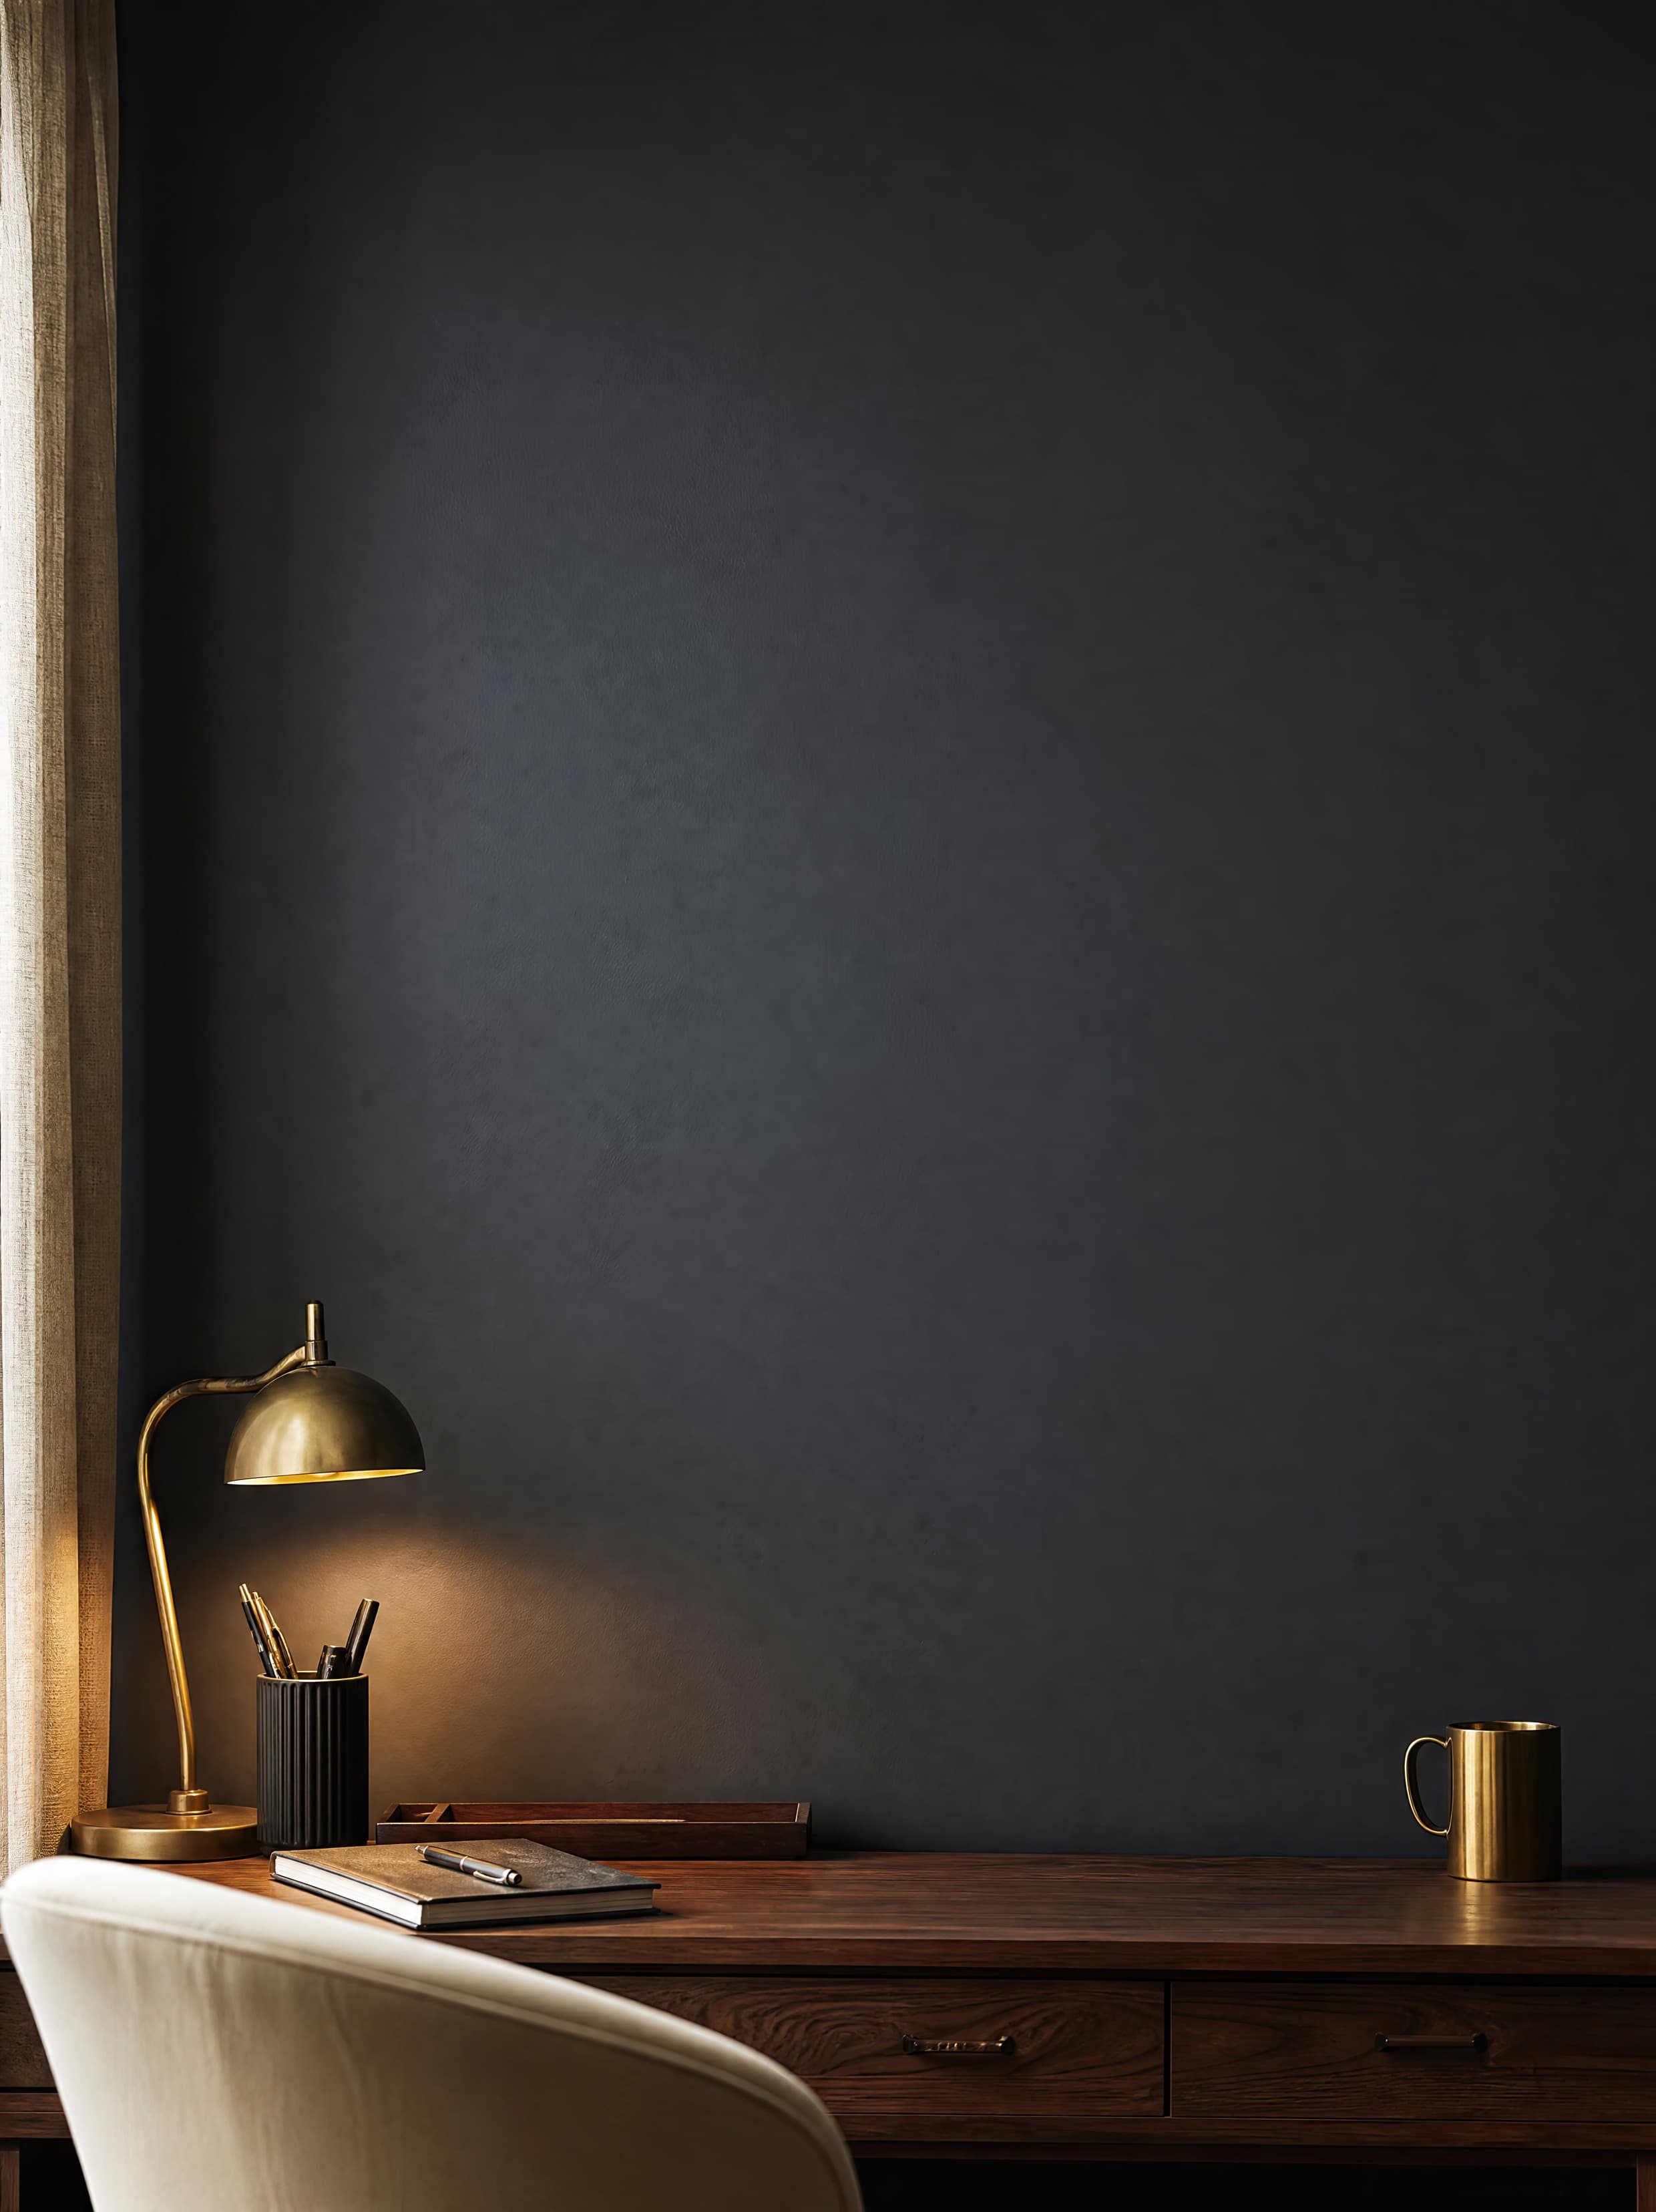
Room pick 1
Moody office nook with an empty charcoal plaster wall above a walnut desk and brass accents
Calibrated wall reference: 60.5 × 75.6 in (154 × 192 cm)
Try this room in the editor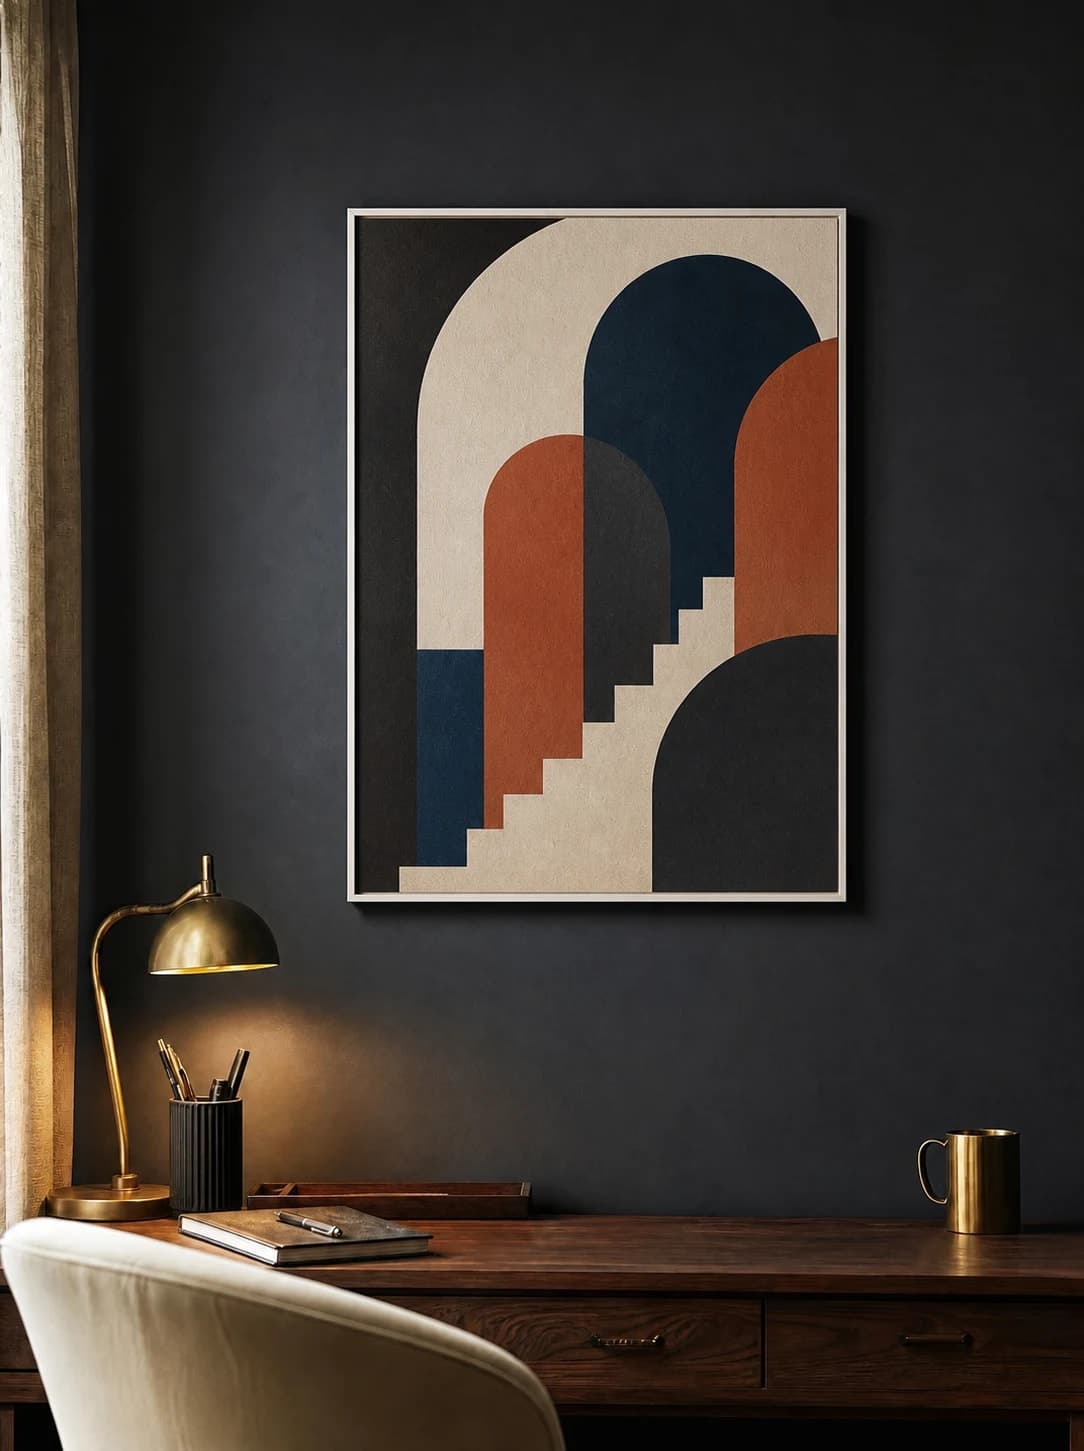
Office mockups
An office mockup has two viewing distances: the full room and the tighter crop people see behind a desk or on a video call. Select a wall that keeps the art readable in both, enter its real size, and check that windows, monitors, and task lighting do not create implausible glare.
Exact room opens in the editor · 43 compatible presets · PNG, JPG, and WEBP export
Best for
Inspiration of use
These generated inspiration examples use the same top-ranked WallMockup rooms available below. Compare the scale, frame, and layout choices, then open the matching blank room to replace the example art with your own.
18 × 24 in / 46 × 61 cm print · white frame
A white frame and bold cream shapes keep the graphic work distinct from charcoal plaster and brass desk lighting.
Try this exact room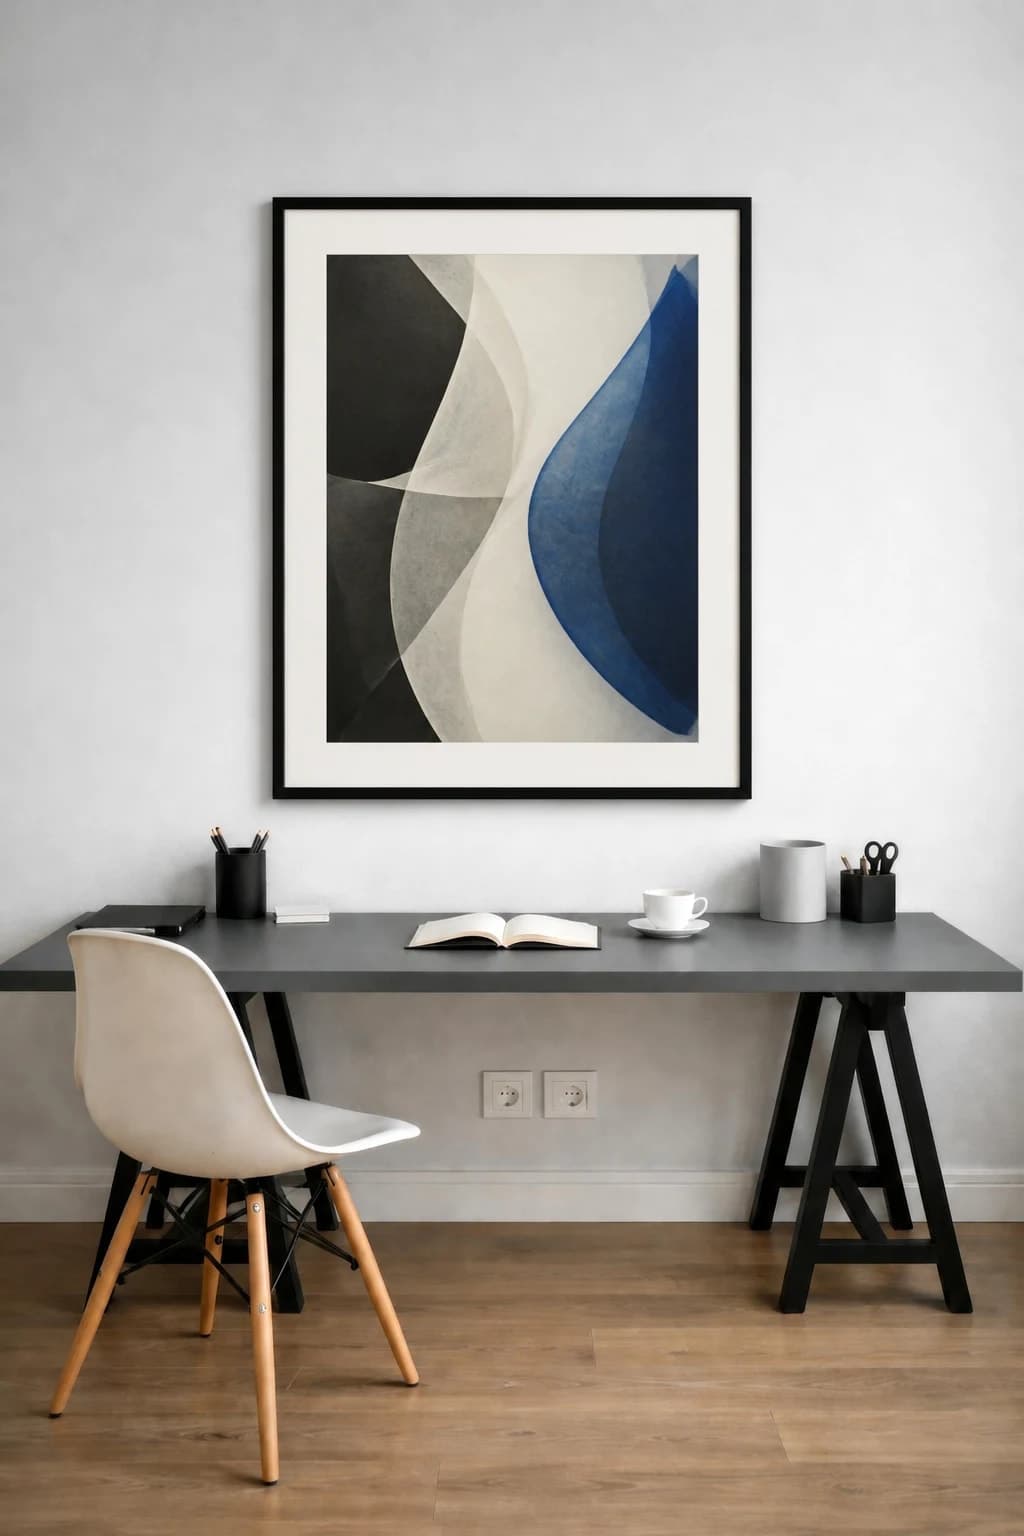
24 × 30 in / 61 × 76 cm print · black frame · 2 in mat
A generous mat gives the blue-and-graphite composition breathing room without competing with the desktop.
Try this exact room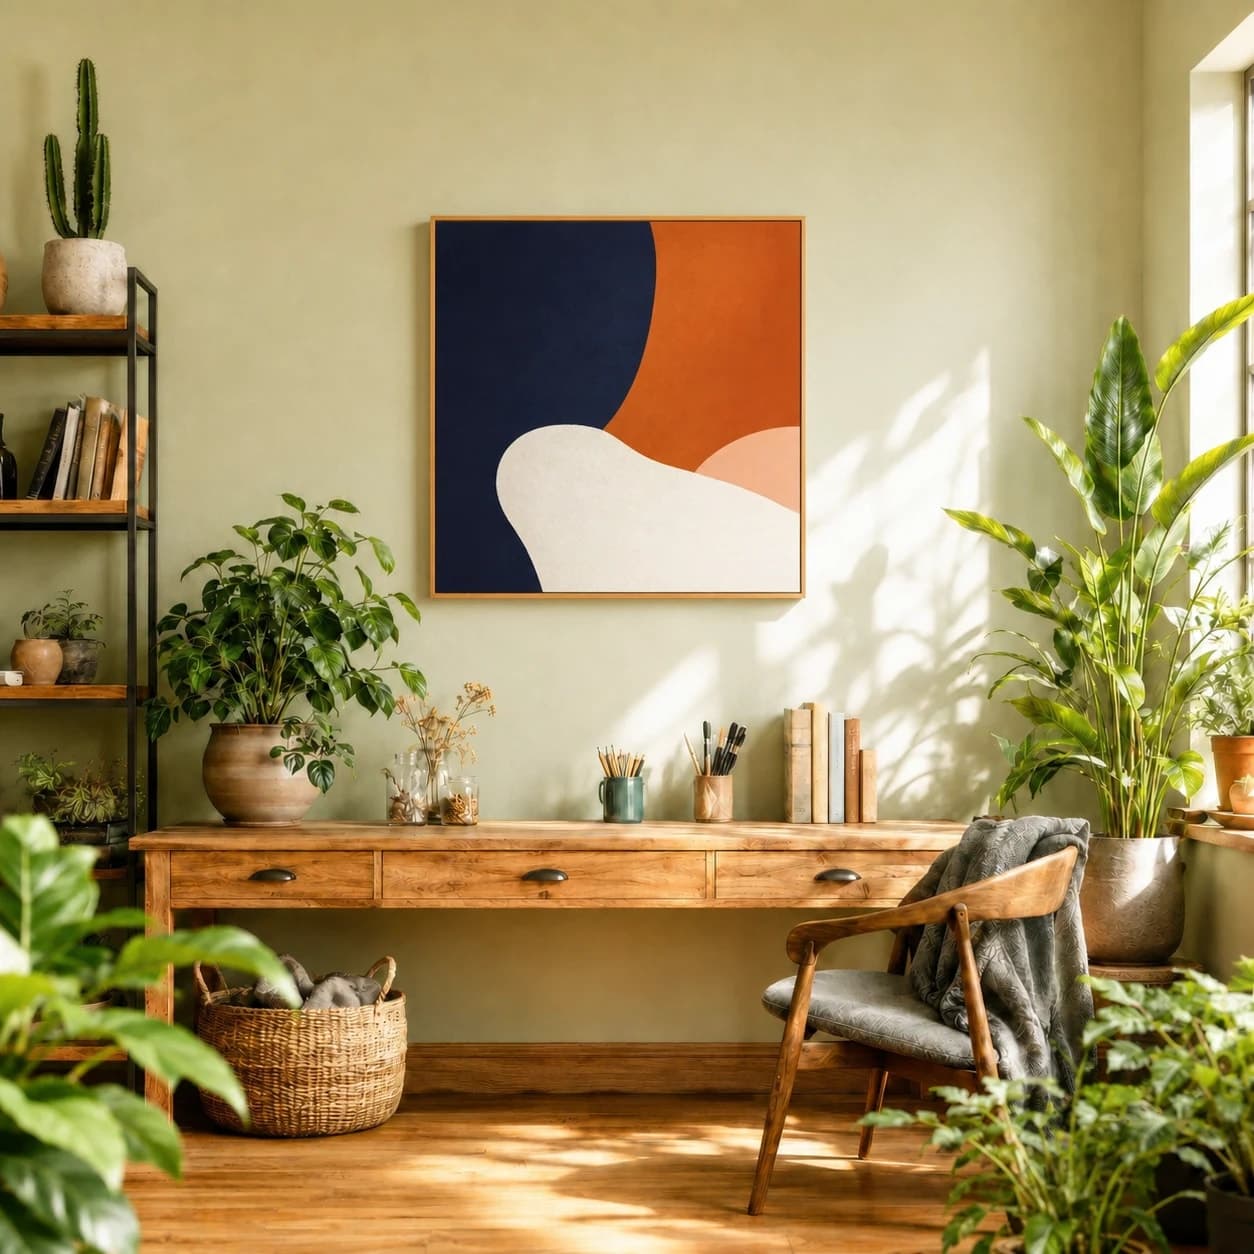
24 × 24 in / 61 × 61 cm print · natural oak frame
Navy and orange hold their edge against sage while natural oak connects the artwork to the desk.
Try this exact roomChosen from real usage
These are the three highest office presets in completed-download order, spanning a dark portrait wall, a minimal workstation, and a brighter plant-filled office.
Room pick 1
Calibrated wall reference: 60.5 × 75.6 in (154 × 192 cm)
Try this room in the editor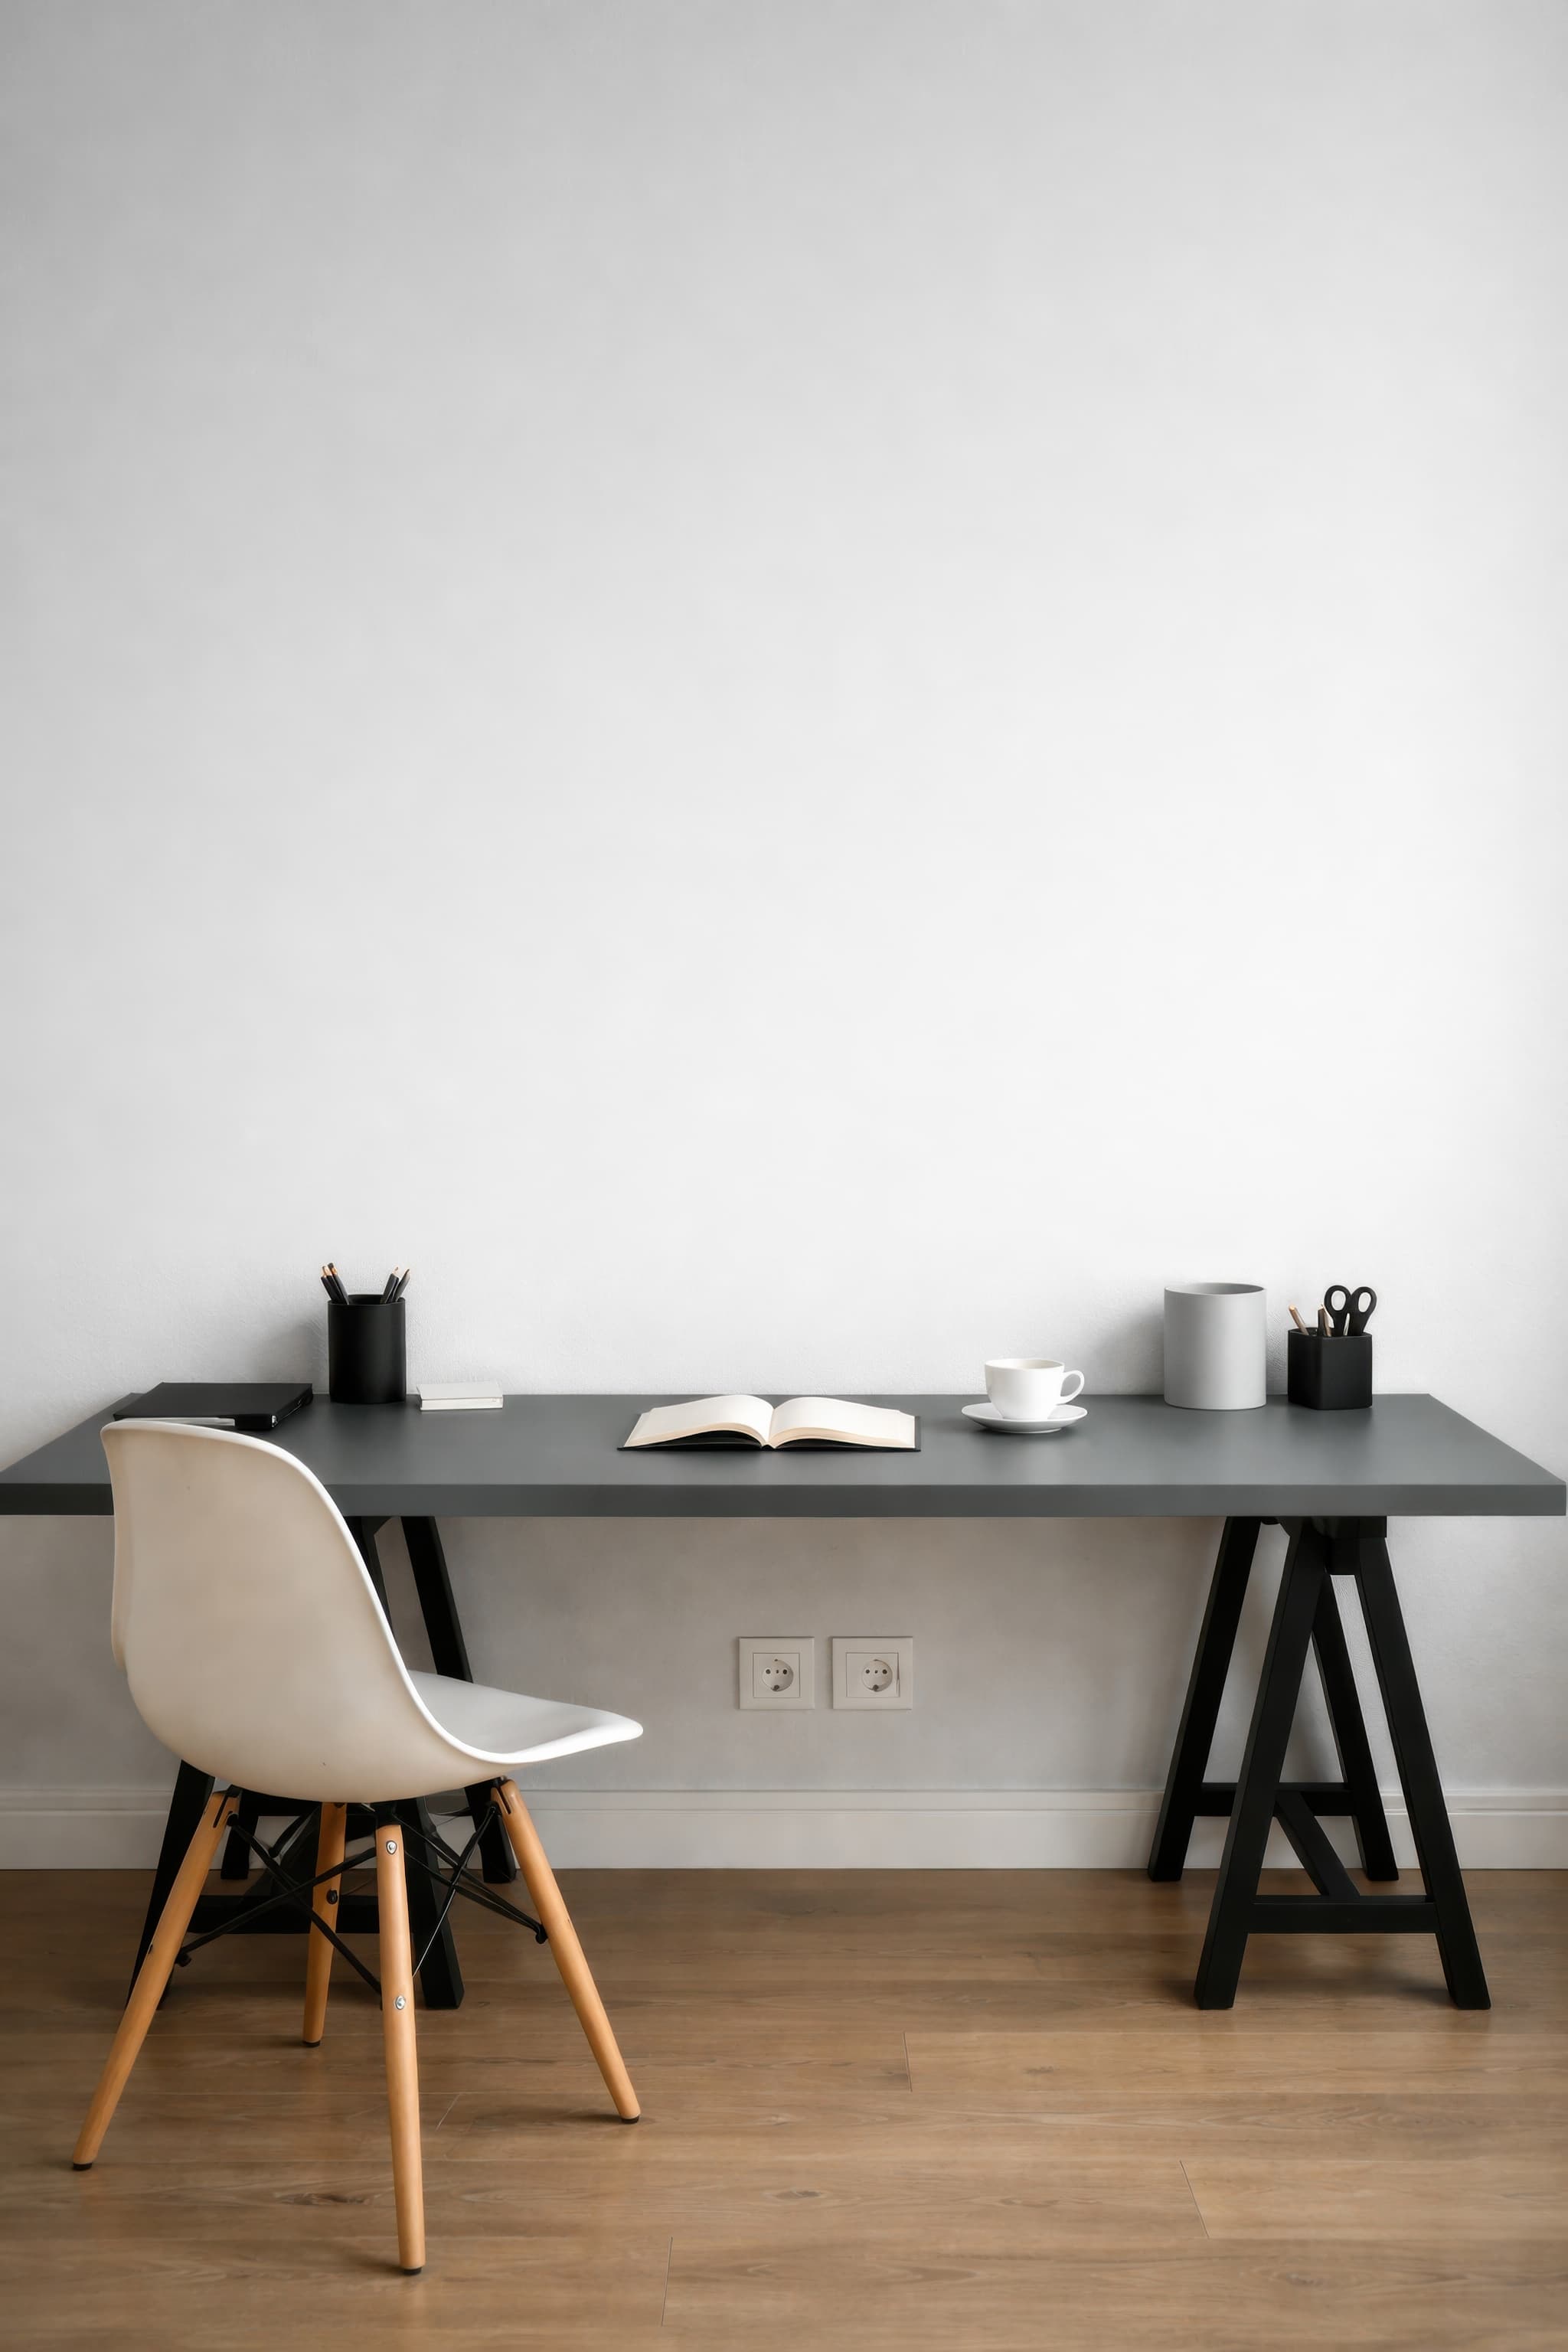
Room pick 2
Calibrated wall reference: 74.6 × 93.3 in (189 × 237 cm)
Try this room in the editor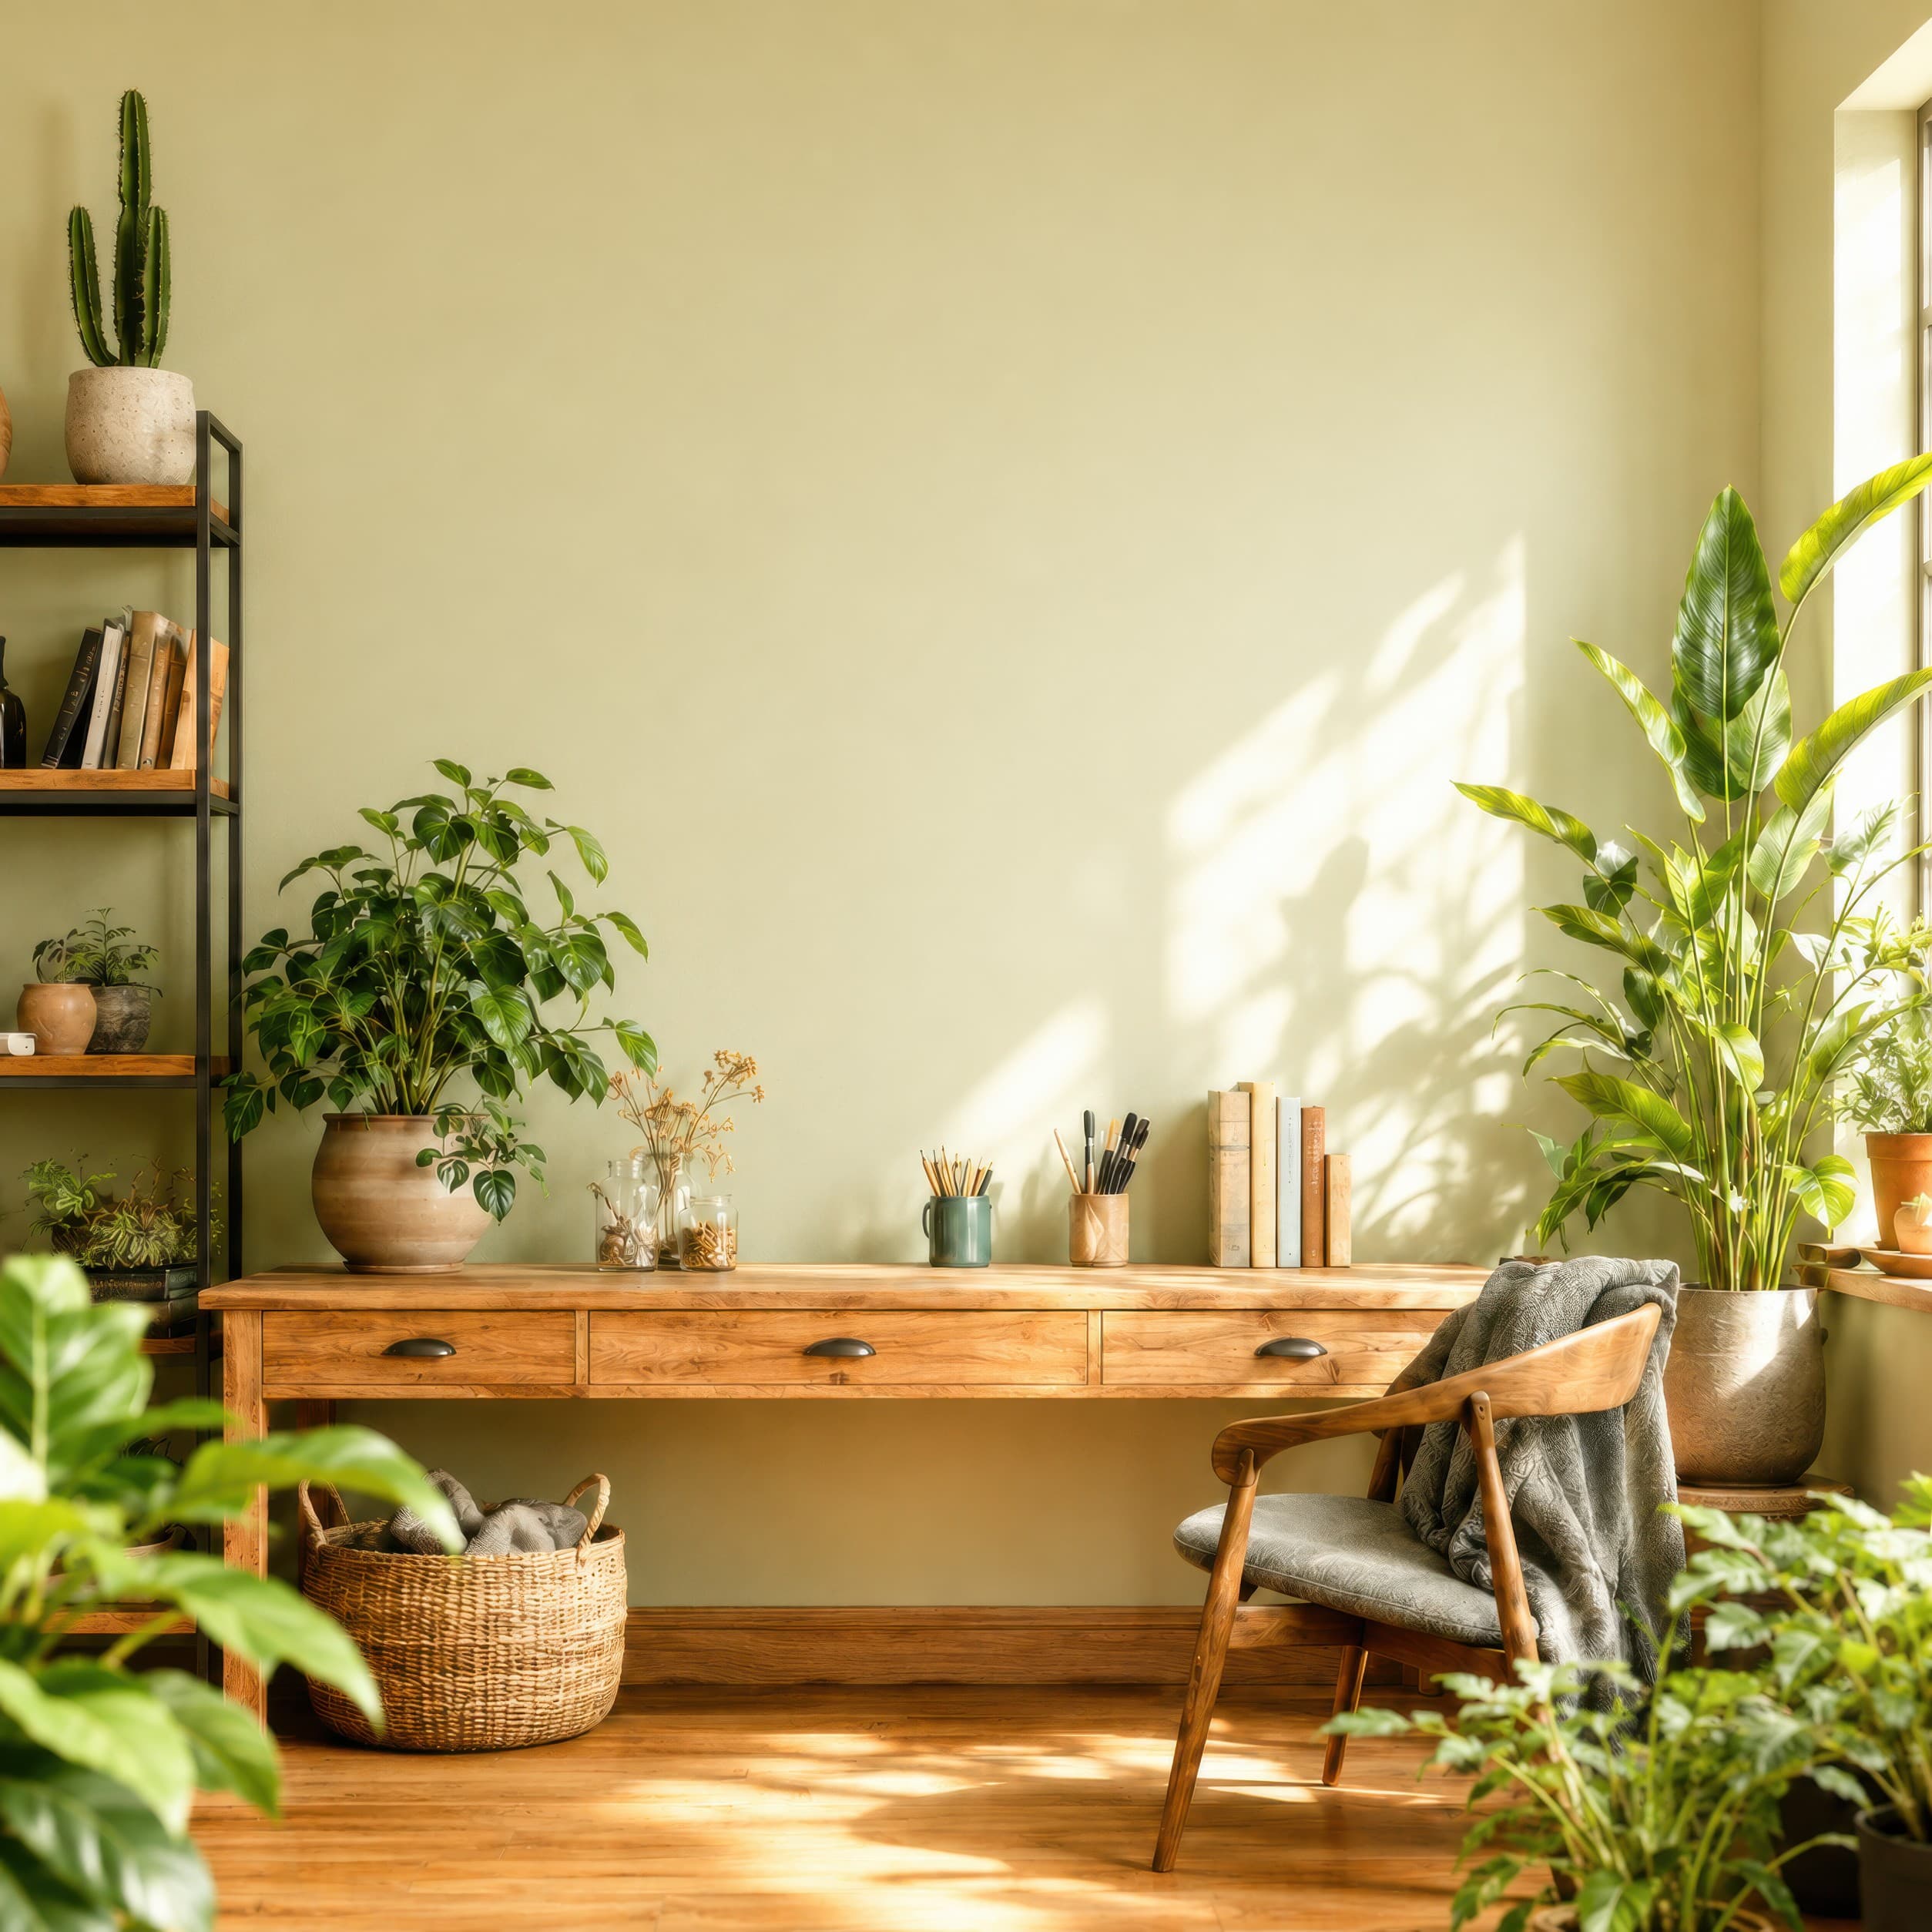
Room pick 3
Calibrated wall reference: 96 × 96 in (244 × 244 cm)
Try this room in the editor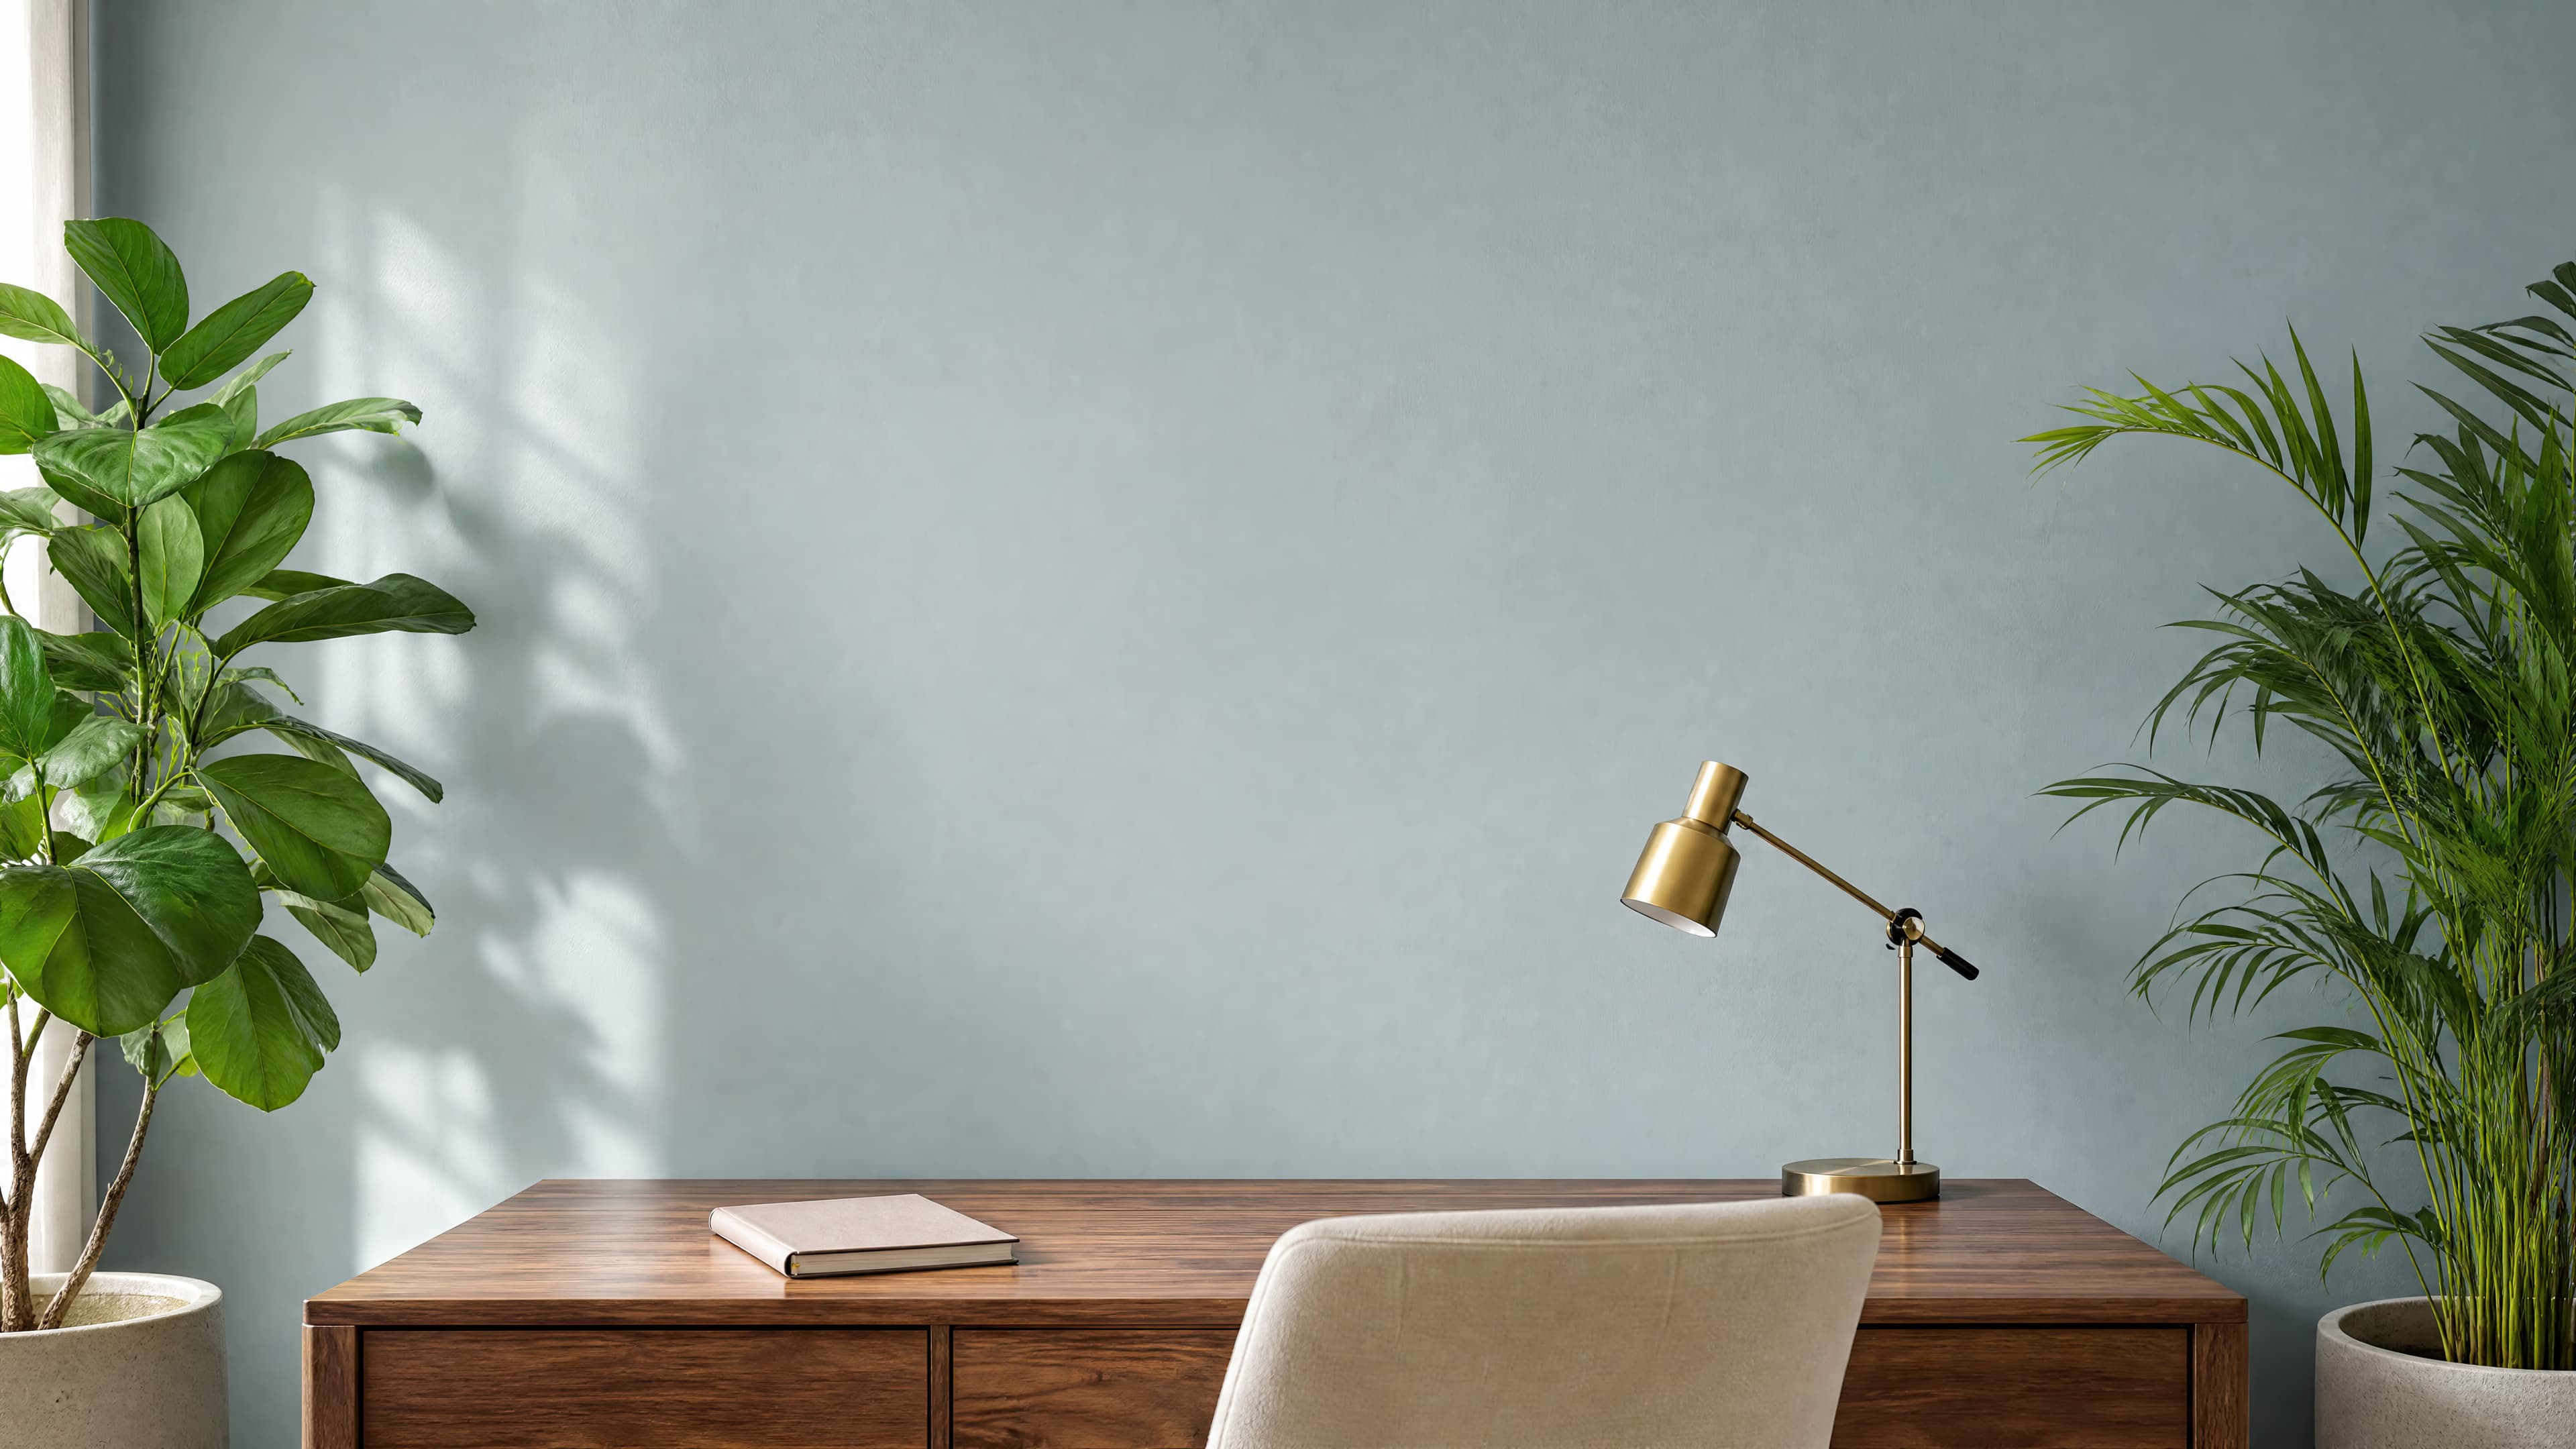
Room pick 4
Calibrated wall reference: 121 × 68 in (307 × 173 cm)
Try this room in the editor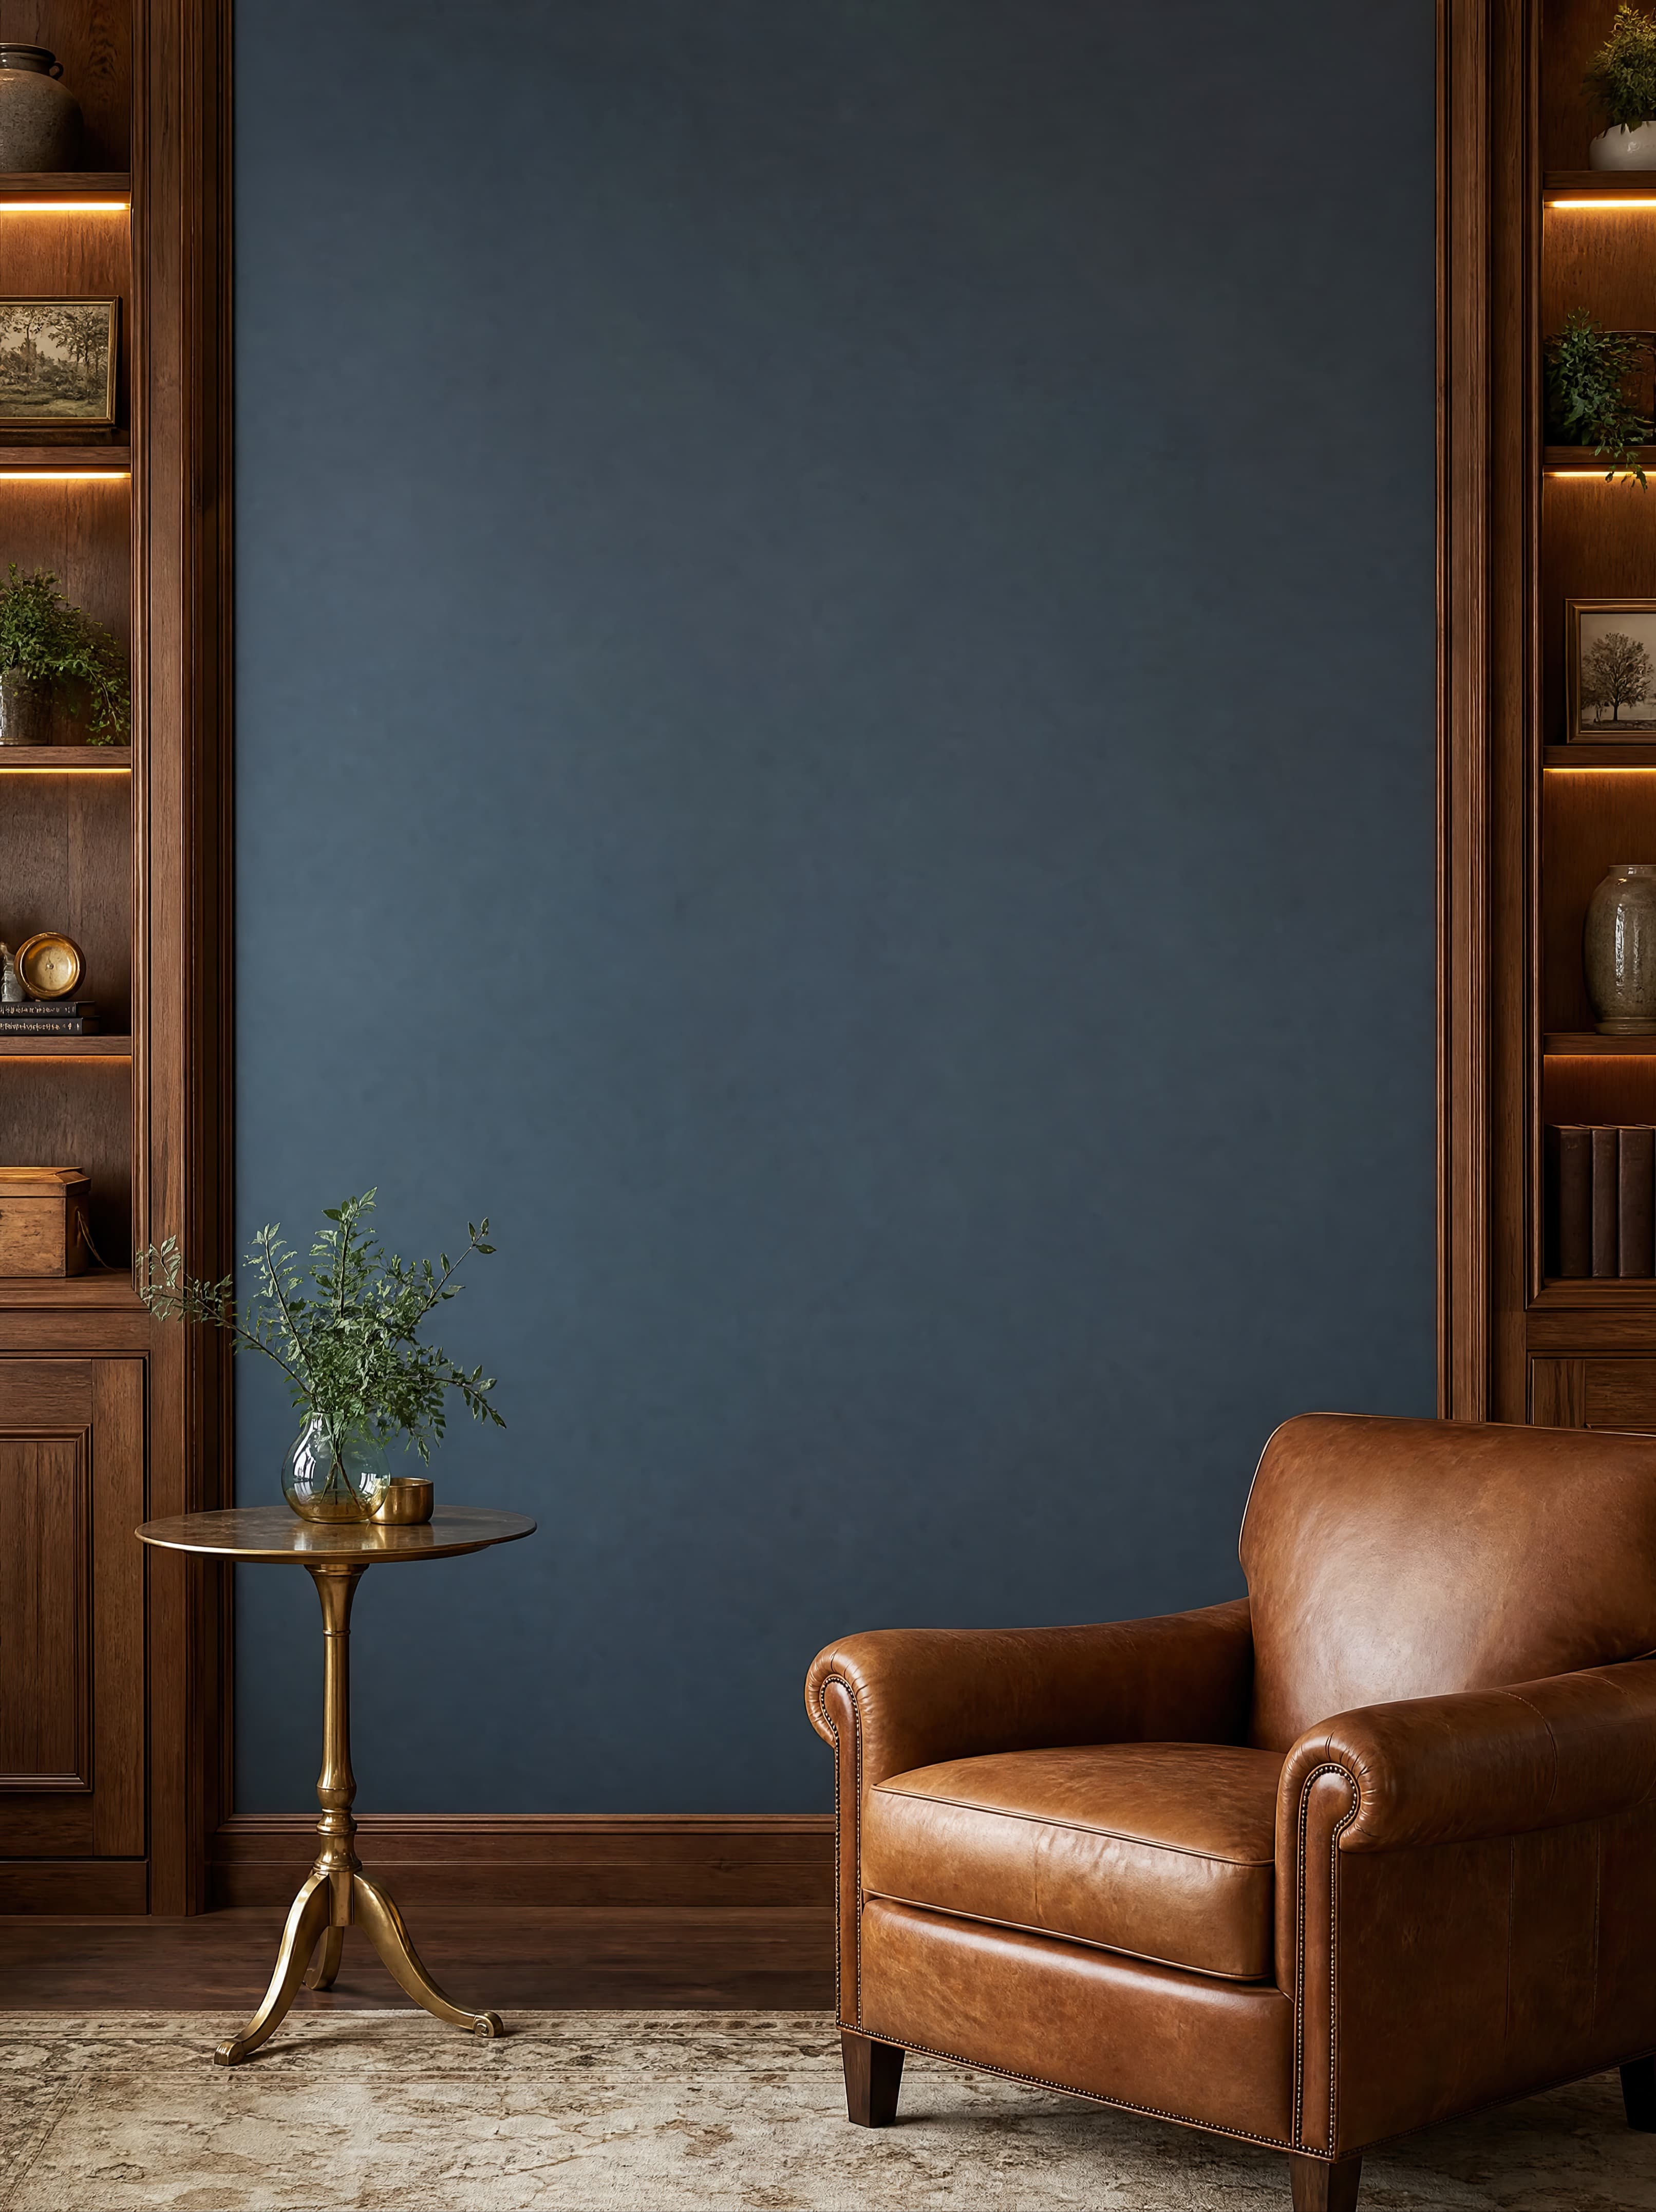
Room pick 5
Calibrated wall reference: 96 × 128 in (244 × 325 cm)
Try this room in the editor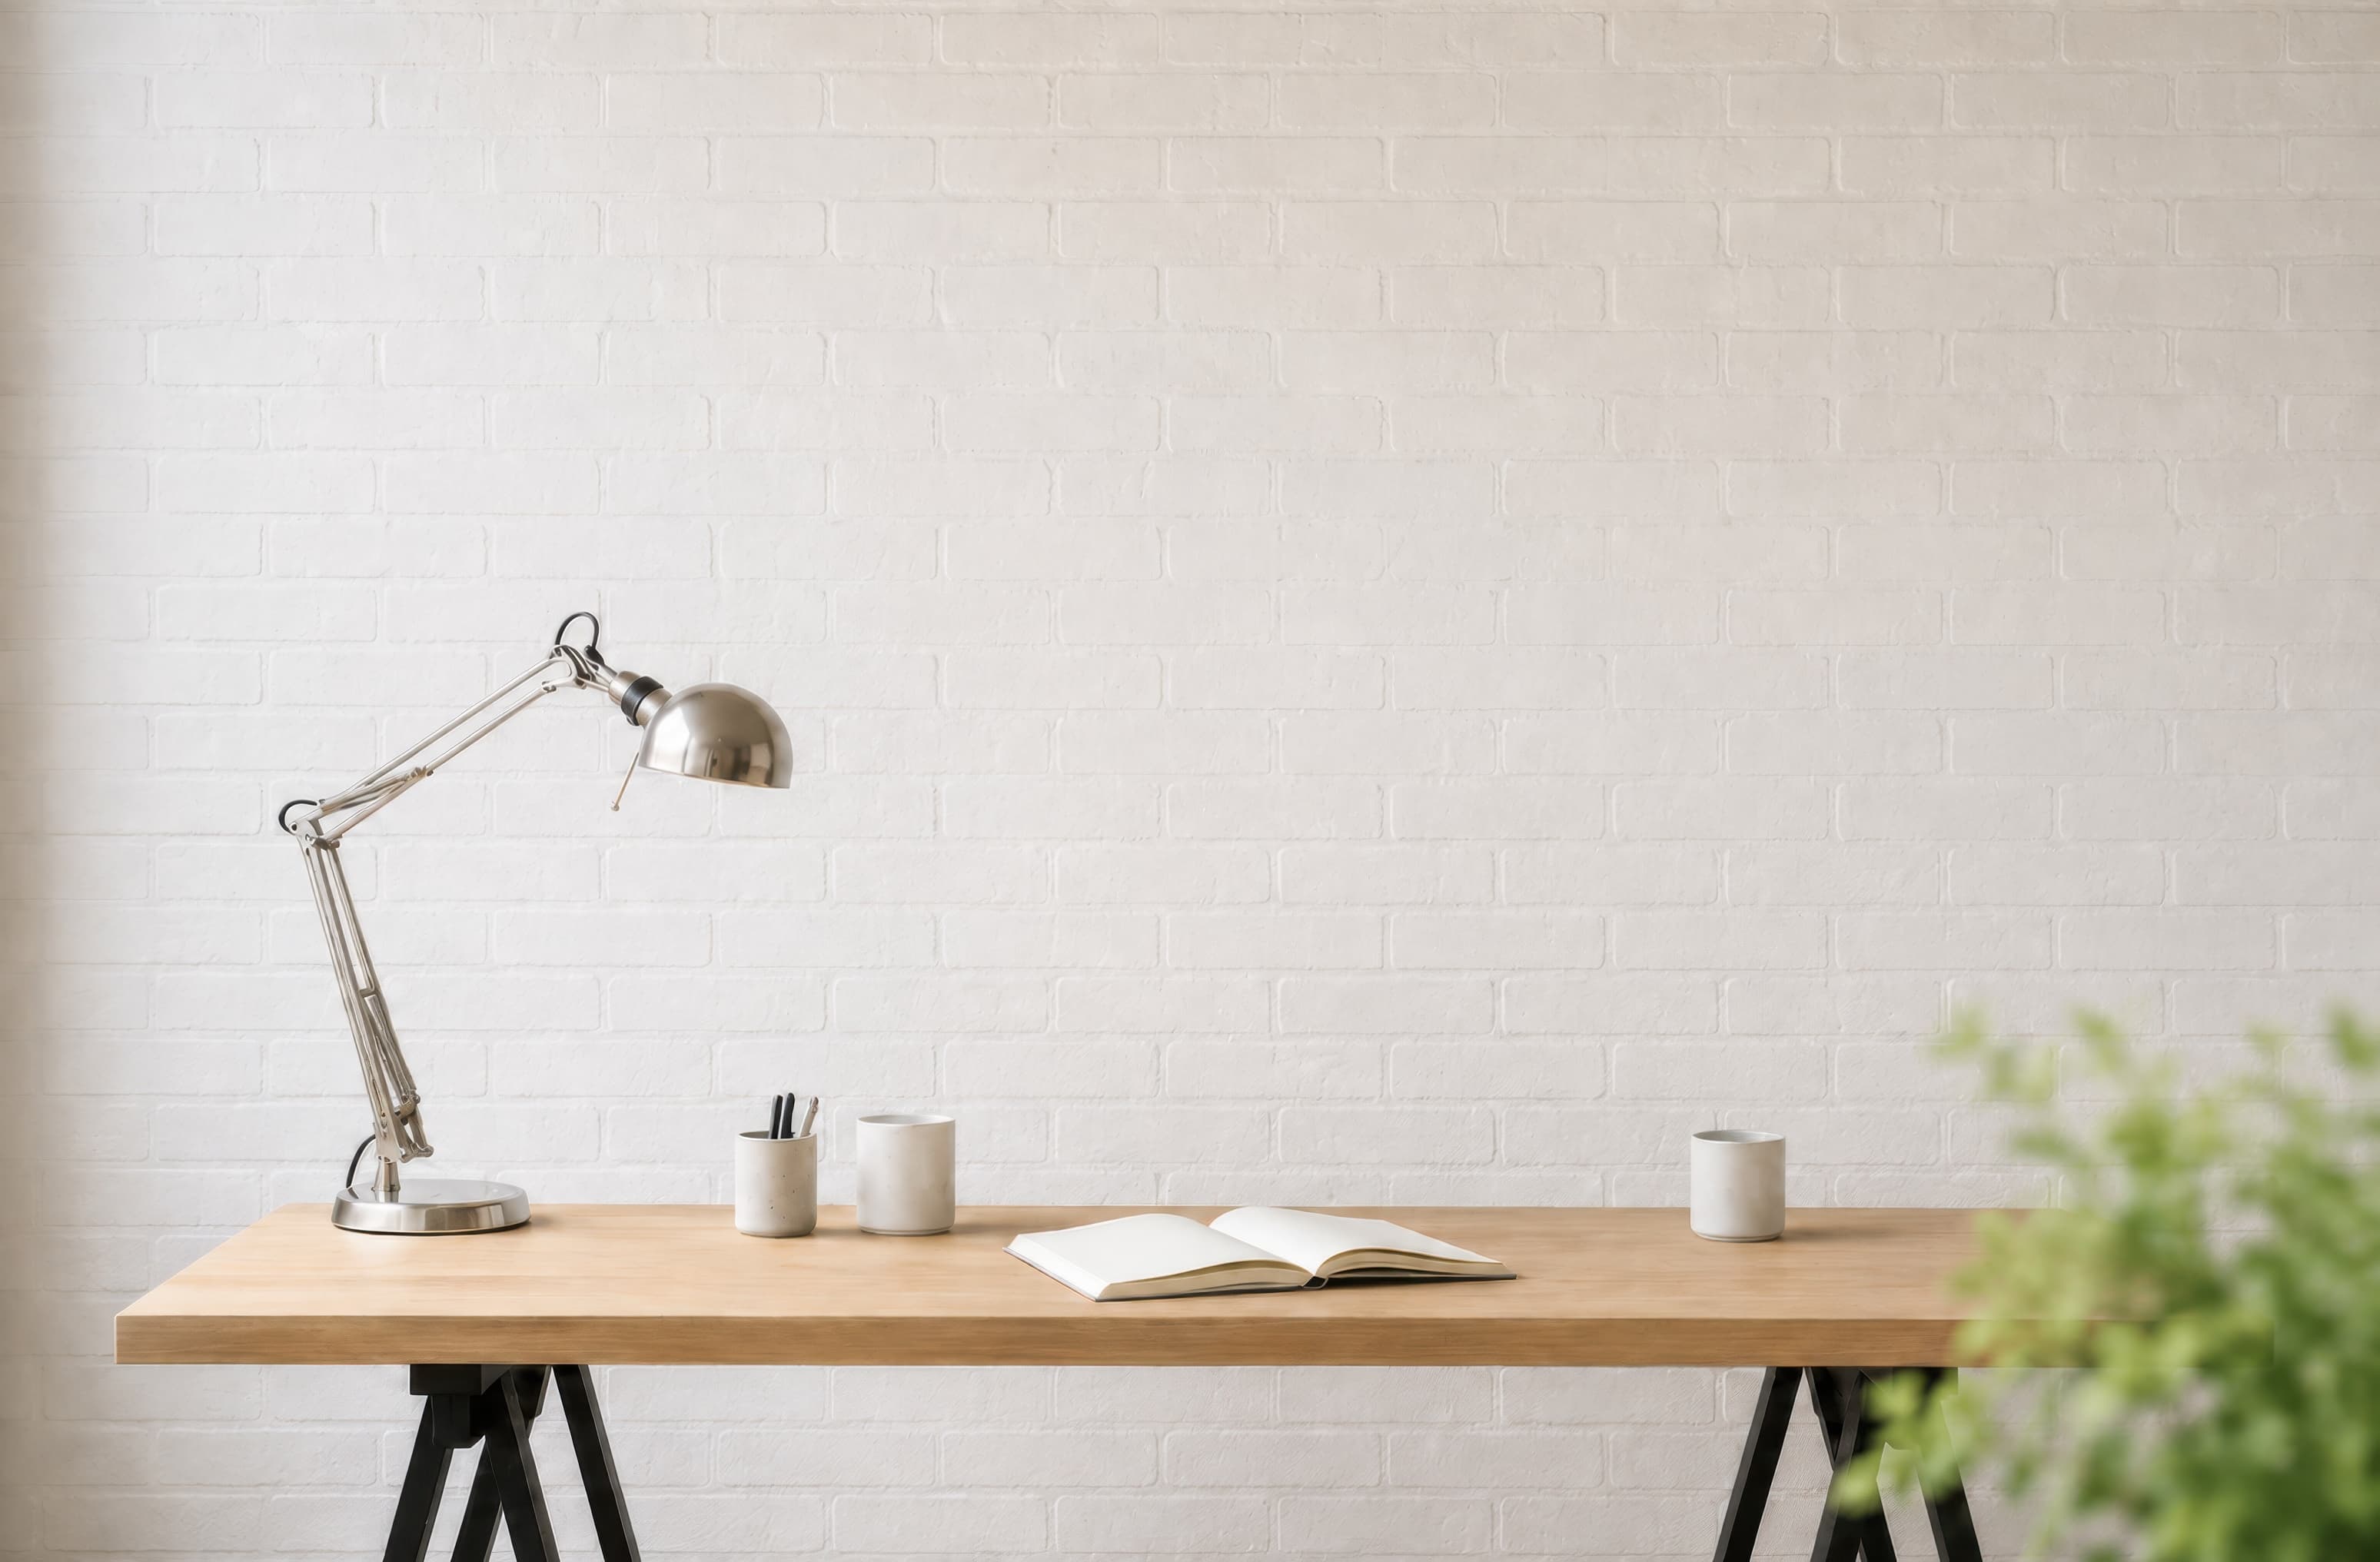
Room pick 6
Calibrated wall reference: 93 × 61 in (236 × 155 cm)
Try this room in the editor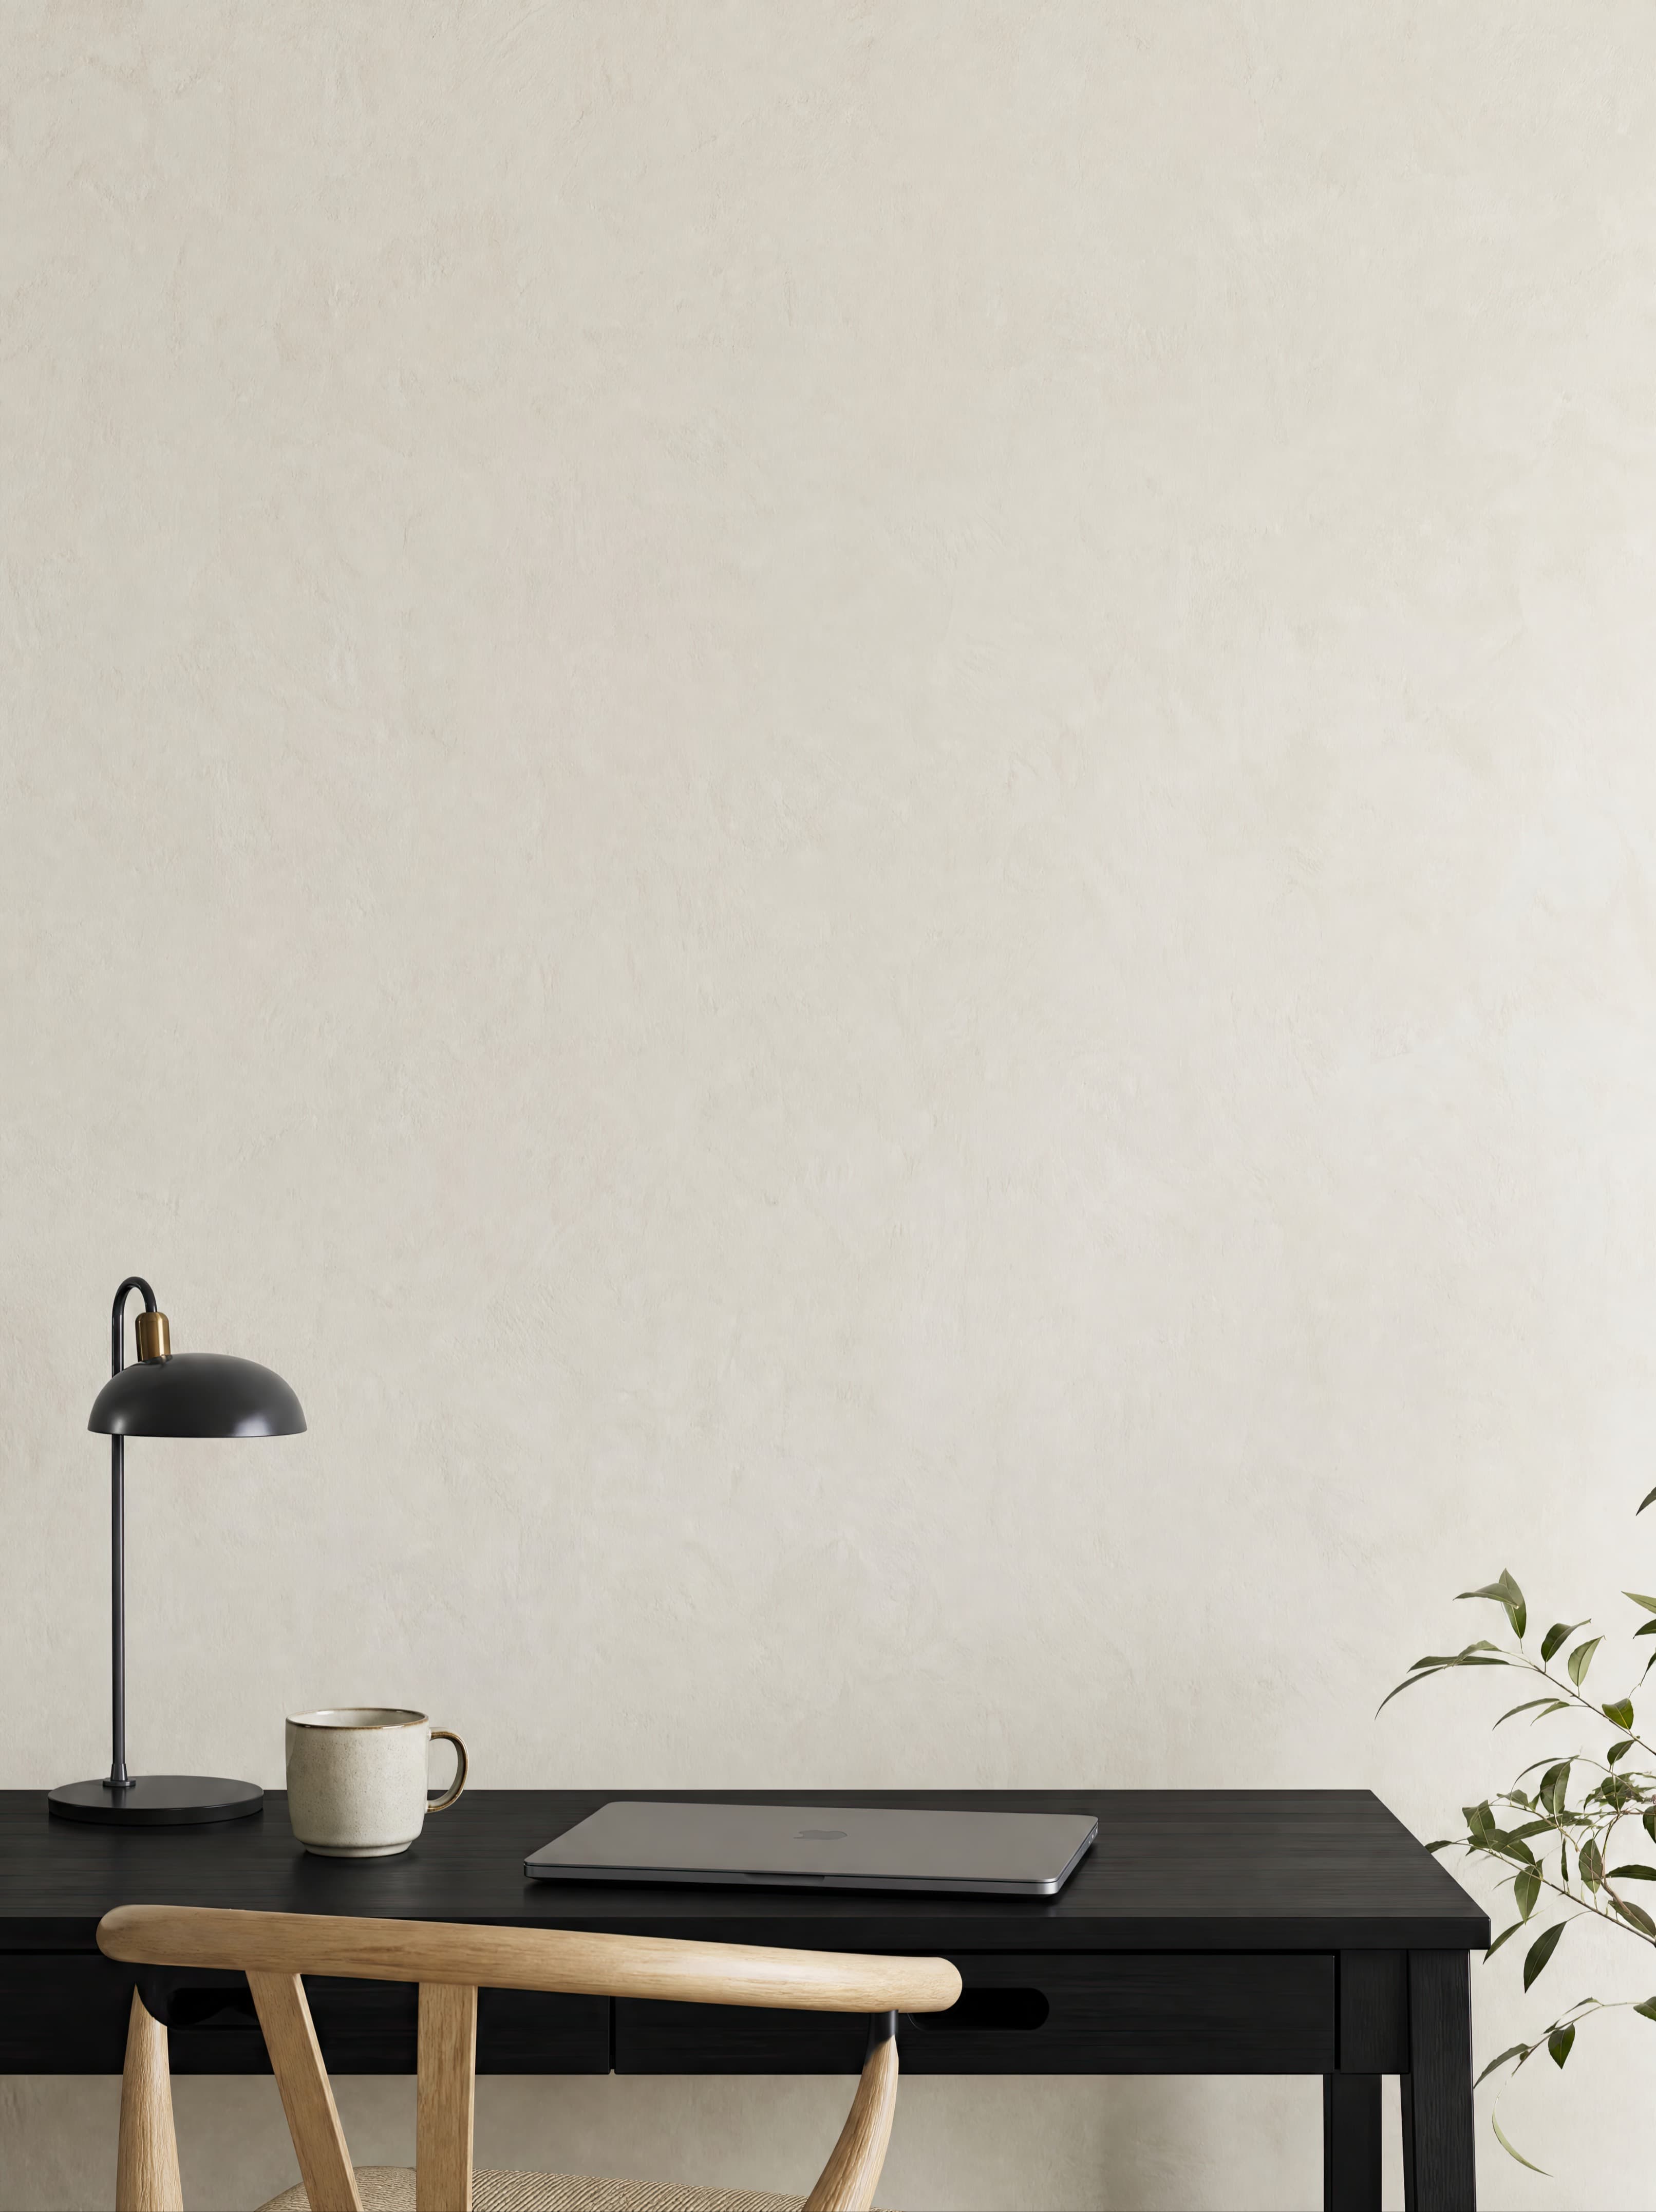
Room pick 7
Calibrated wall reference: 75.6 × 100.8 in (192 × 256 cm)
Try this room in the editor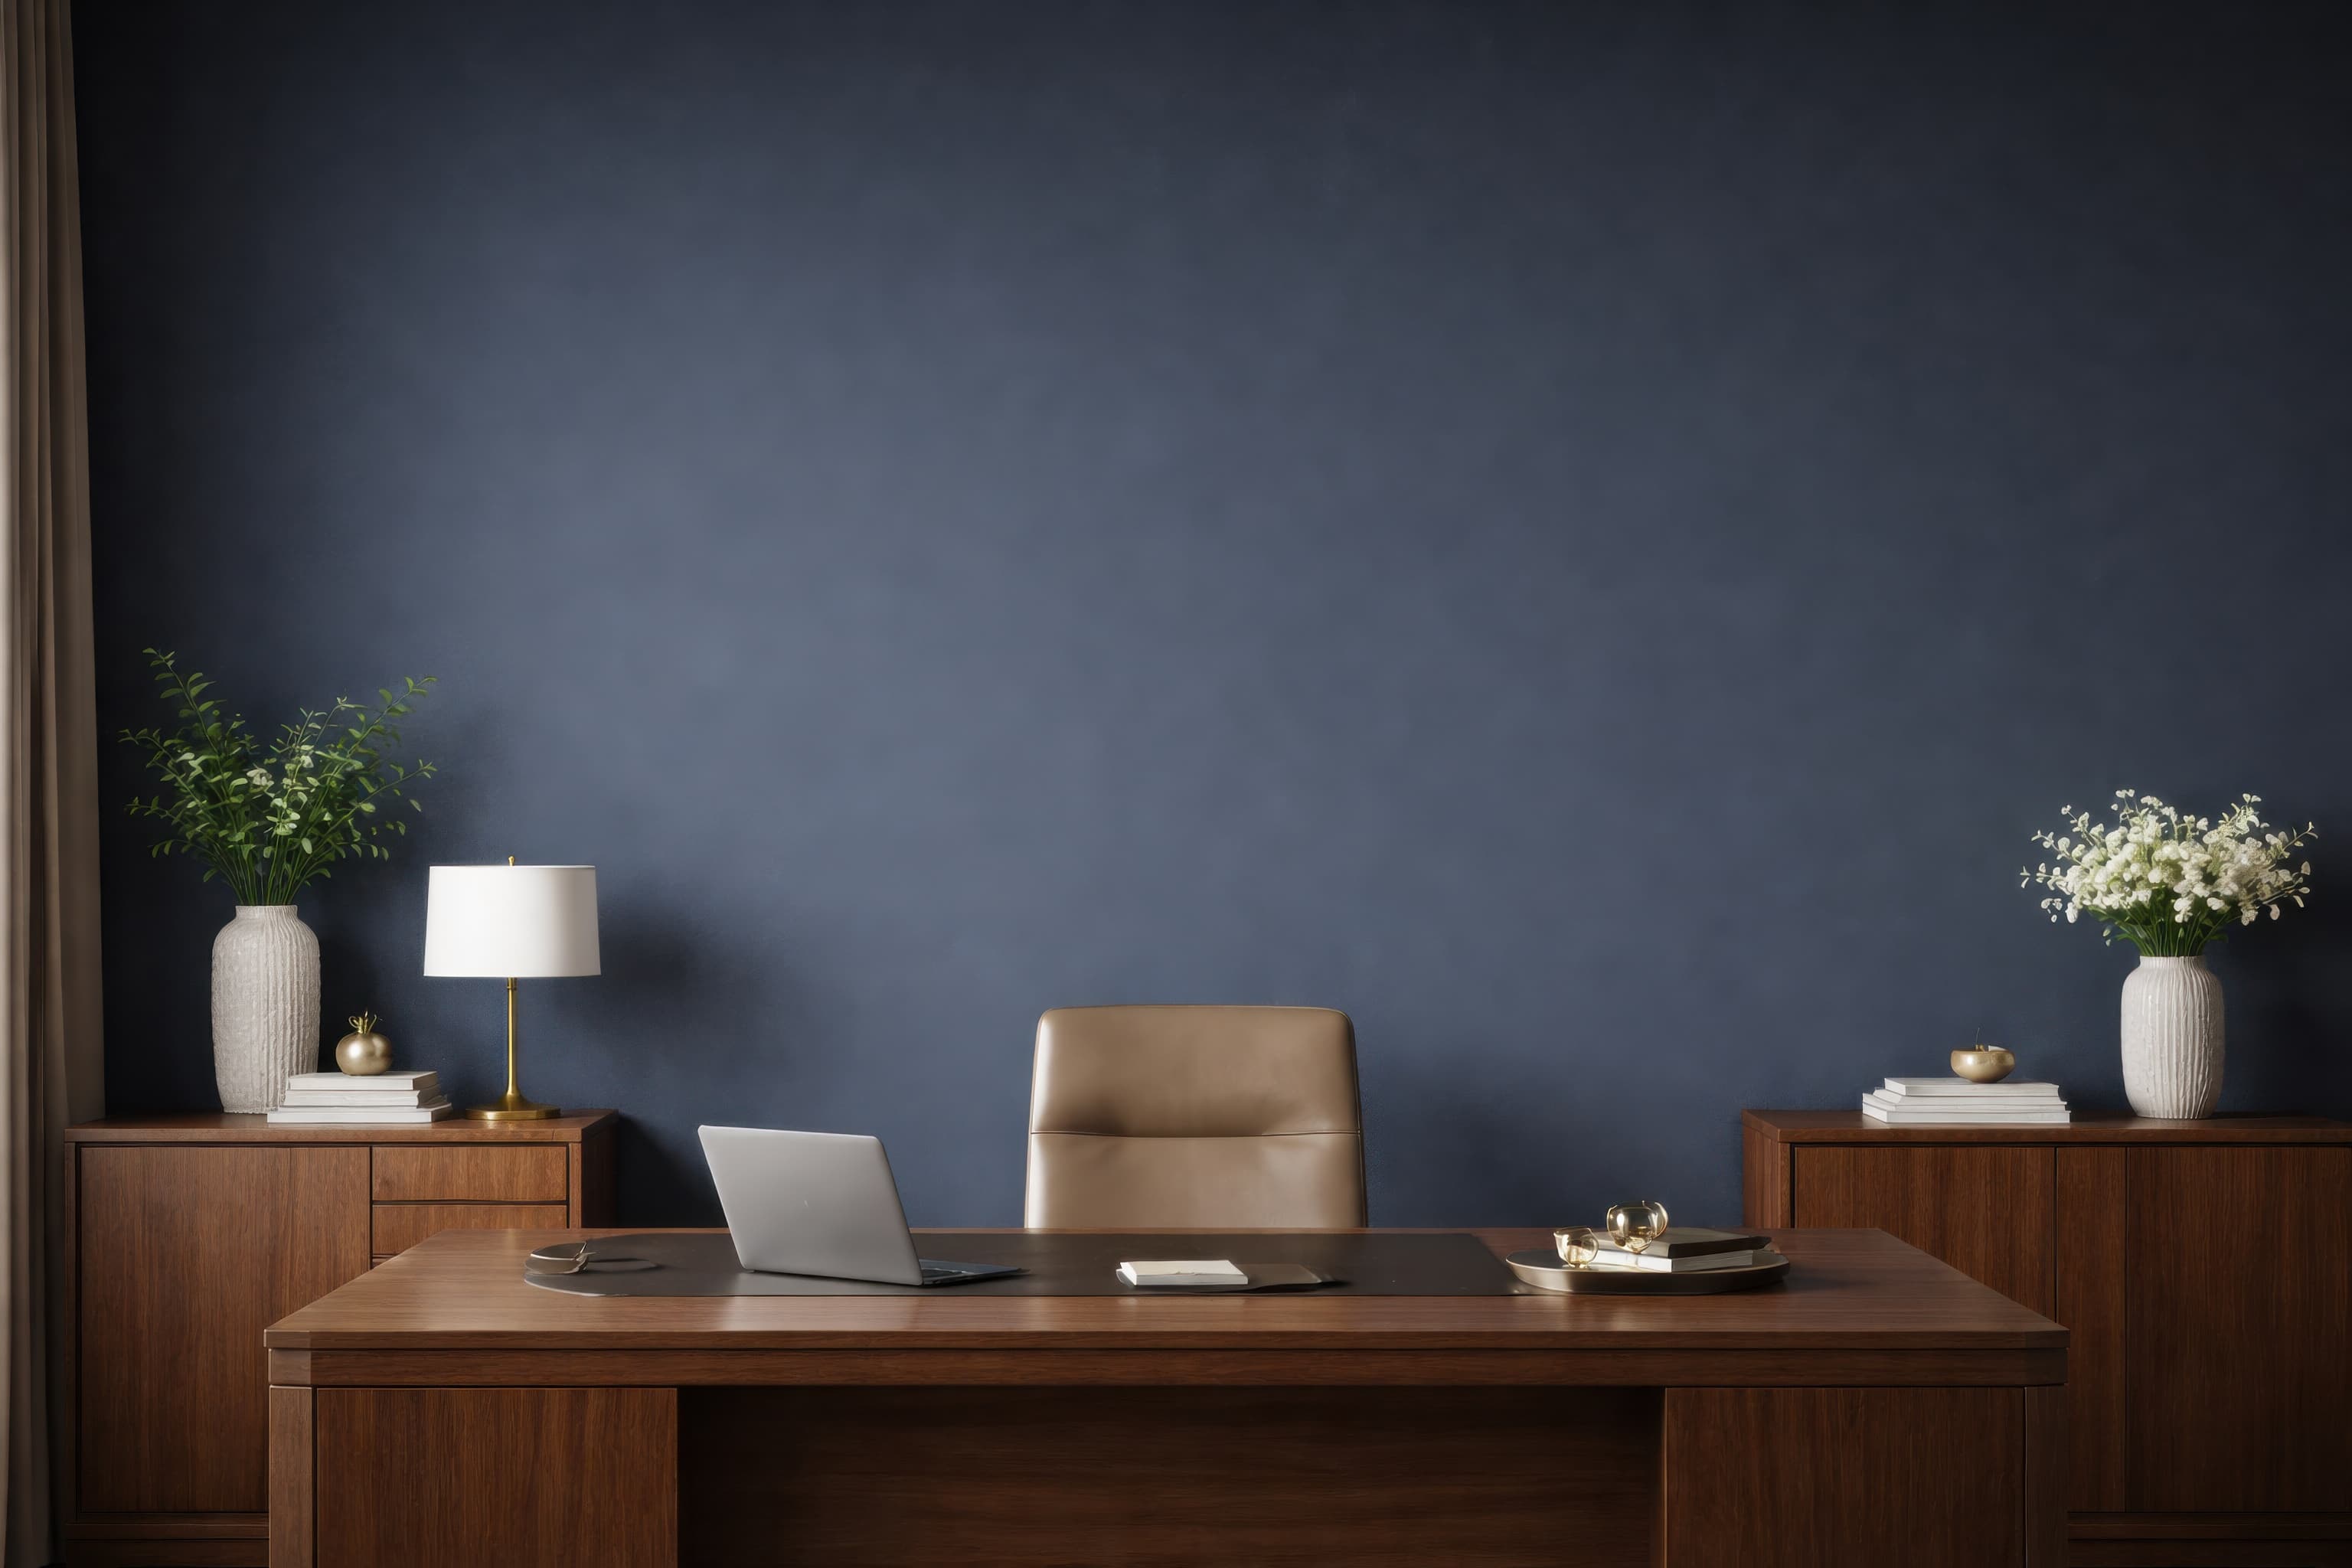
Room pick 8
Calibrated wall reference: 133.9 × 89.2 in (340 × 227 cm)
Try this room in the editor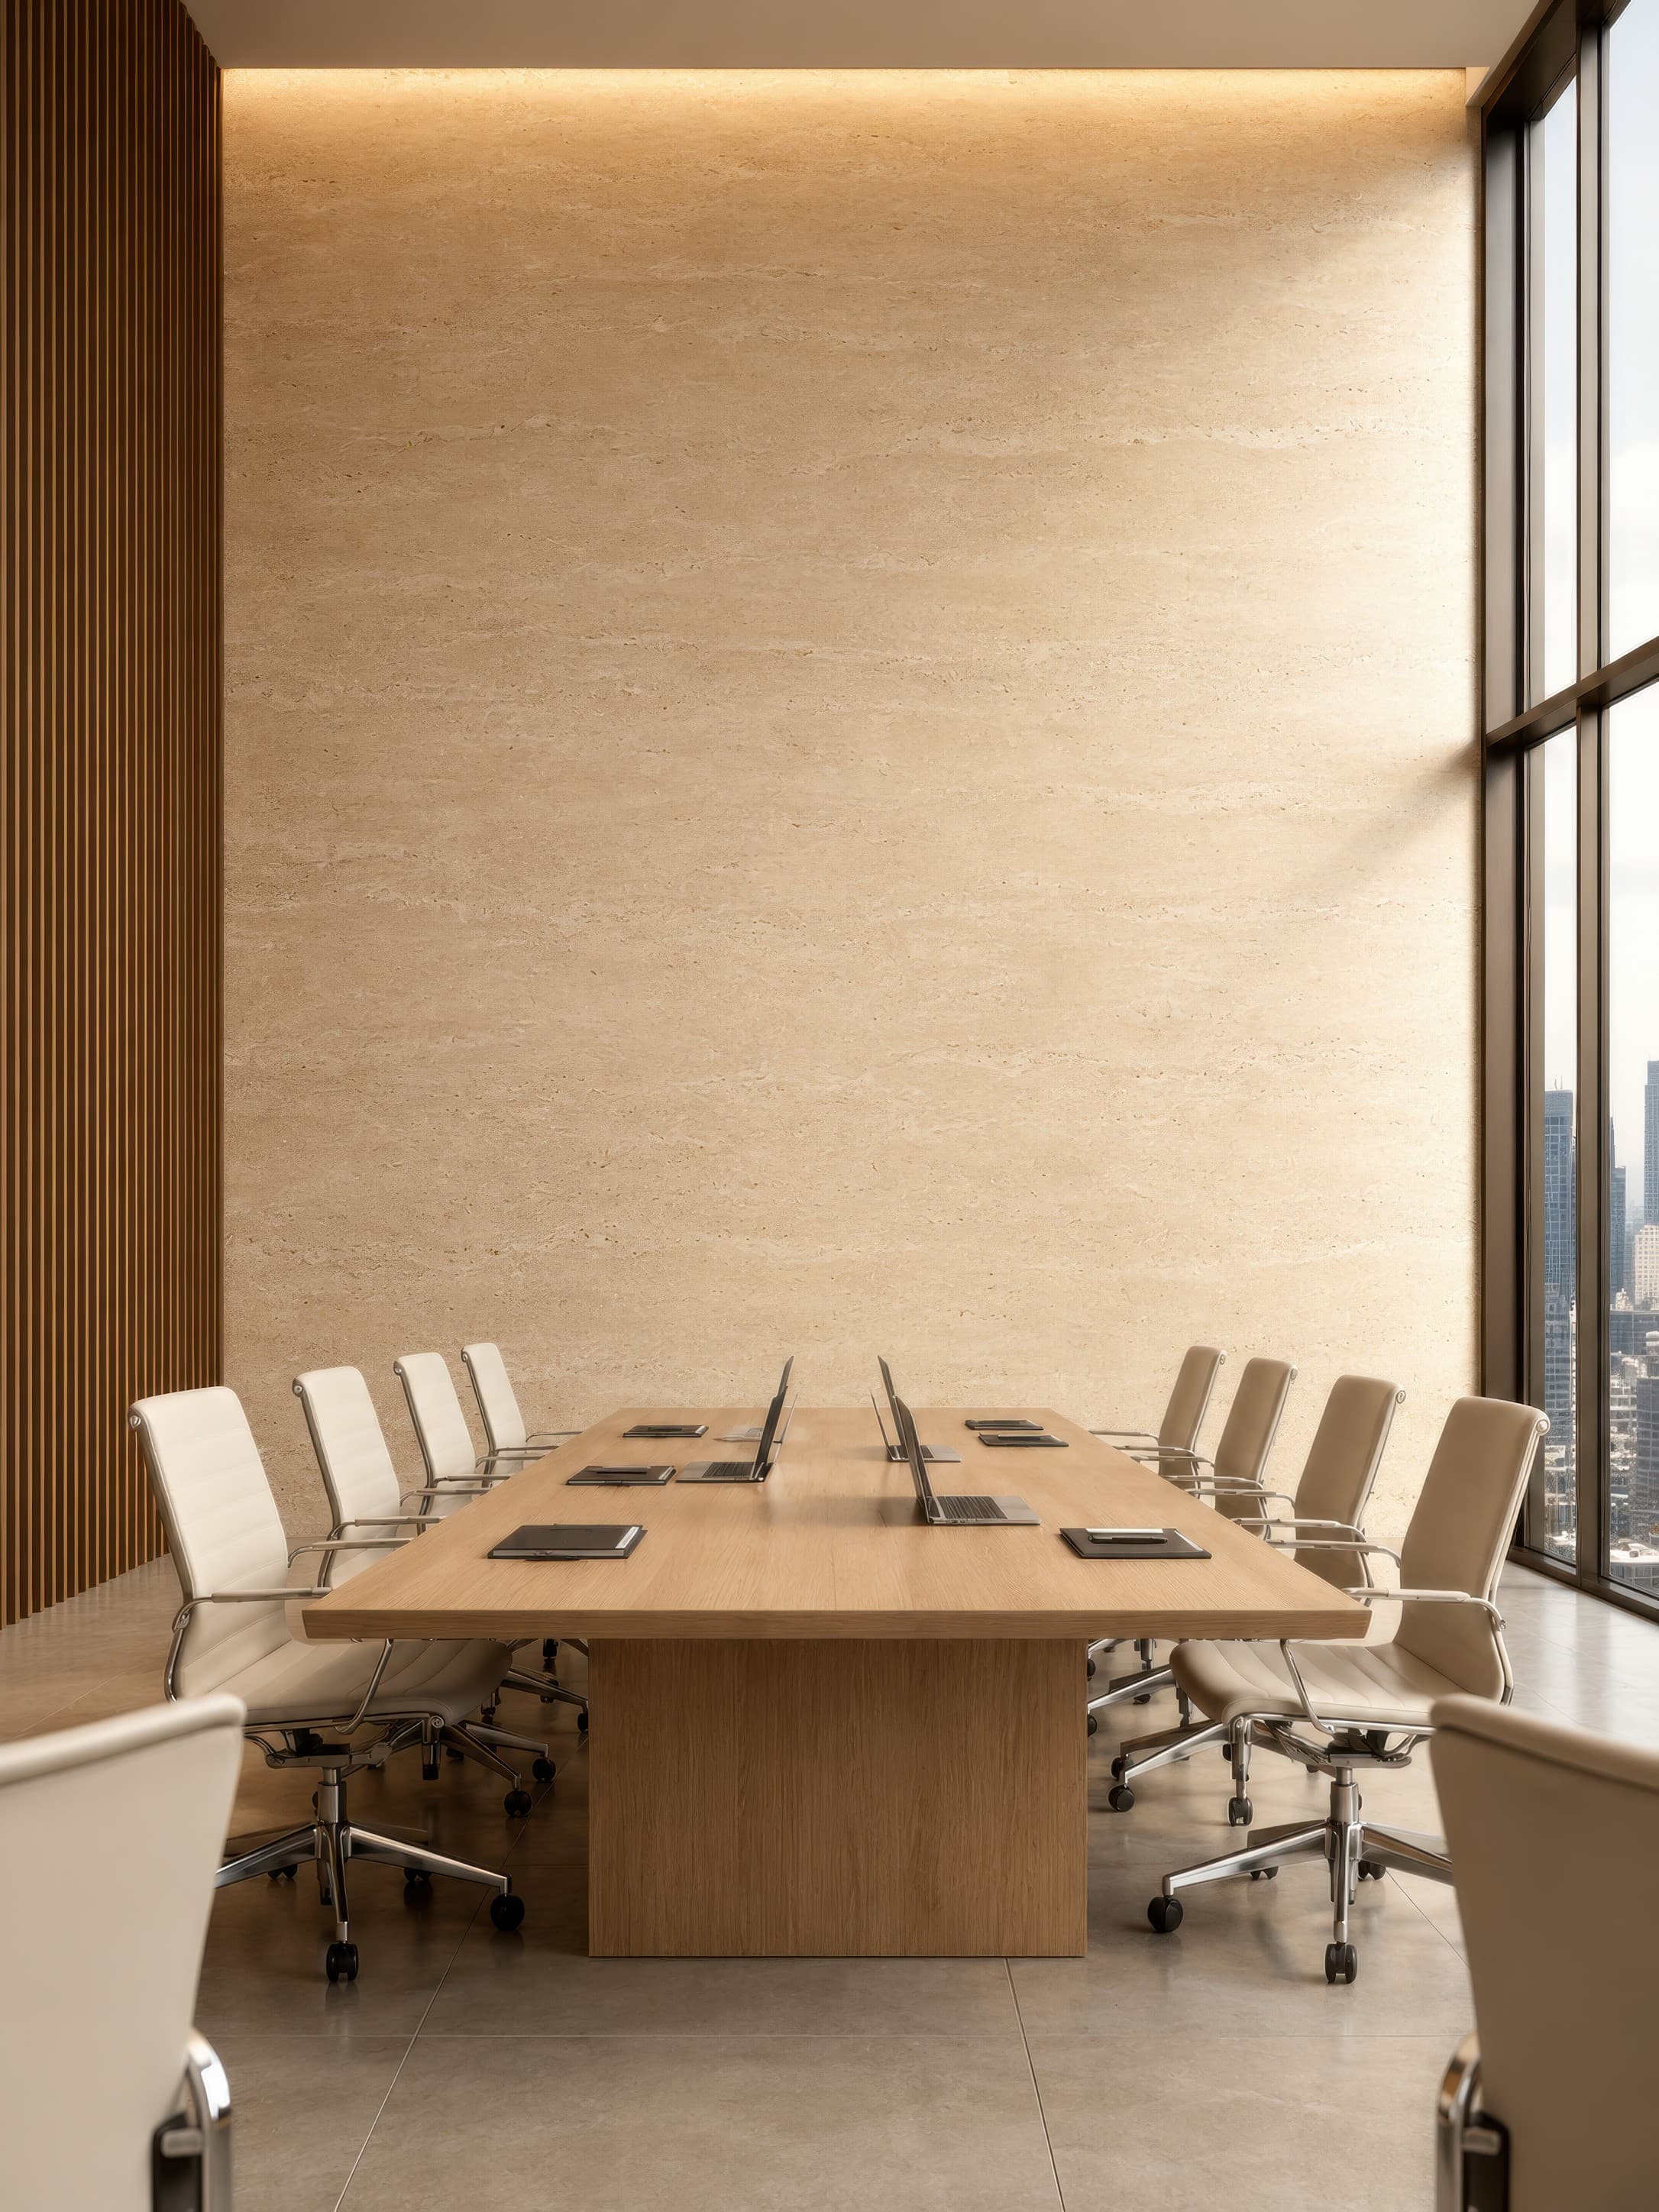
Room pick 9
Calibrated wall reference: 150 × 200 in (381 × 508 cm)
Try this room in the editor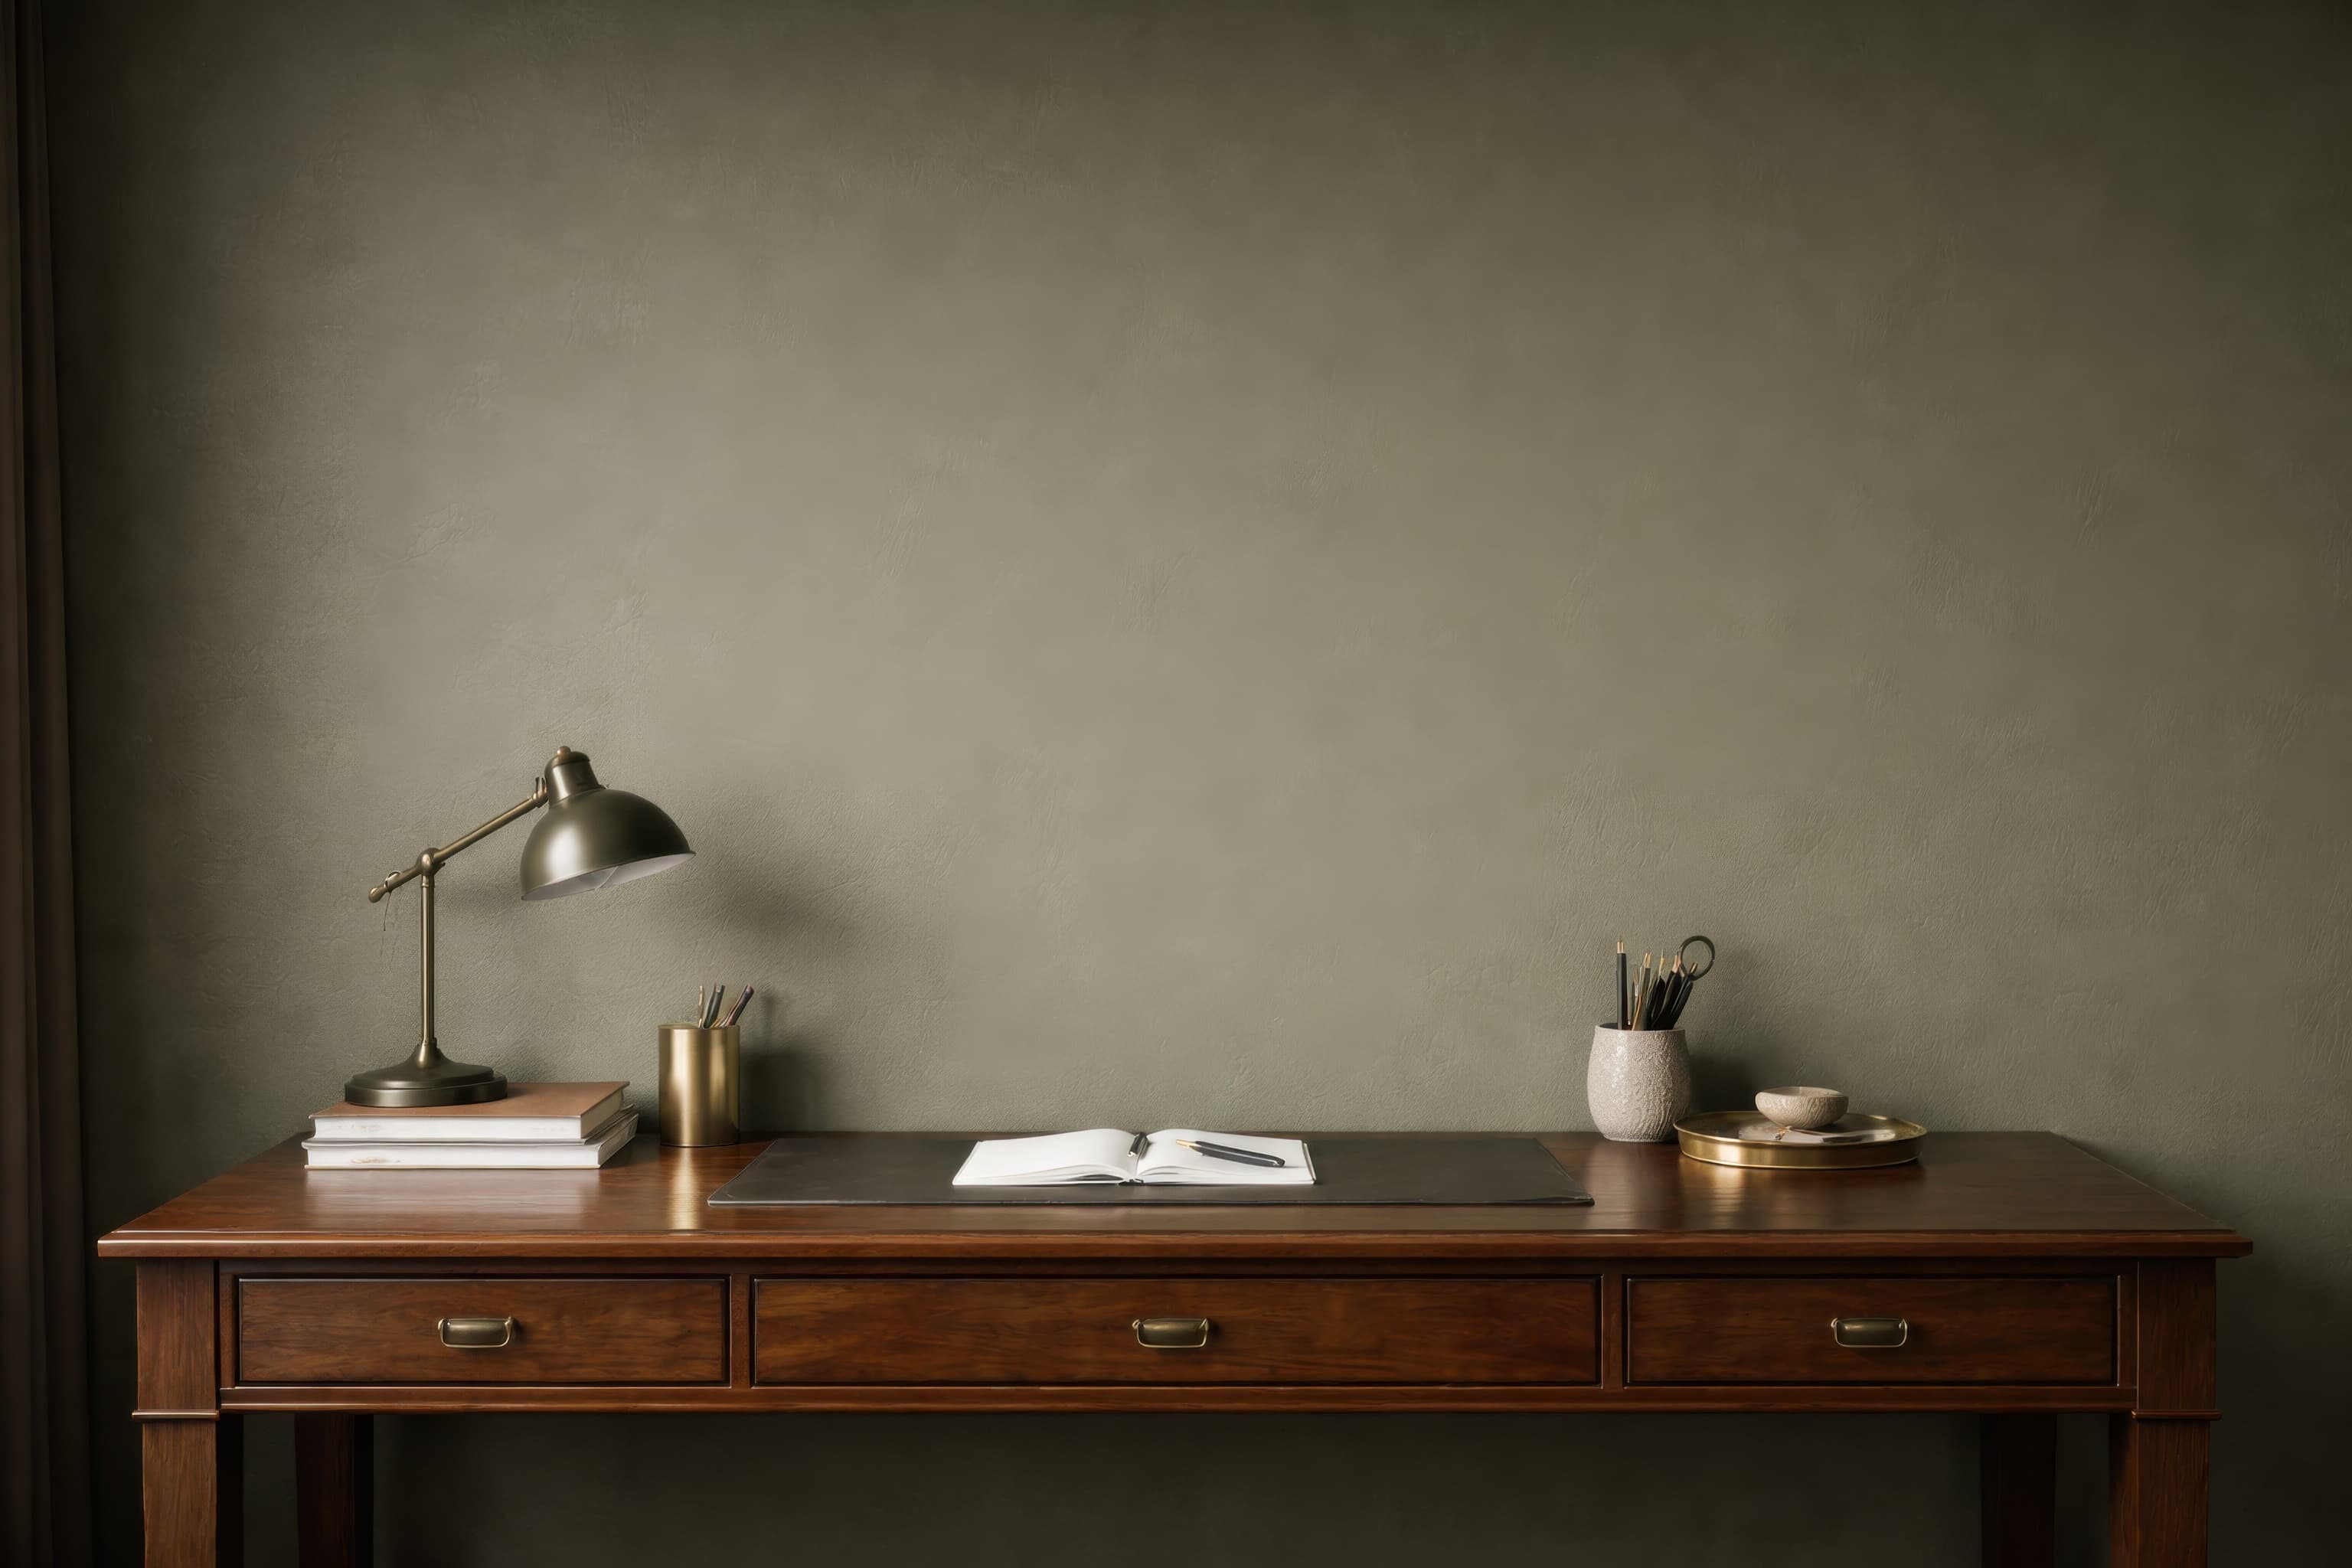
Room pick 10
Calibrated wall reference: 86.4 × 59.4 in (219 × 151 cm)
Try this room in the editor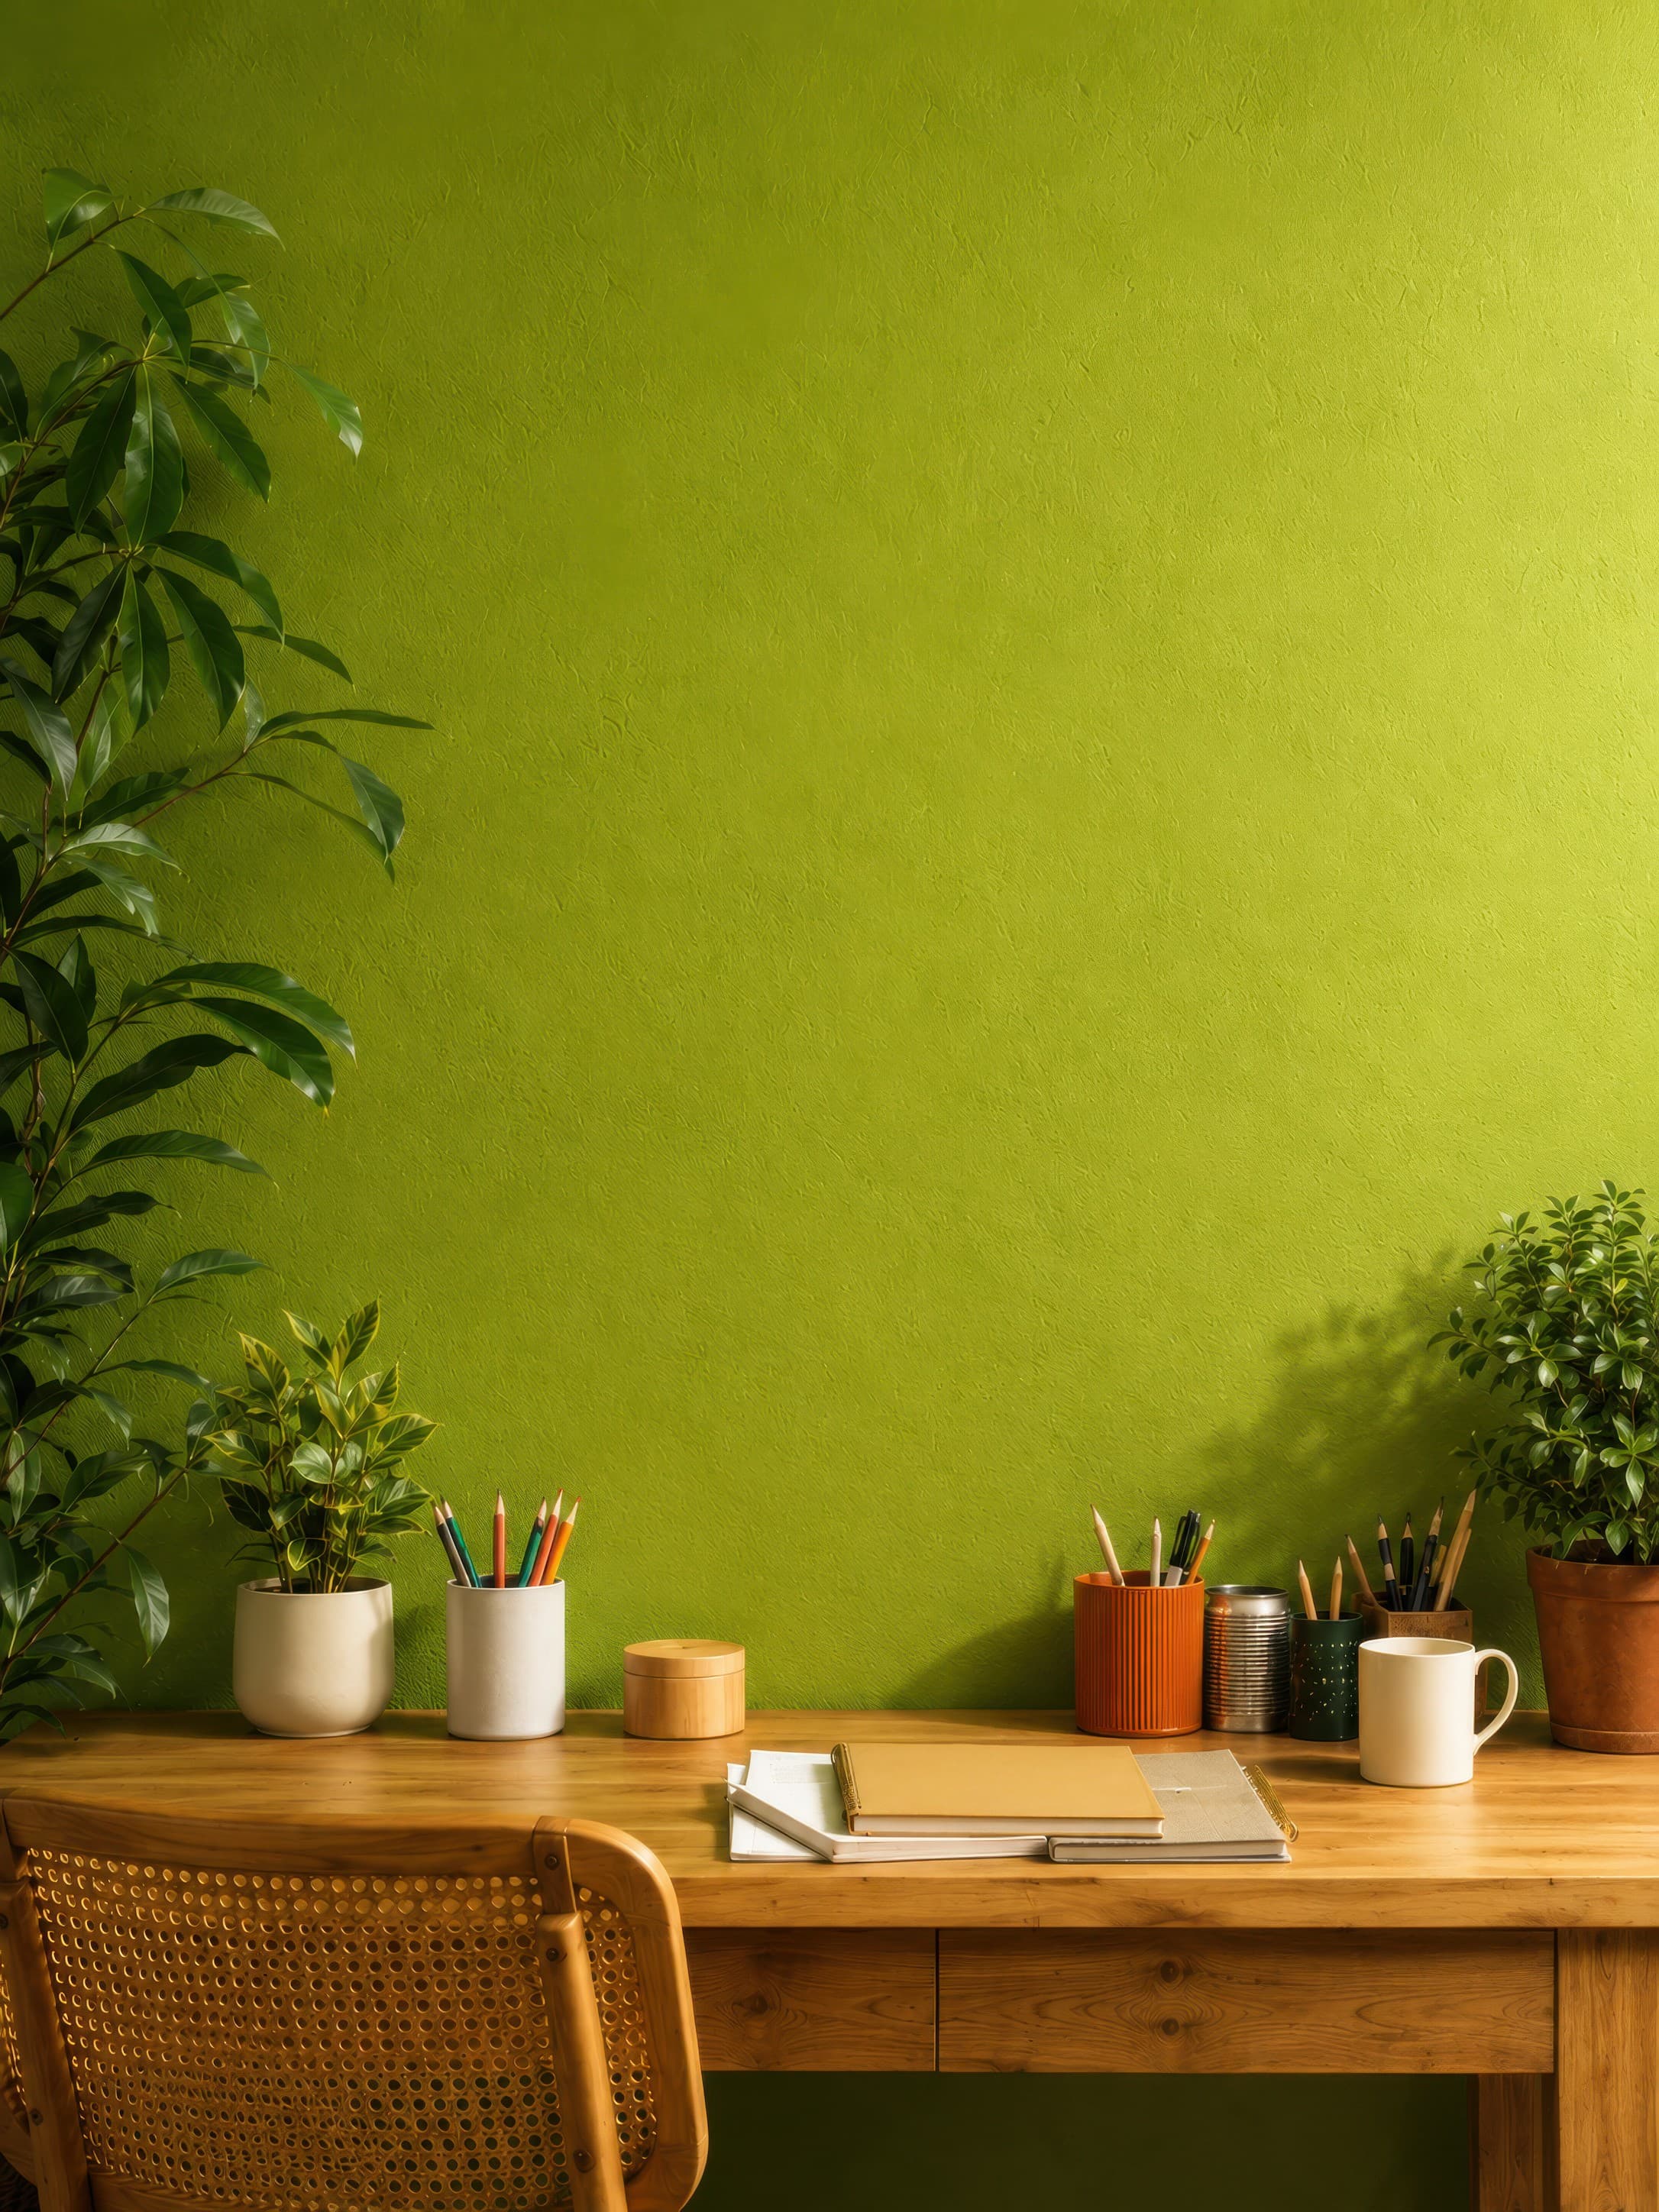
Room pick 11
Calibrated wall reference: 64.8 × 86.4 in (165 × 219 cm)
Try this room in the editor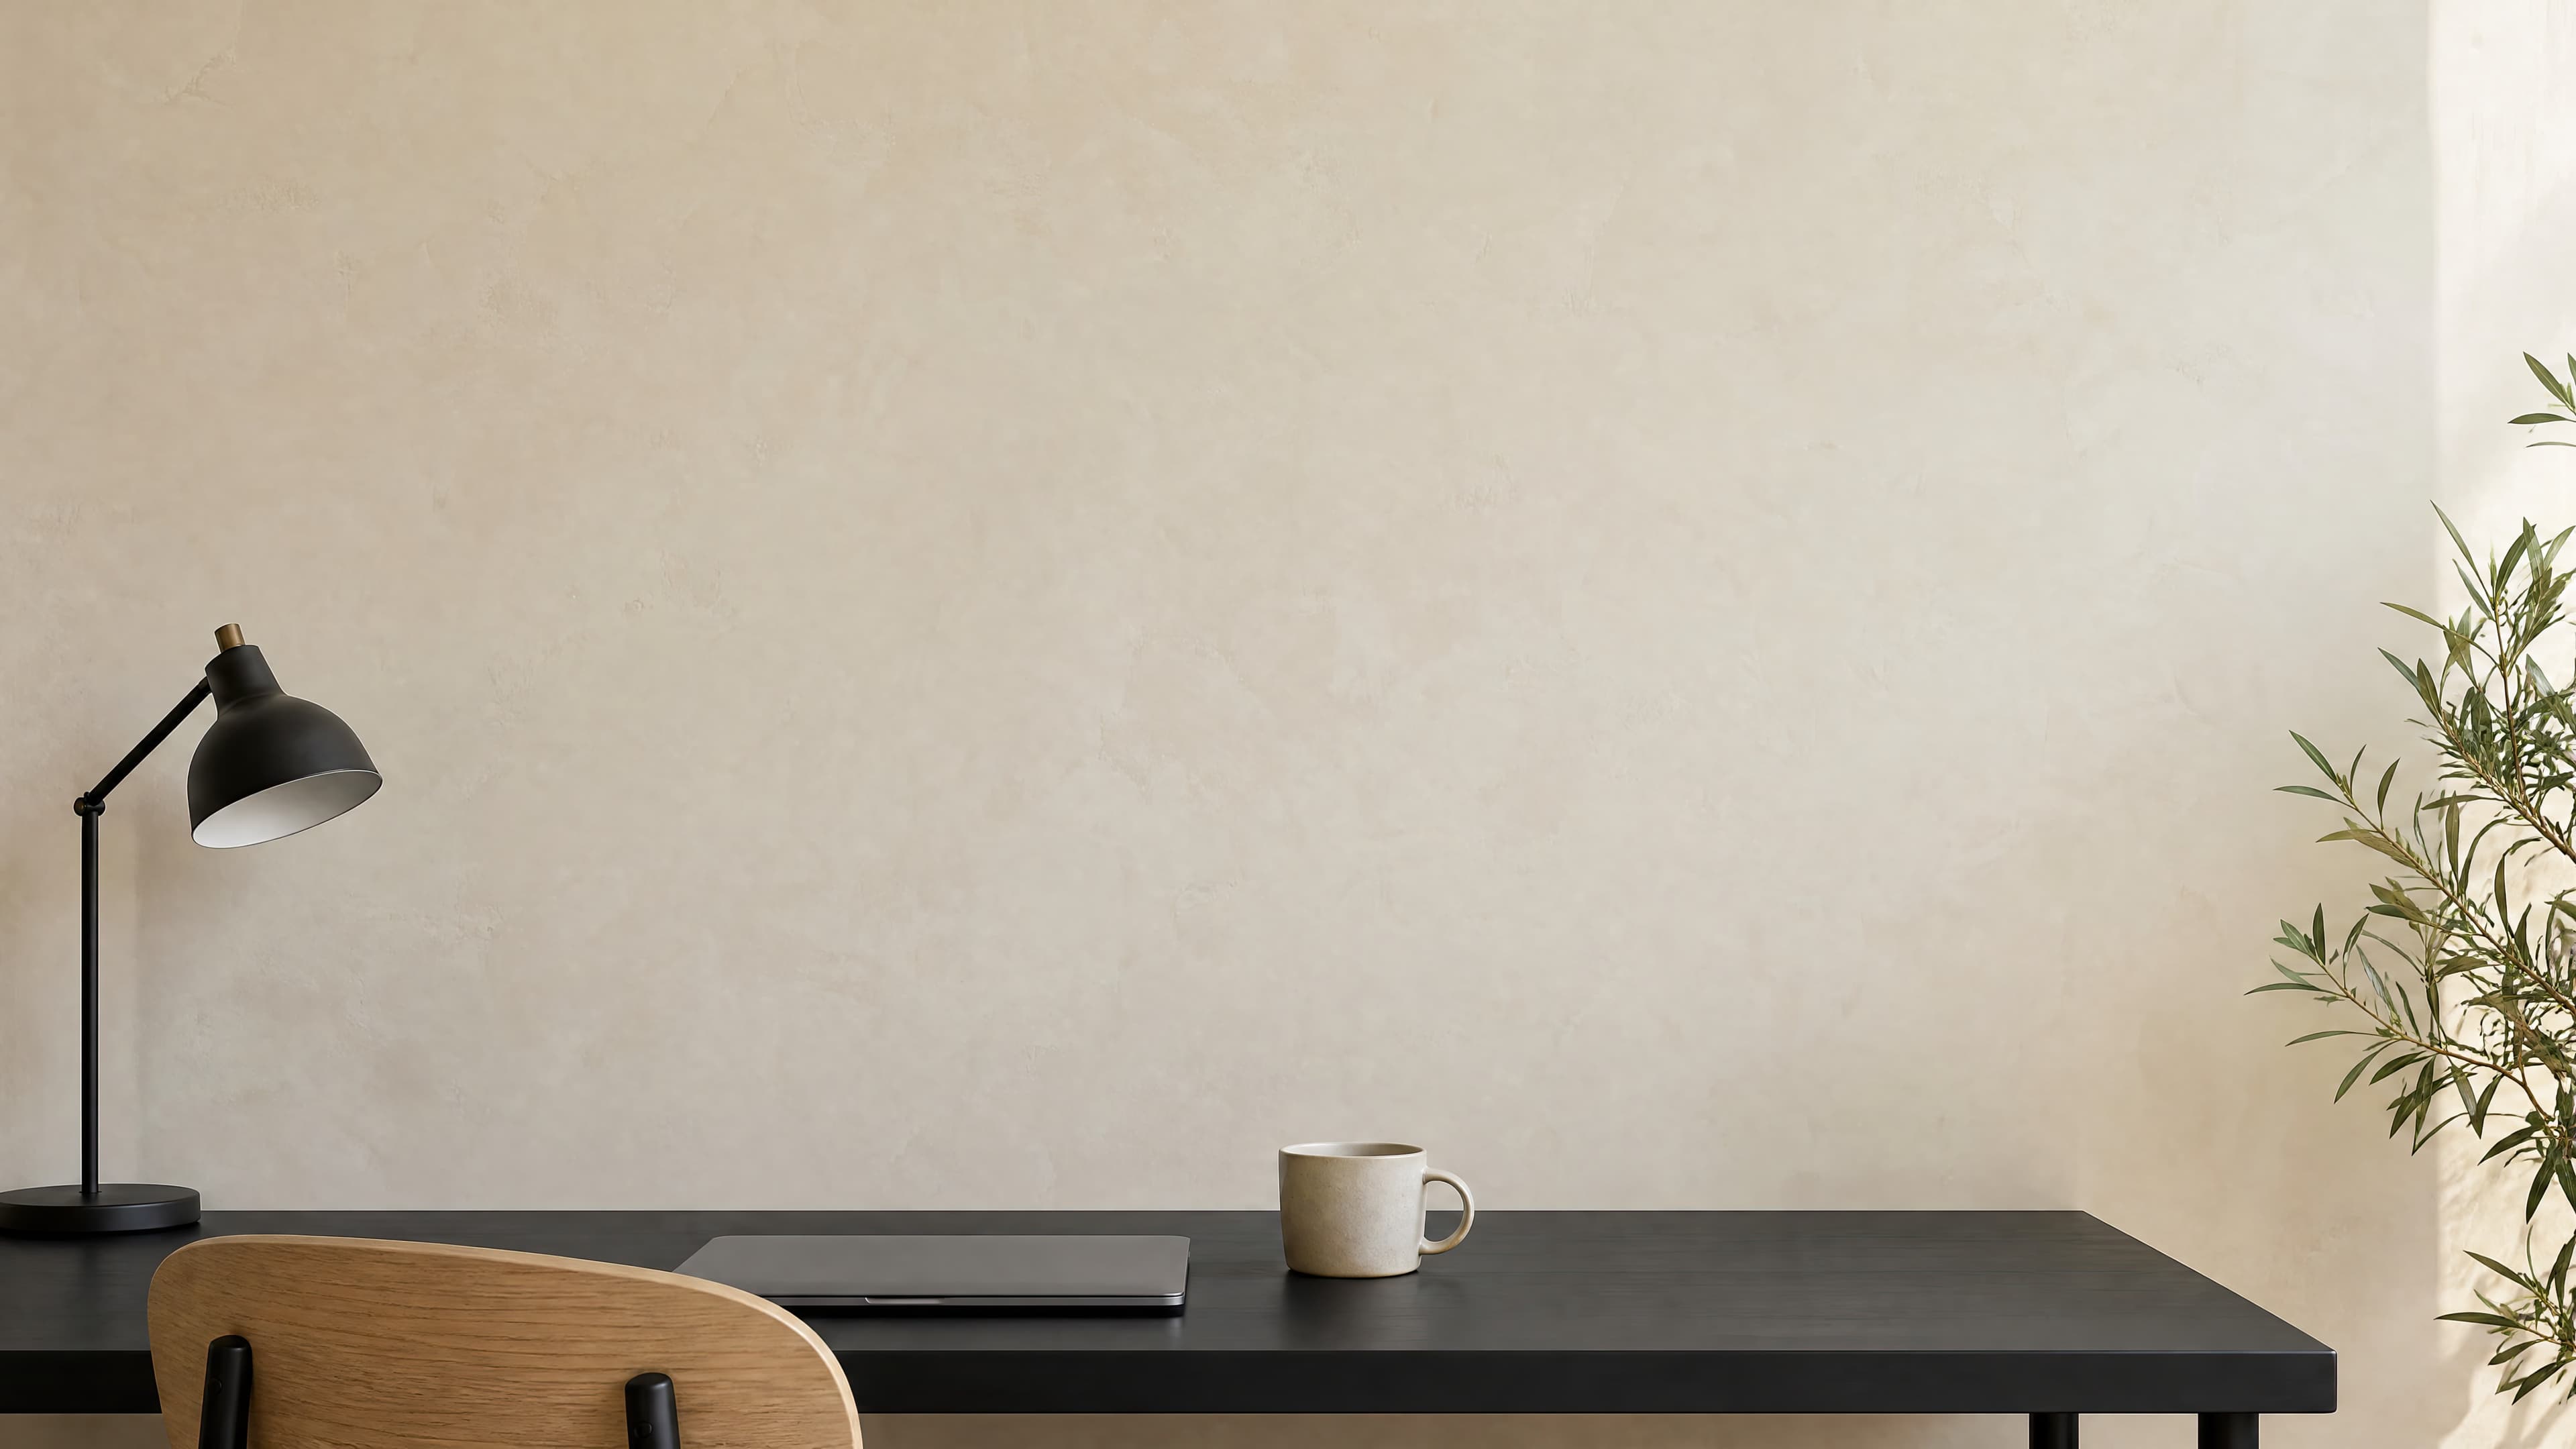
Room pick 12
Calibrated wall reference: 110.6 × 62.2 in (281 × 158 cm)
Try this room in the editor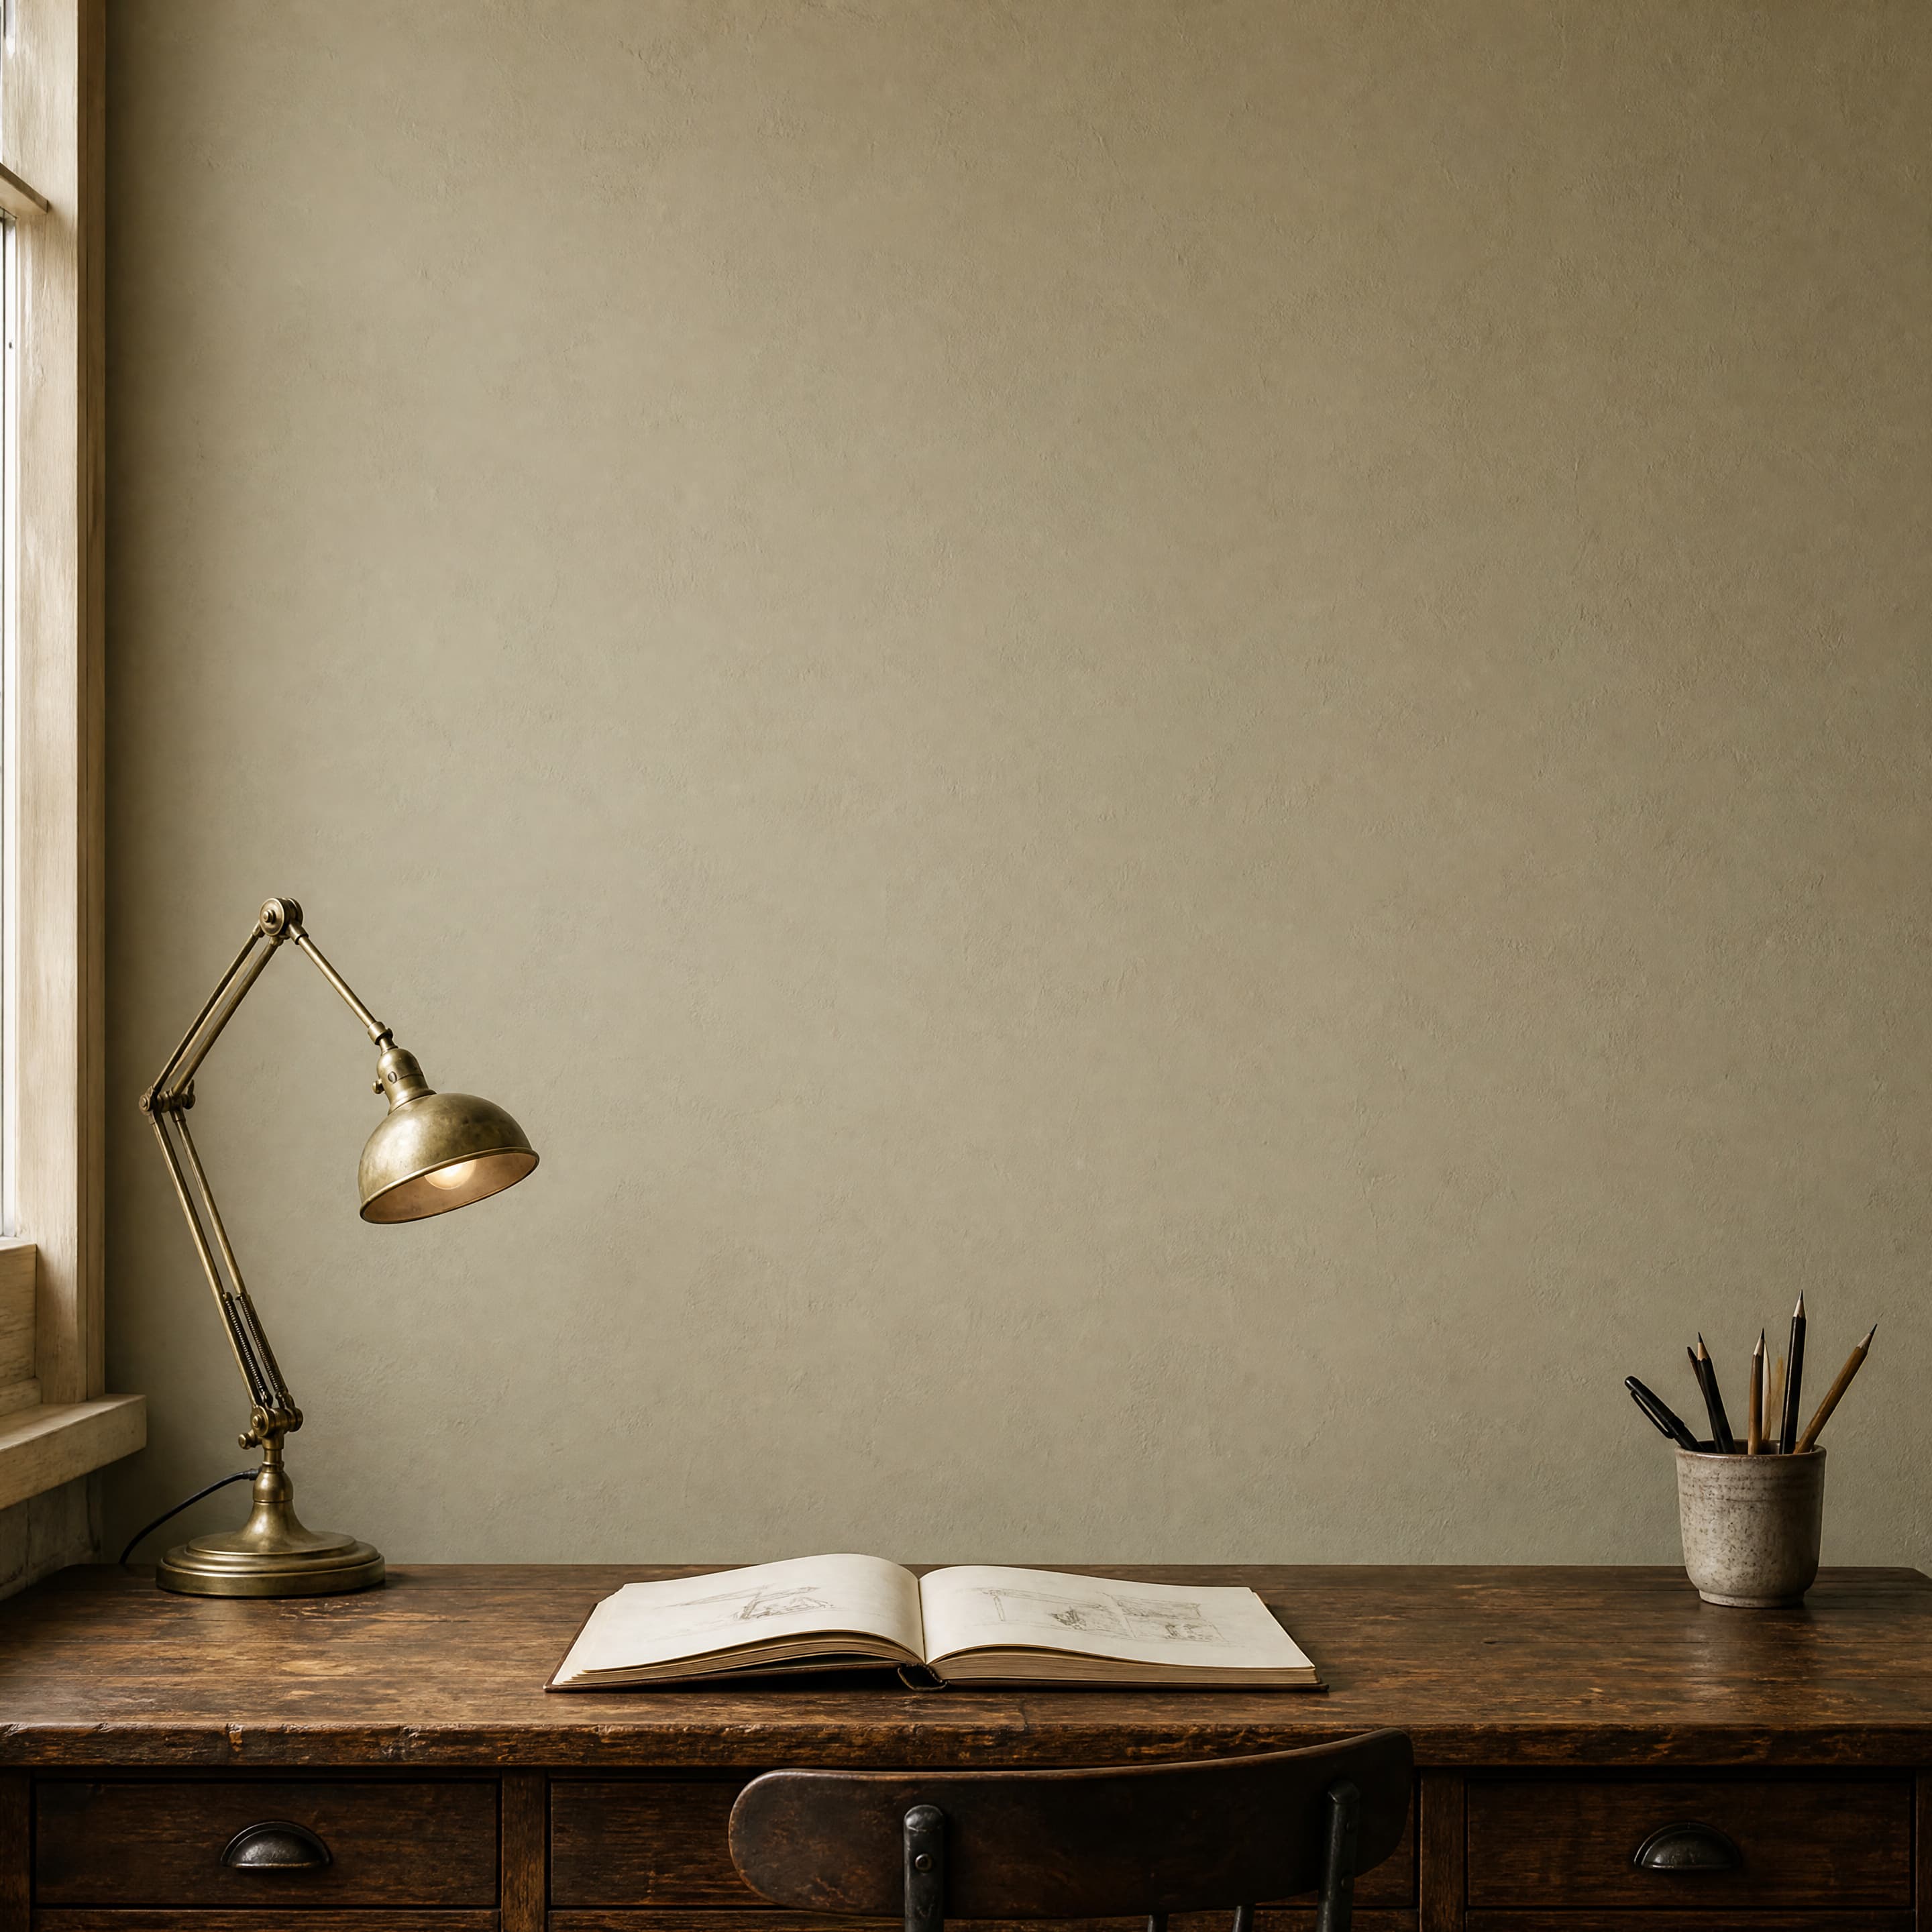
Room pick 13
Calibrated wall reference: 61.6 × 61.6 in (156 × 156 cm)
Try this room in the editor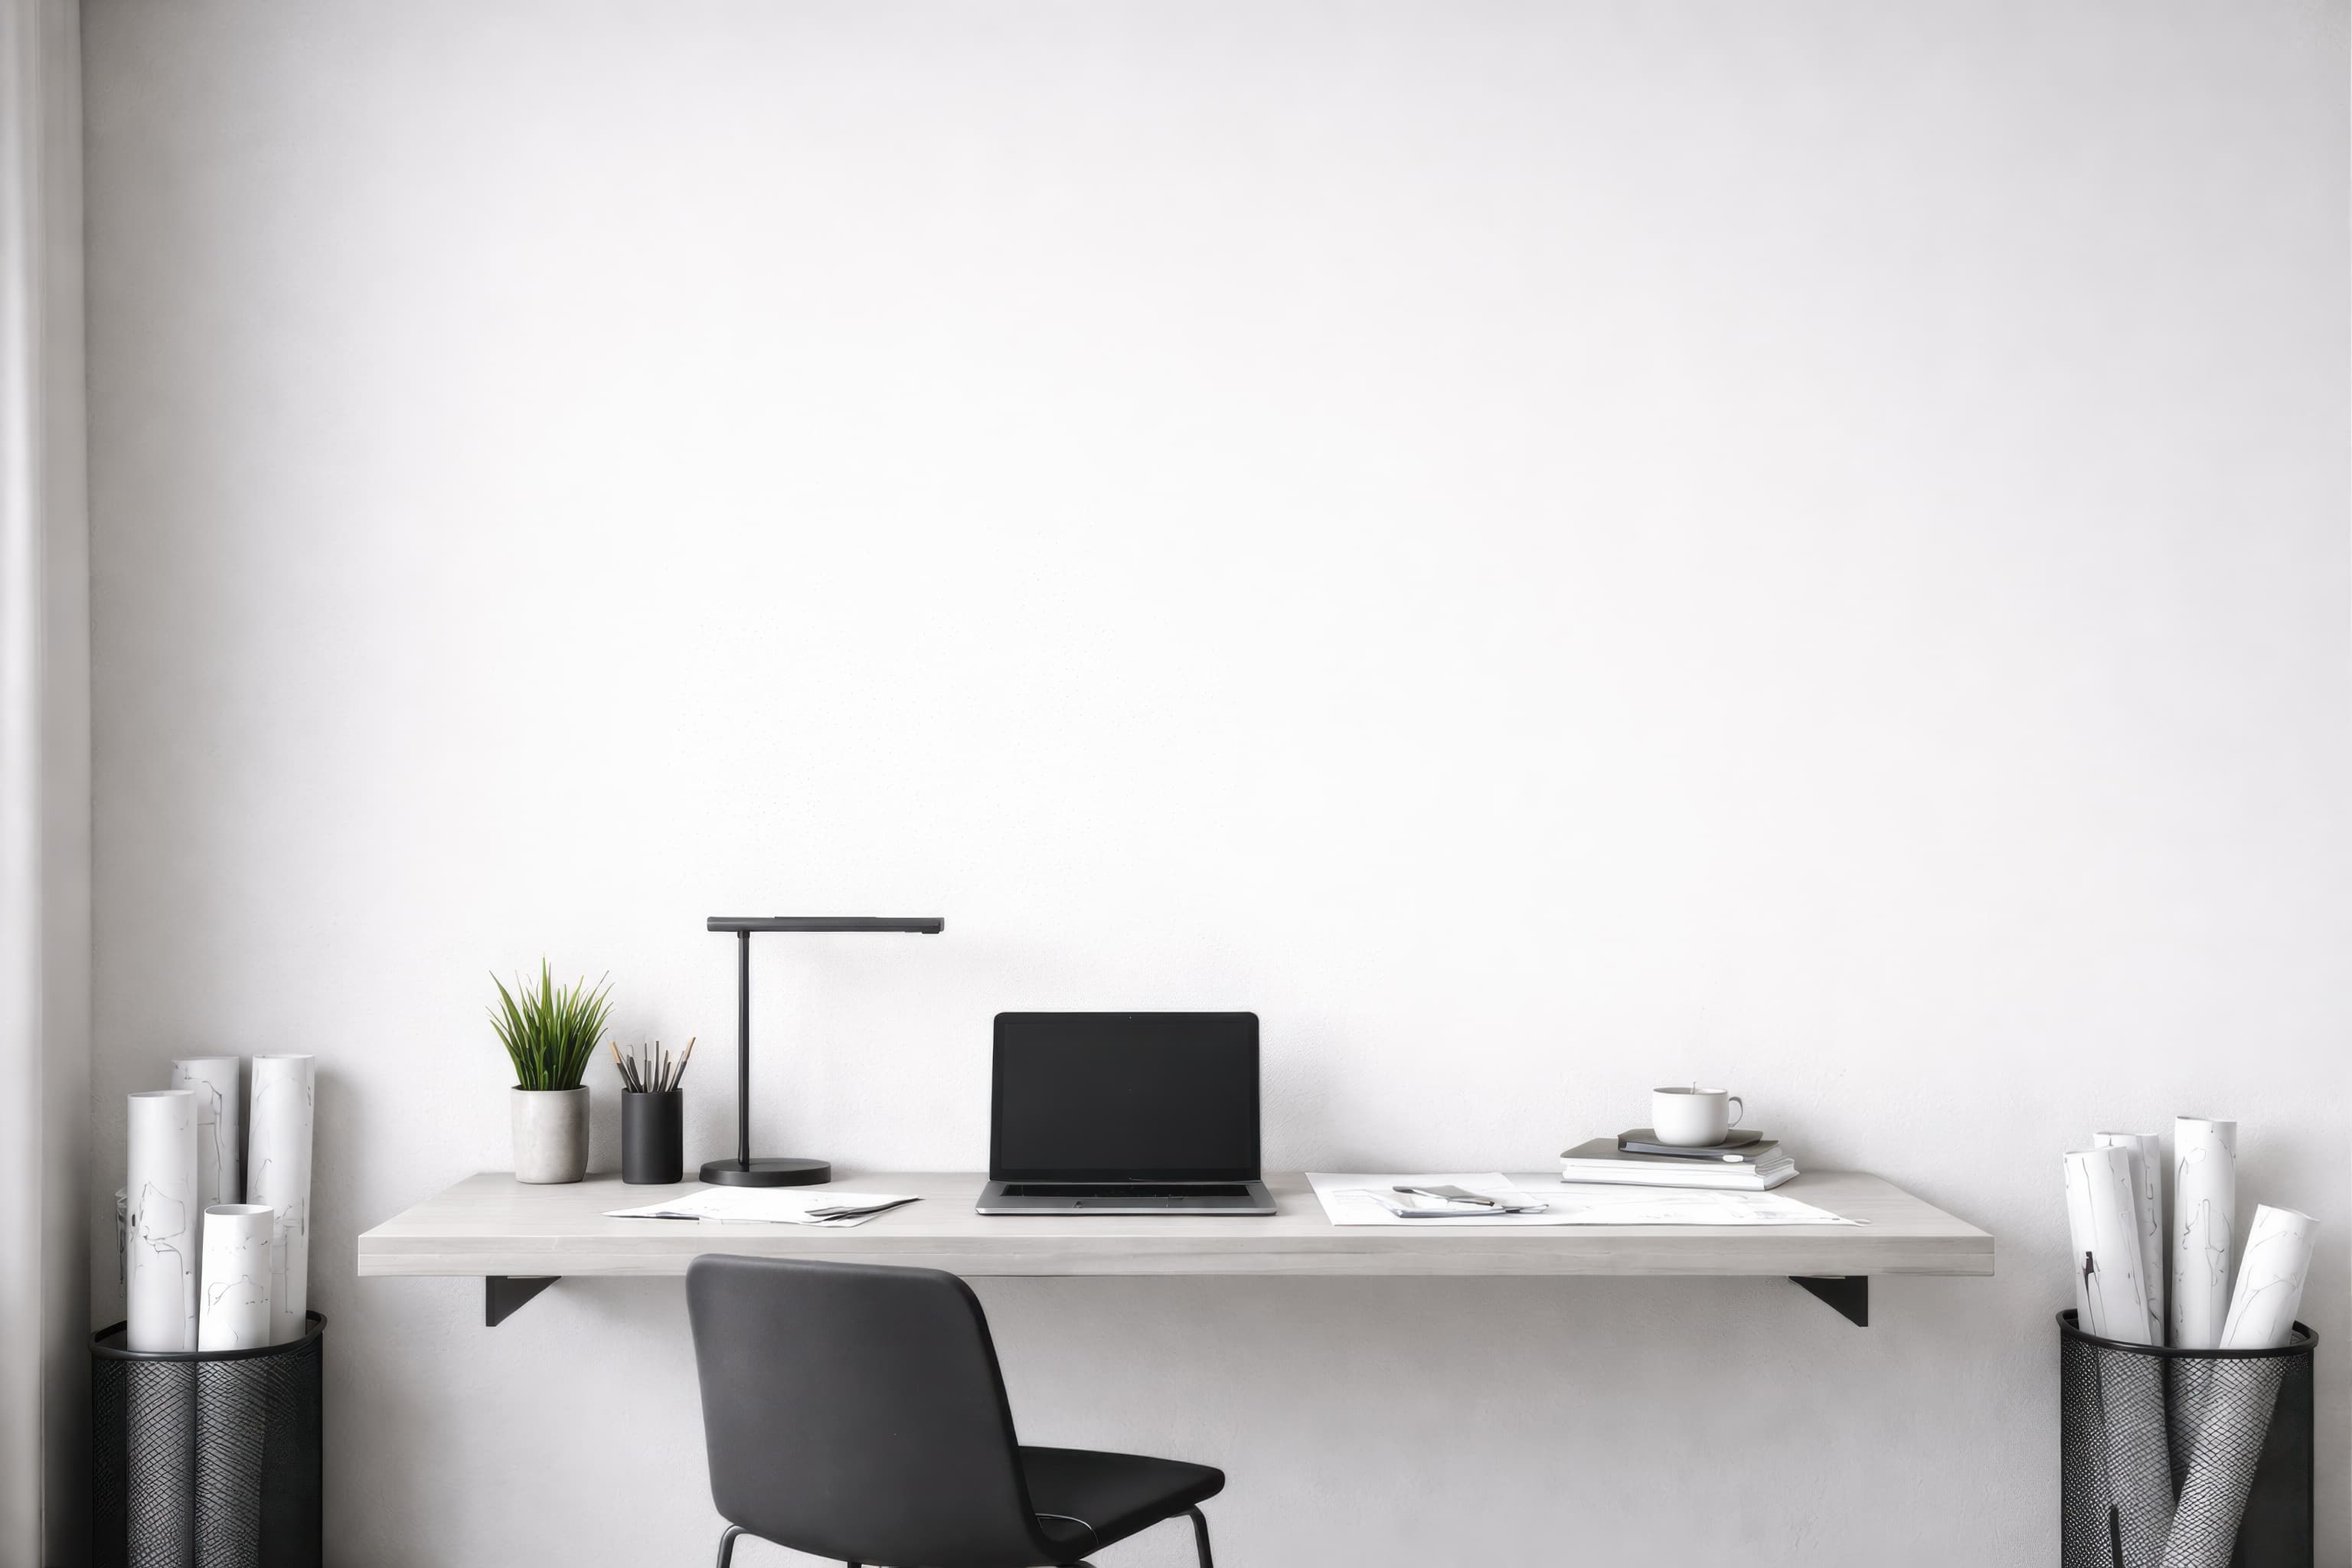
Room pick 14
Calibrated wall reference: 106.7 × 76.2 in (271 × 194 cm)
Try this room in the editor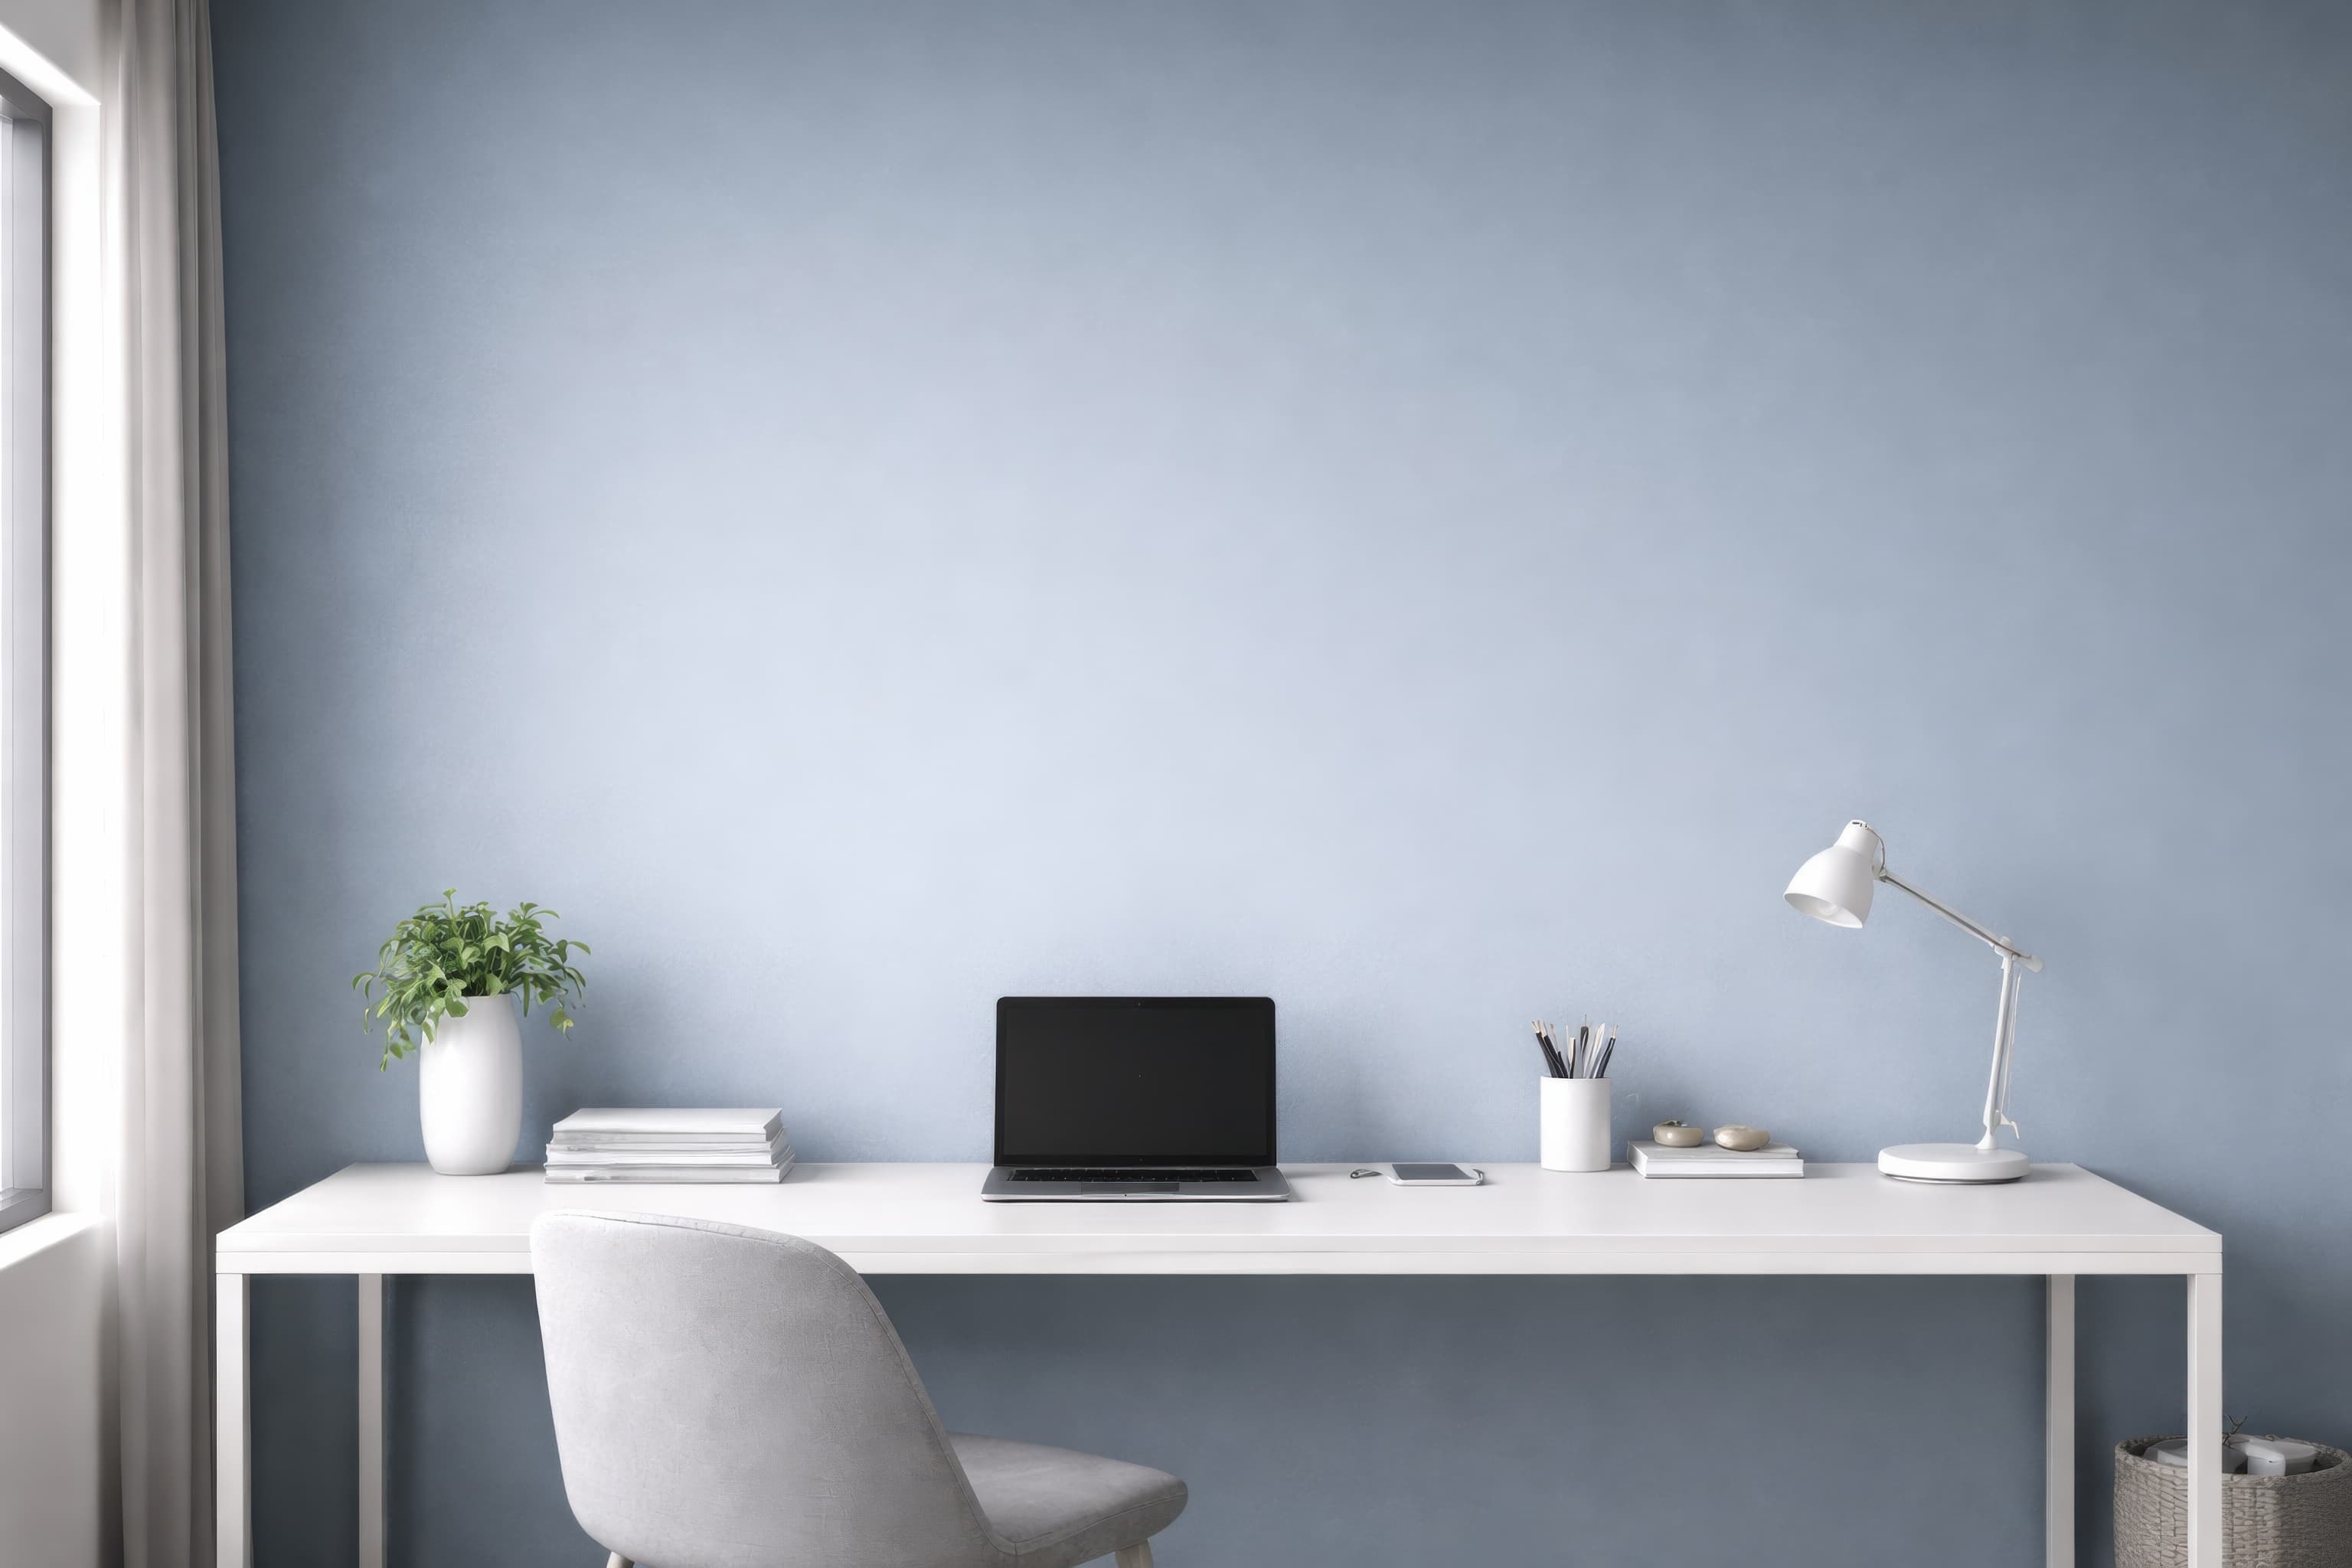
Room pick 15
Calibrated wall reference: 106.1 × 76.2 in (269 × 194 cm)
Try this room in the editor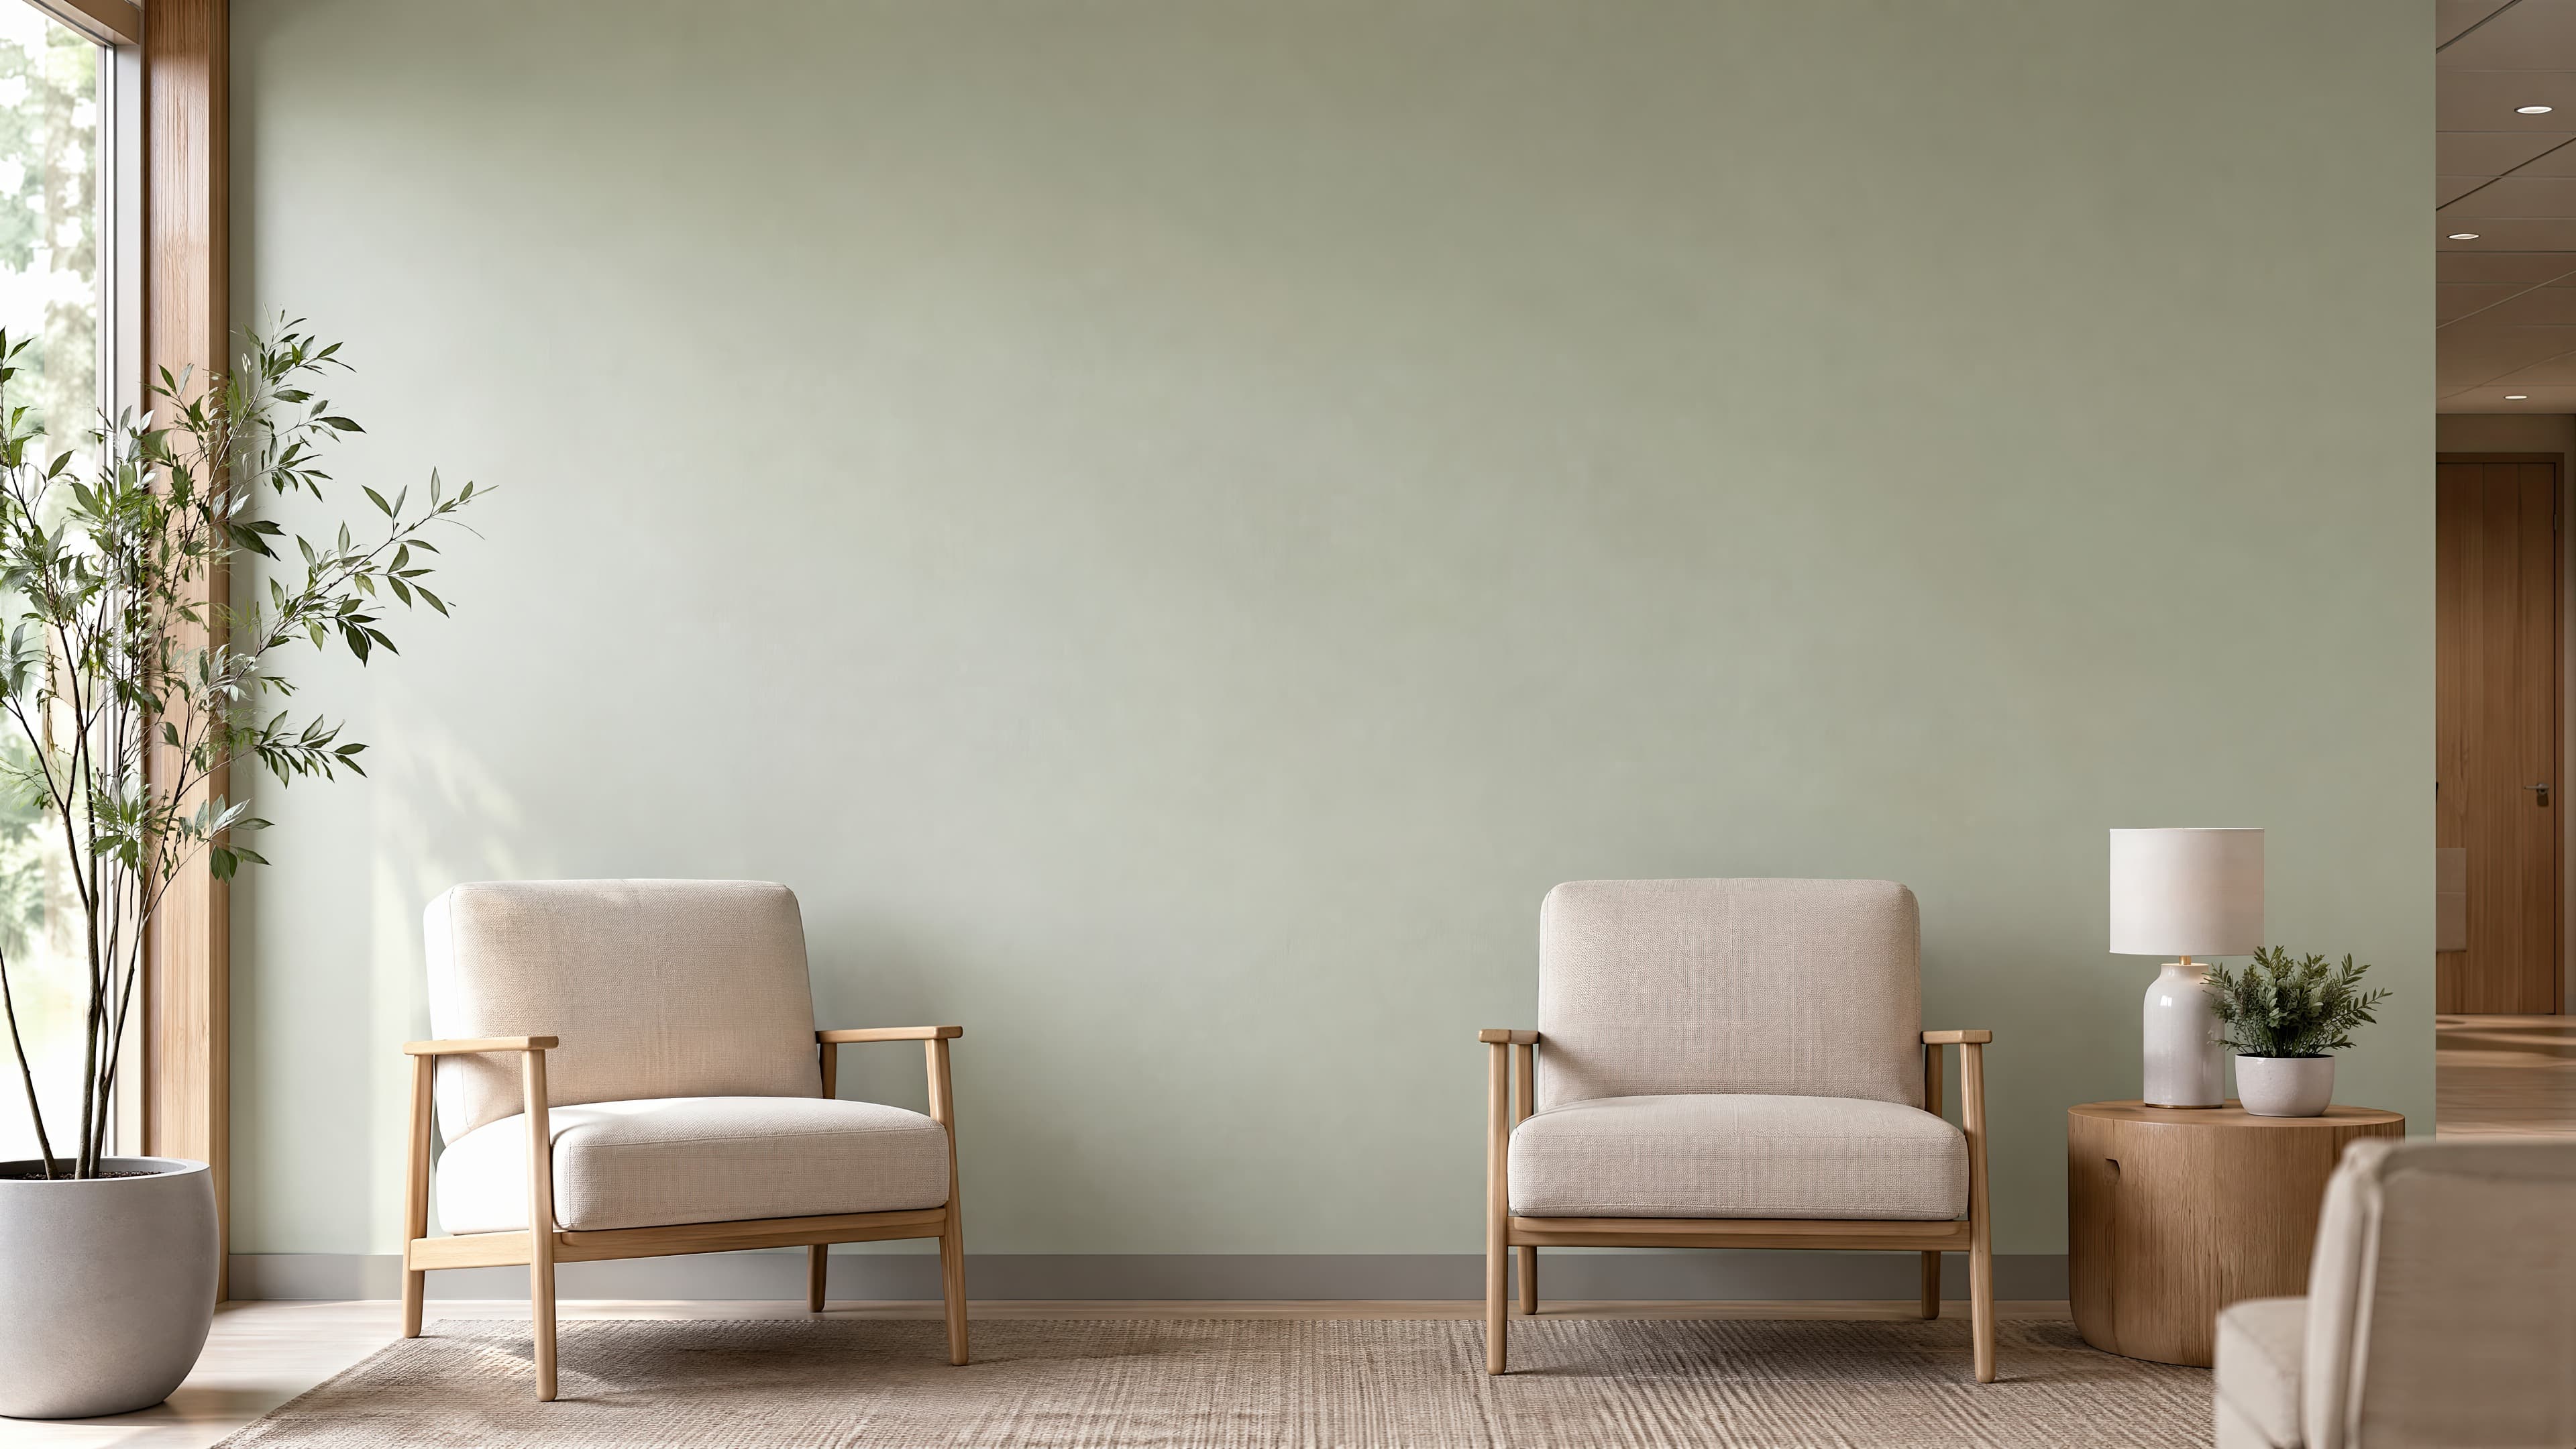
Room pick 16
Calibrated wall reference: 167 × 94 in (424 × 239 cm)
Try this room in the editor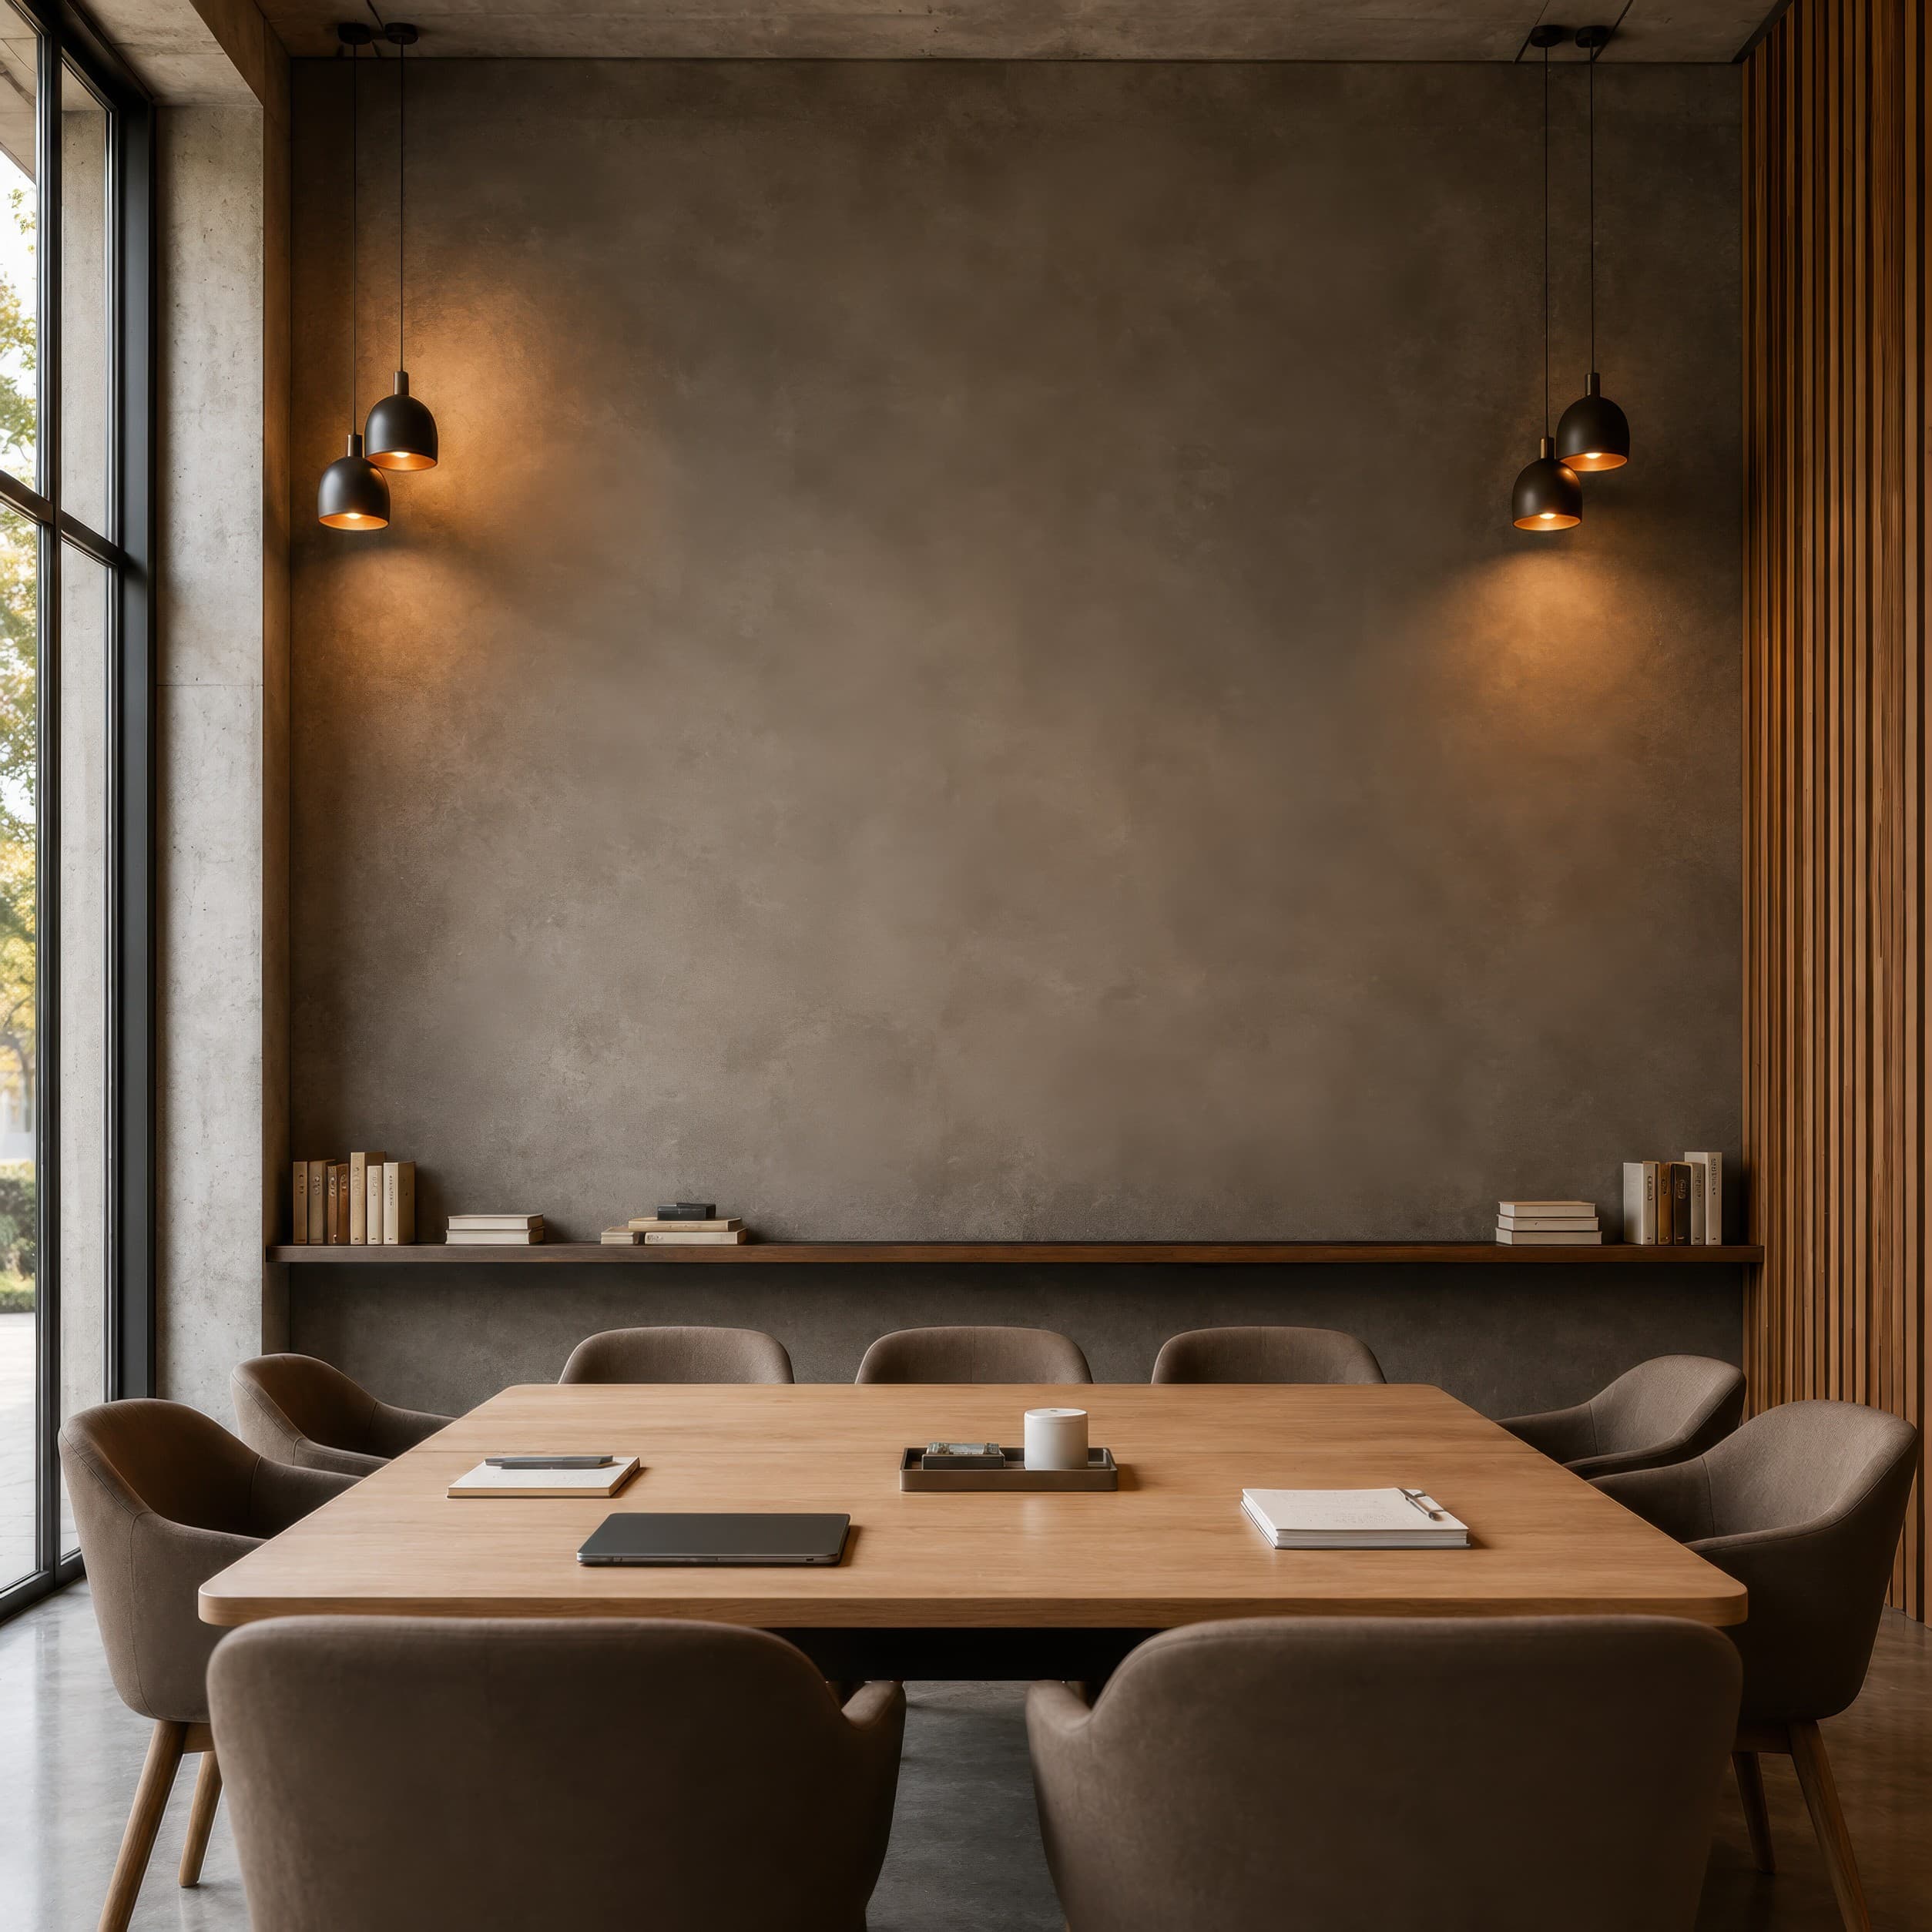
Room pick 17
Calibrated wall reference: 144 × 144 in (366 × 366 cm)
Try this room in the editor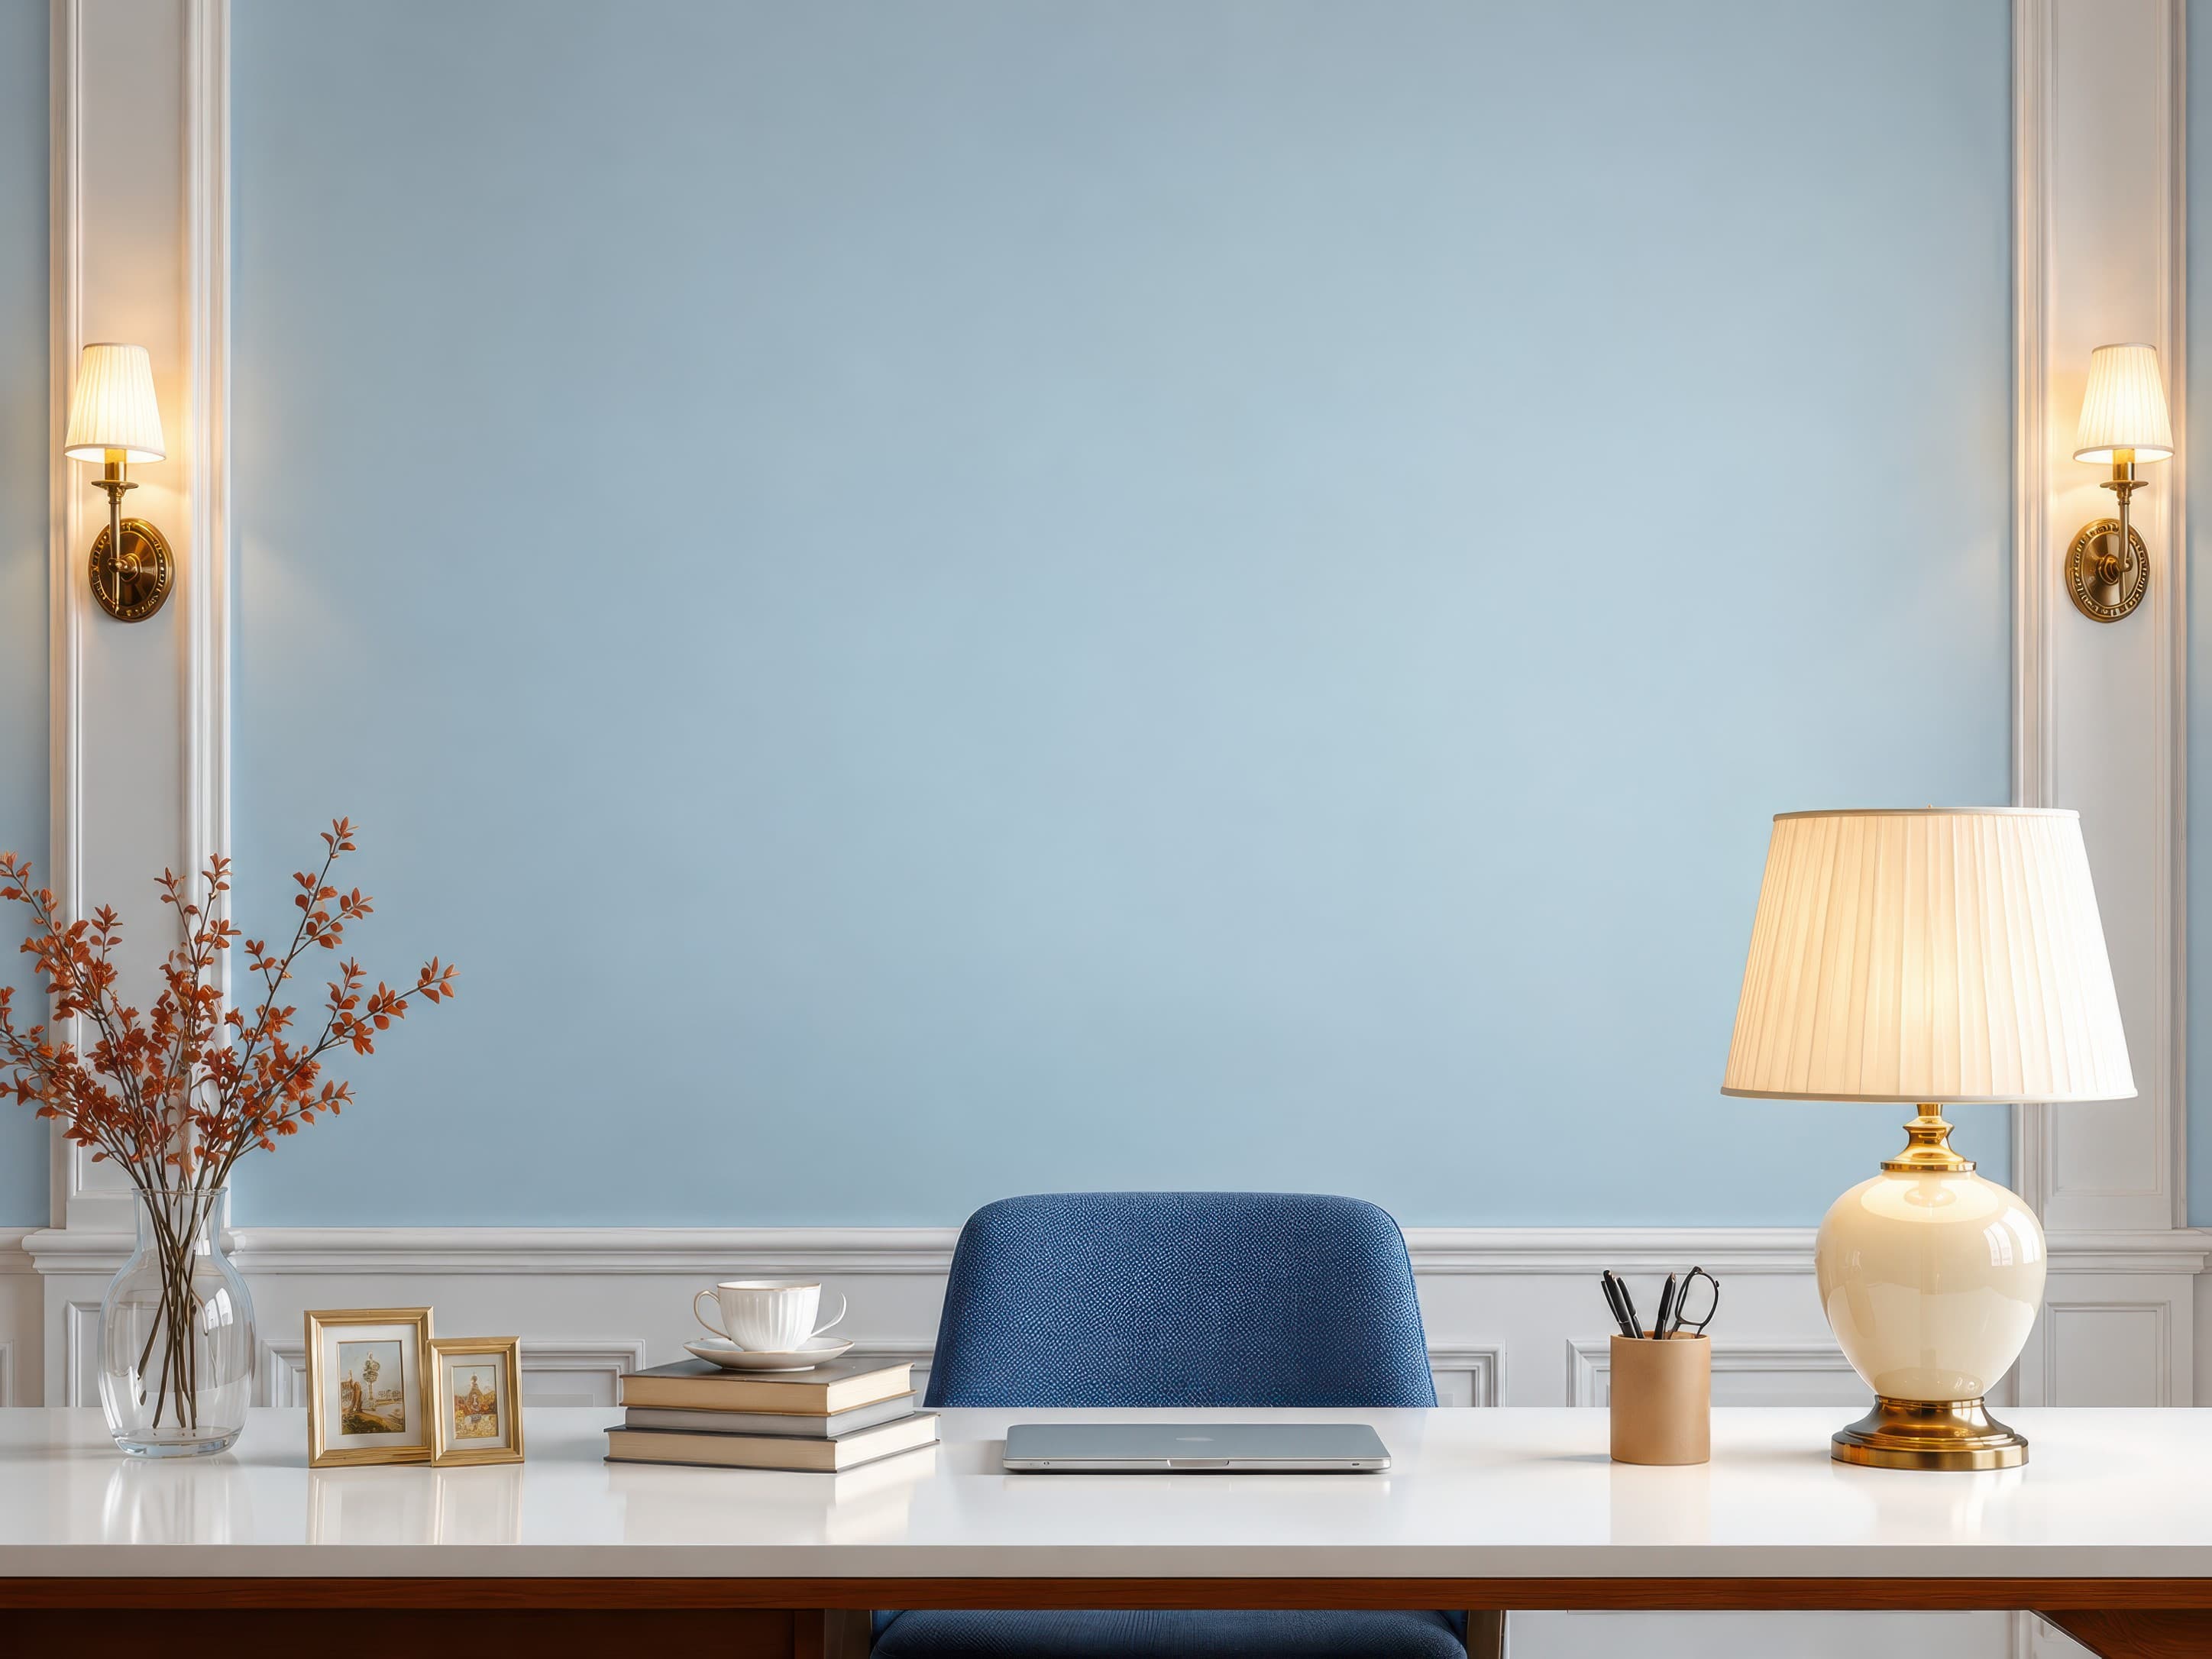
Room pick 18
Calibrated wall reference: 108 × 81 in (274 × 206 cm)
Try this room in the editor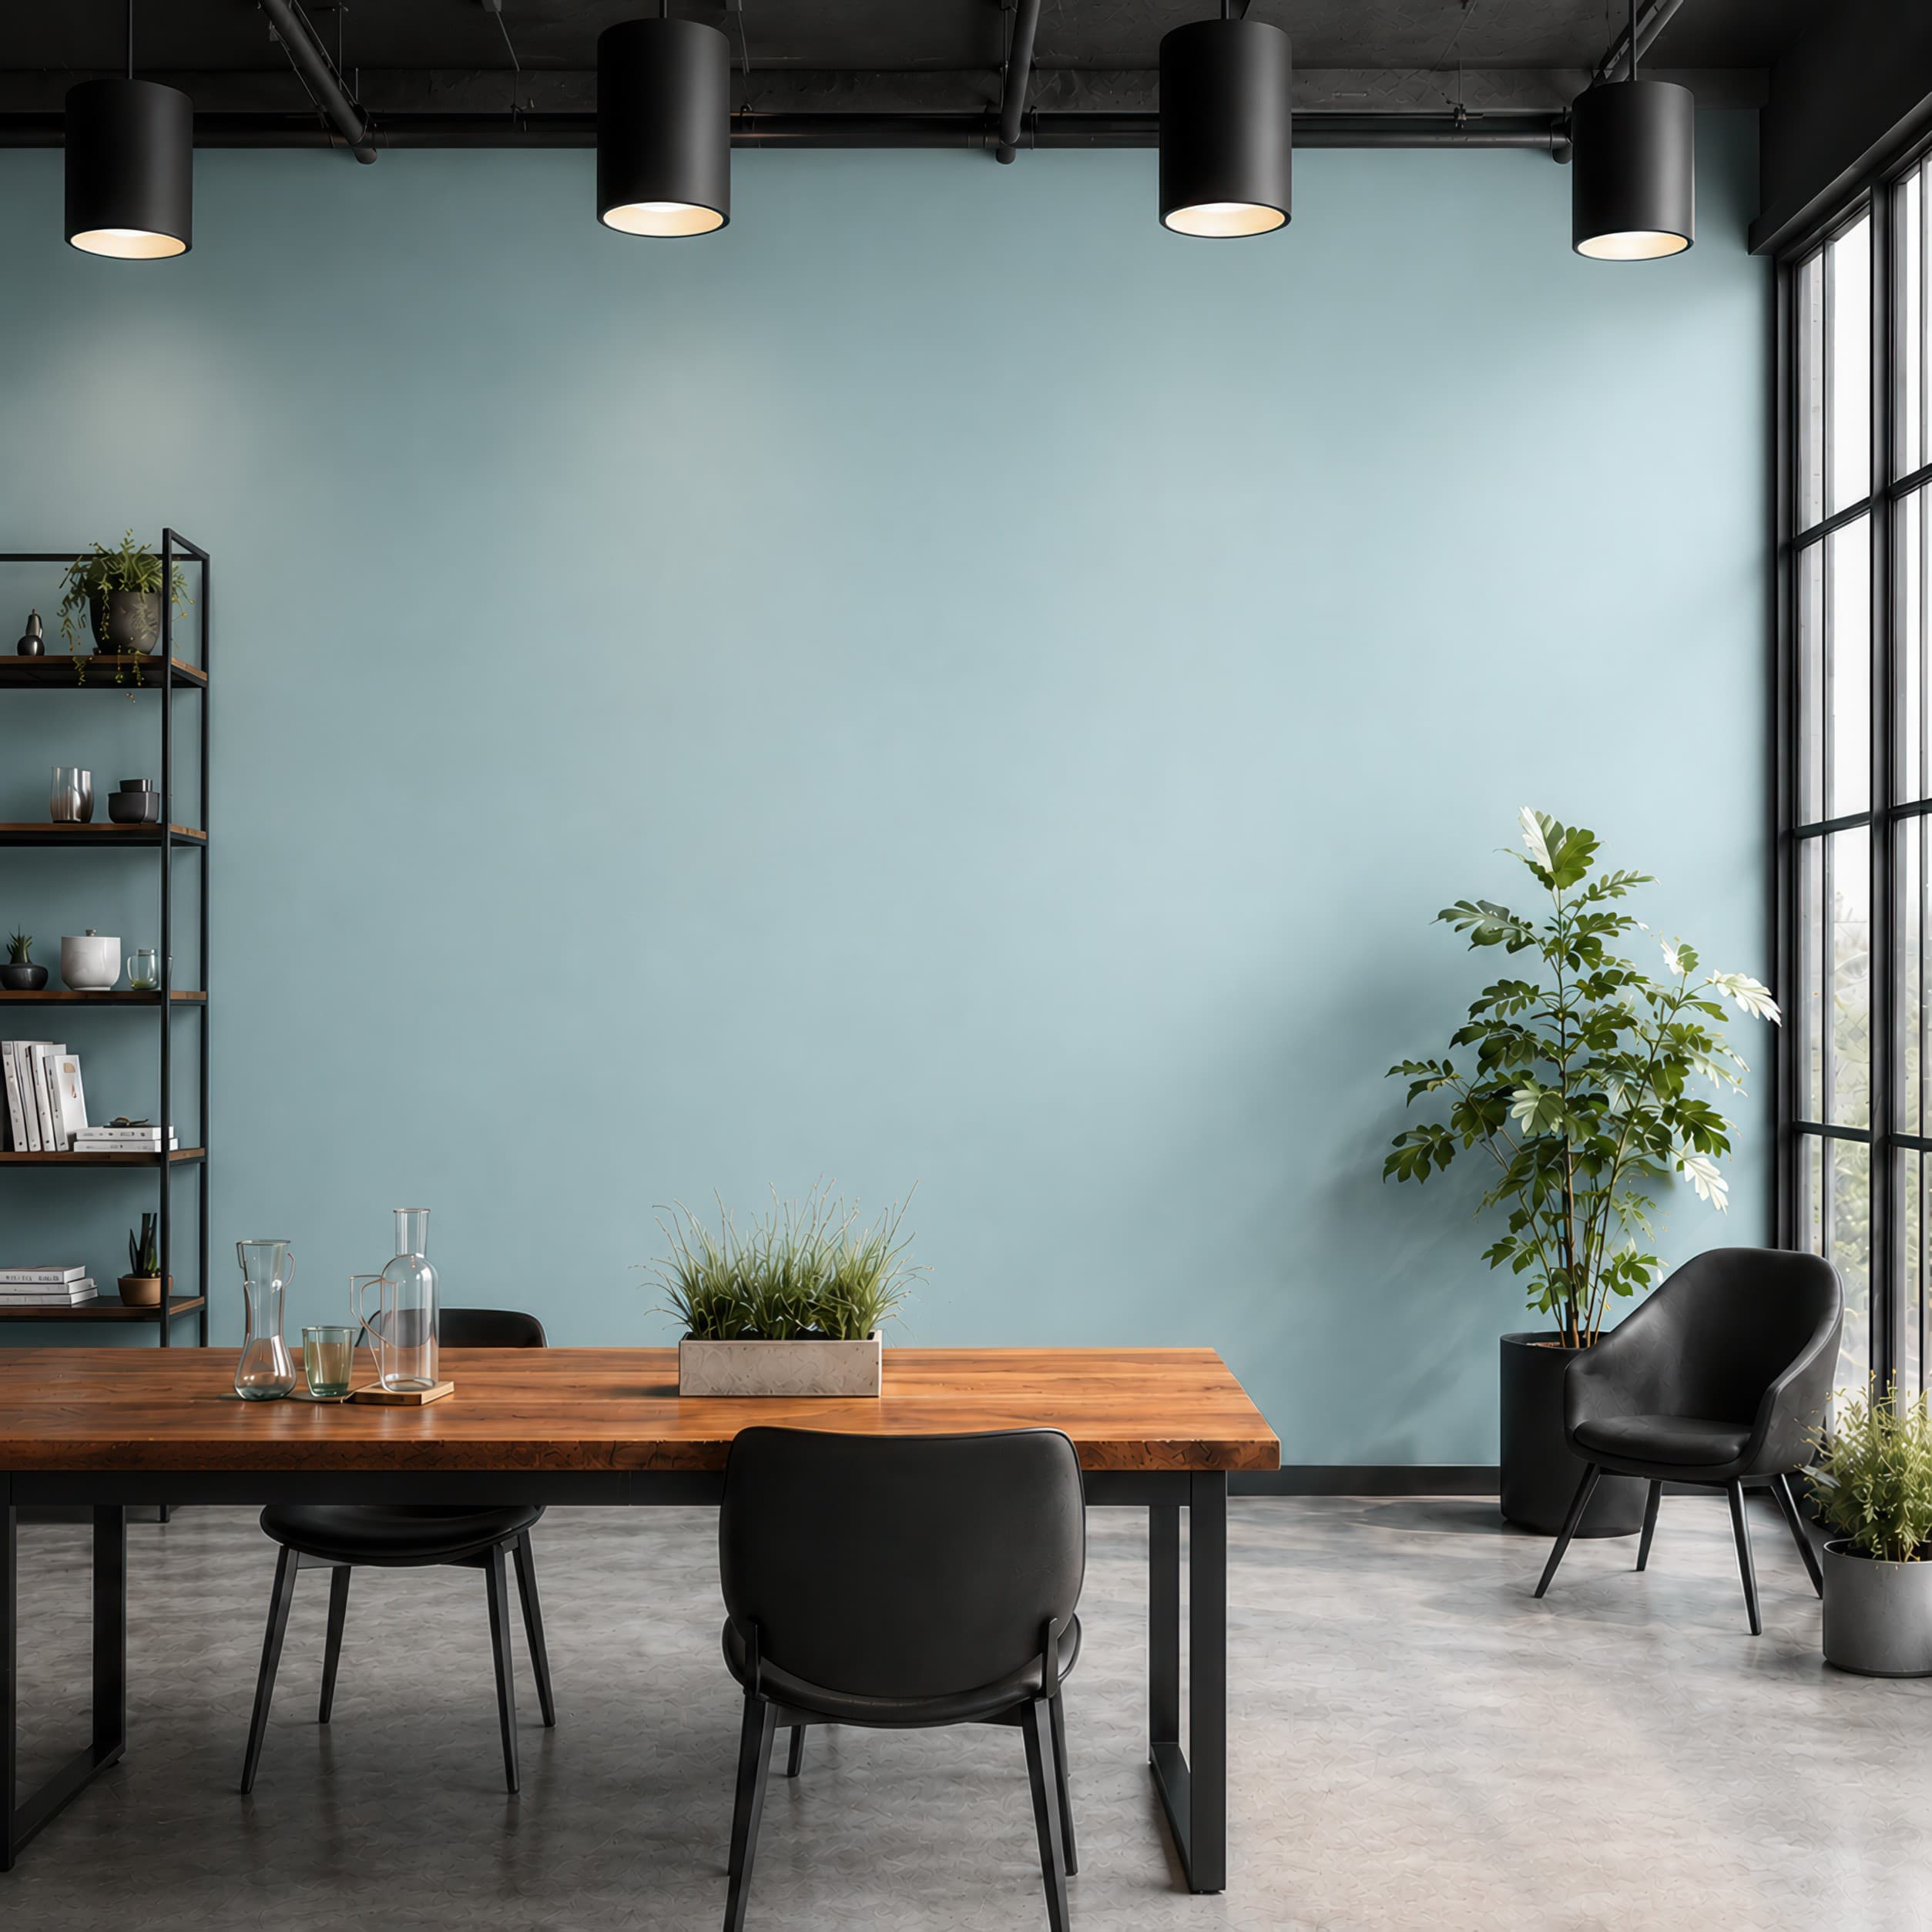
Room pick 19
Calibrated wall reference: 151 × 151 in (384 × 384 cm)
Try this room in the editor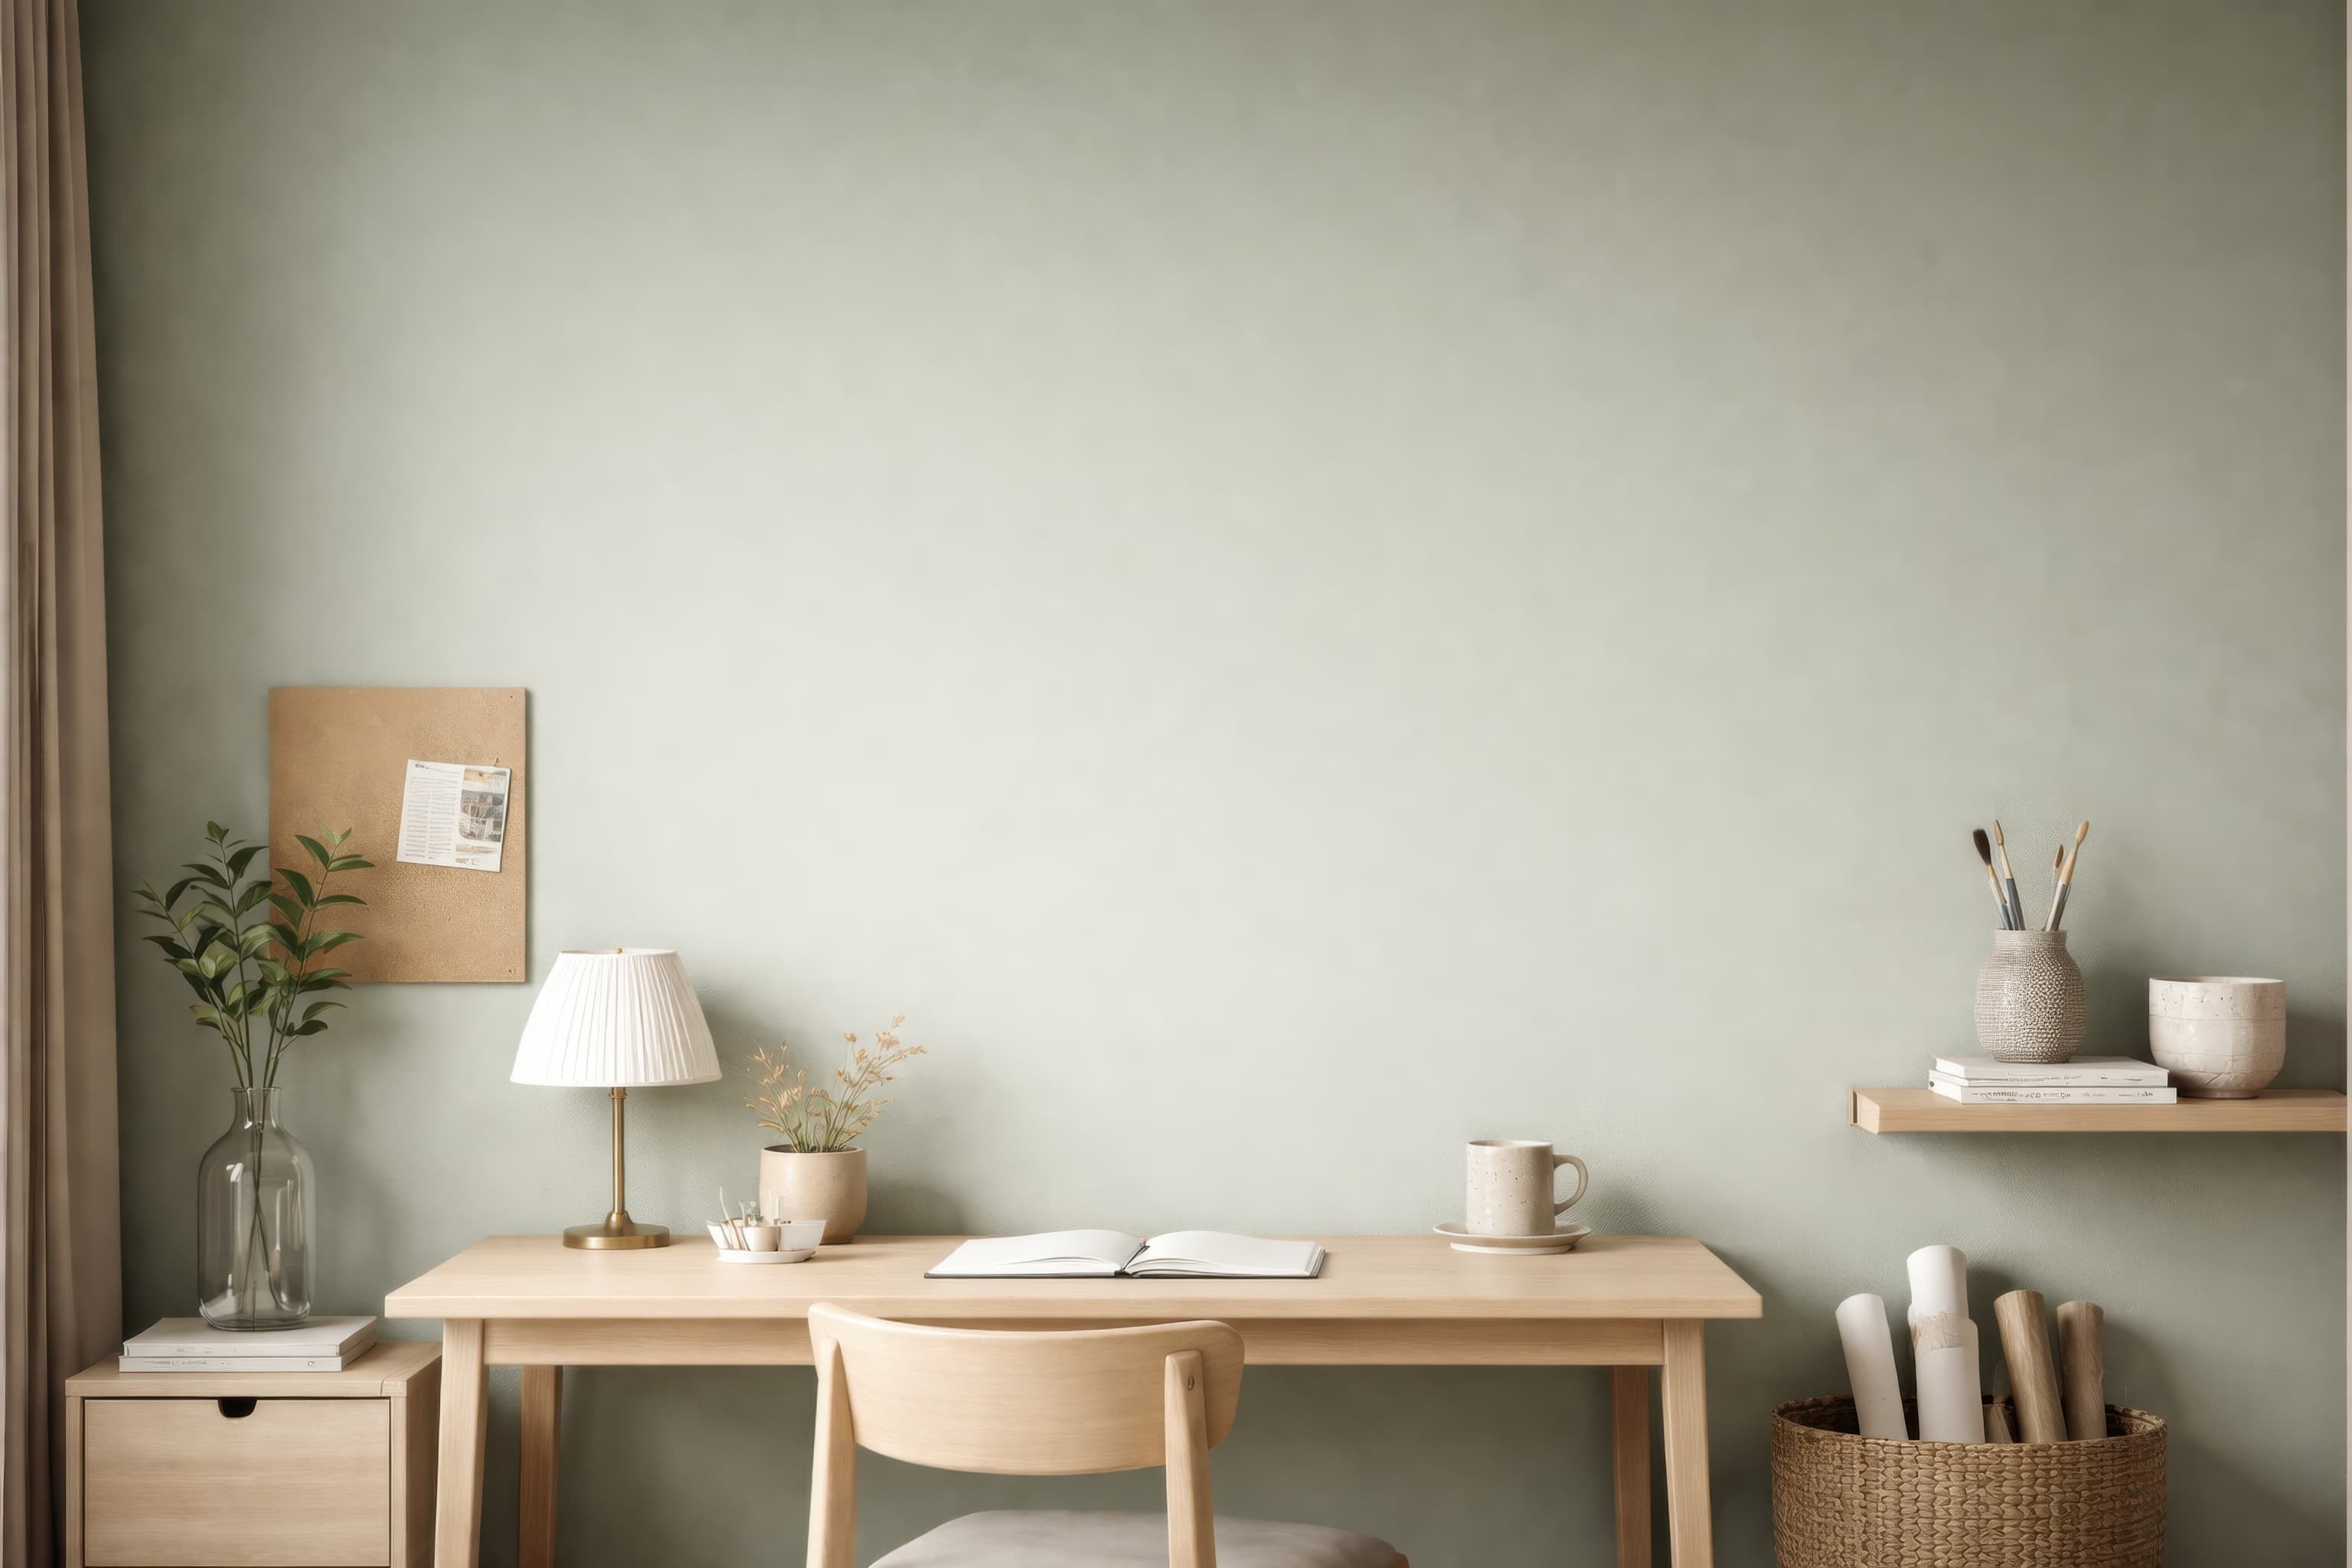
Room pick 20
Calibrated wall reference: 108.2 × 73.8 in (275 × 187 cm)
Try this room in the editorGuide 1
Clean photography, architectural work, maps, typography, and restrained abstracts fit professional offices, while studios can support brighter illustration and more expressive color. The best room is not always the most corporate one. Match the buyer and product: a creative print may feel lifeless in an executive boardroom, while a minimal diagram can disappear in a heavily styled studio.
Desk scenes give immediate scale, but monitors and lamps also compete for attention. Keep the artwork above or beside that visual clutter and avoid positioning important details directly behind a screen. A portrait-friendly office nook is often better for vertical art than stretching it across a broad workstation wall.
Guide 2
Office scenes can contain multiple apparent light sources. Window light should produce a consistent frame shadow, and a desk lamp should not create a bright reflection that is missing from the glass or frame. For dark navy or charcoal walls, inspect shadow edges and use a frame finish that keeps the product silhouette readable.
For art intended as a video backdrop, reduce the page preview to a small crop. Fine text and thin lines that look crisp in the full export may vanish behind a person on a call. Use the mockup to communicate decorative impact, while a separate close image communicates detail.
Guide 3
Use one office mockup to prove scale and context, then include a clean close-up of the design. This prevents a distant desk scene from carrying the whole sales job. When the print is available framed and unframed, keep the room and size constant so the frame comparison is fair.
Size reference
These are visual starting points, not universal room rules. Use the complete framed object or multi-panel group, then verify the result with the exact furniture and wall dimensions available to you.
| Placement | Starting point | Check before export |
|---|---|---|
| Above a desk | Keep the outer framed width clearly inside the desk span. | Leave visual clearance above monitors and task lamps. |
| Video-call background | Choose a size that remains recognizable in a tighter crop. | Preview at thumbnail size and avoid tiny typography. |
| Reading chair or library wall | Use portrait or square work to create a focal point without filling shelving space. | Maintain contrast between the frame and a dark or paneled wall. |
Use the console setting as a starting point and enter the desk width.
1
Use the real product file and preserve its natural aspect ratio.
2
Select one of the popular rooms, enter the physical dimensions, and use only presentation controls that match the real product.
3
Check scale, wall contrast, lighting, and the listing crop before downloading.
Photography, maps, graphic posters, typography, diagrams, abstracts, and illustration can all work. Choose a room whose level of formality matches the customer and keeps the art distinct from monitors, shelves, and task lighting.
Keep the complete framed width within the visible desk span and leave clearance above screens and lamps. Use the actual desk width in the size calculator rather than scaling the art to fill the blank area.
Use a room angle that resembles a webcam crop, keep the artwork away from where a person would sit, and preview the image at small size. Pair that context image with a close product view for fine detail.
Yes. Dark walls can make pale work and metallic or wood frames stand out. Check that the frame shadow remains plausible and that dark artwork does not lose its edge against the wall.
Upload the artwork, choose one of the selected rooms, enter the real dimensions, and export a listing-ready image without a template file.
Open the editorRoom selection and guidance reviewed by WallMockup product team. Last materially reviewed 2026-08-12. Popularity follows the editor preset order, which is maintained by completed production downloads.